Issue 14: Sept/Oct 2000
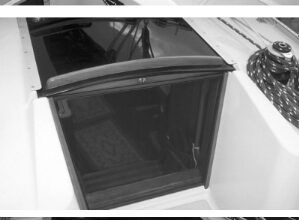
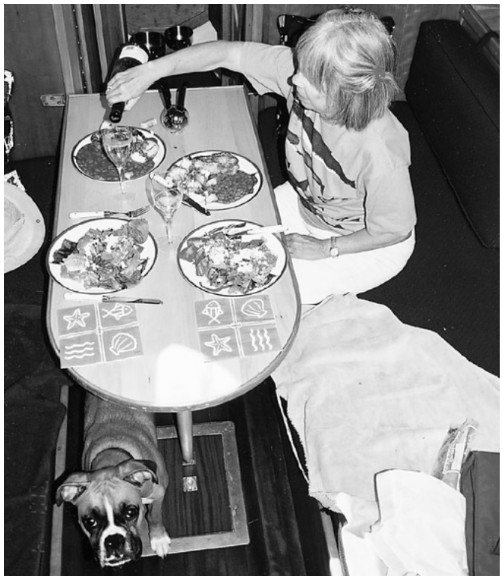
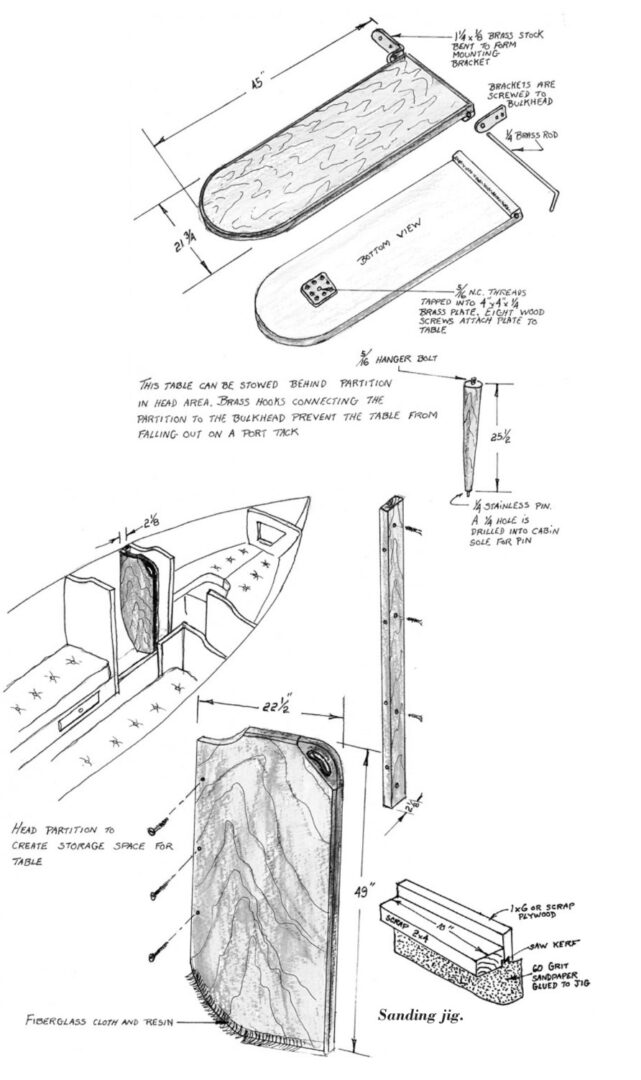
We’ve gone aboard large sailboats and drooled at the sight of a dining table that was permanently attached to the cabin sole. Owners of small sailboats with narrow cabin soles have no such luxury. A well-designed table for a small boat should be sturdy and capable of being stowed in such a way that it doesn’t rob the cabin of valuable space. The table and stowage partition shown here were installed in our Alberg 30, Quest, but can be adapted for most boats.
The table and partition were made of 3/4-inch maple with cherry trim. These can be built of a good grade of 3/4-inch plywood. Do not use particle board since this stuff weighs a ton, is not very strong, and will absorb water and swell up like a pregnant guppy. Screws don’t hold so well in it, either.
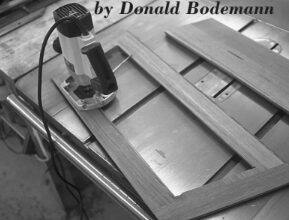
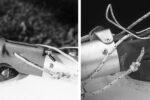
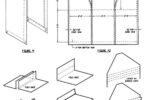
You could paint the plywood or use contact cement to attach a plastic laminate to both faces. If you use solid wood, sand the edges with a disk sander. If no disc sander is available to you, make a sanding jig as illustrated, lower far right. This will ensure that the table edges have no “wiggles,” and the corner is a perfect 90-degree angle. The exposed edges of the plywood partition and the table can be banded with brass or aluminum flat stock, attached by drilling holes and countersinking the screws. Some wood-working catalogs sell a 3/4-inch wide T-shaped plastic molding that can be hammered into a groove. If you go this route consider using 3/4-inch stock for the partition and 1-inch stock for the table, which will give the table a 1/4-inch lip which could help keep your wine glasses and poker cards from sliding off. Holes can be drilled and the screws countersunk into the metal 3/8 inch from the edge and about 4 inches apart. Start putting screws into the straight section and, as you approach the round part of the table, use a rubber mallet to force the metal around the curve.
The table leg shown was turned on a wood lathe, but you could substitute a large hardwood dowel, a square leg, or a leg made from solid aluminum round stock.
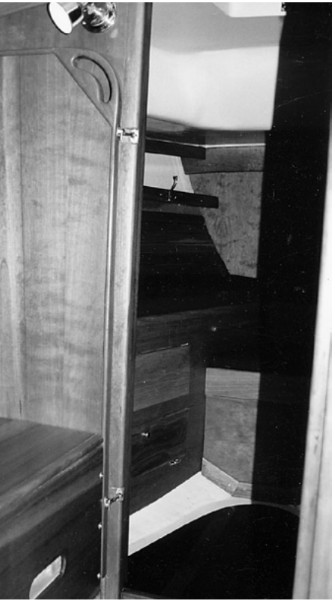
Stowage – If a couple of inches of space can be located in the head or hanging locker, there is a chance that it will serve nicely to stow the table. To assure yourself that the table can be stowed where you intend, start with large cardboard patterns both for the table and for the partition to hold it. Plan ahead and prepaint or prevarnish the back side of the partition, otherwise you will need an arm the dimensions of a popsicle stick to do the job. Use screws and fiberglass to attach the partition to the boat.
Apply at least four coats of finish to all wood surfaces. Then attach hooks to secure the partition to the bulkhead. The hooks also keep the table from falling out. Happy dining. May your drinks not spill.
Armand Stephens and his wife, Mary, are retired school teachers. Armand taught high school wood-working. Immediately after retiring two years ago, they bought a 1965 Alberg 30 and spent 10 months renovating it. They have sailed on San Francisco Bay for more than 30 years.
Thank you to Sailrite Enterprises, Inc., for providing free access to back issues of Good Old Boat through intellectual property rights. Sailrite.com