They protect brightwork and give paws a grip
Issue 84 : May/Jun 2012
Getting to know the neighbors on my pier was certainly easier than getting to know the neighbors at my new home. For one thing, we already had a significant part of our lives in common: good old boats, sailing, weekends on the water, and boat maintenance.
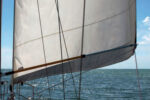
For more than a year, I’ve been slip neighbors with Kelly Townsend and Nancy Ballard. They take great pride in keeping their 27-foot Island Packet, Amelie, looking ship-shape, even though they have three dogs on board constantly. Kelly keeps the interior and canvaswork looking good while Nancy has been maintaining the rigging, motor, hardware, and brightwork.
After Nancy had spent the previous month sanding the toerails, bowsprit, handrails, and cabintop trim, but before she began applying 10 coats of varnish, I noticed the two of them staring at the wooden cap on their cockpit coaming. Nancy had yet to refinish the cockpit area, but they were concerned about the dogs scratching it once they got it finished. They were thinking about adding a carpet or mat to protect the woodwork.
I proposed a deal: if they would help me choose the new fabric for my boat’s interior, I would go to work with my Sailrite Ultrafeed sewing machine and custom fit some form of rubber-backed mat for them. I’d not done anything quite like this before, but I really did need the help selecting fabric.
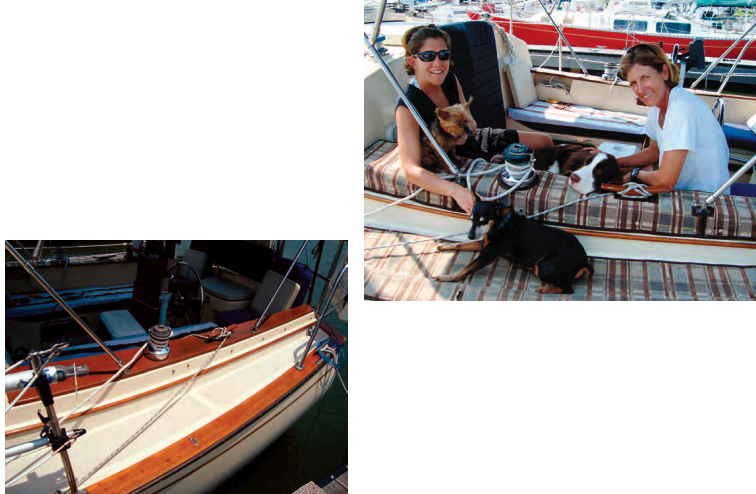
When I got to my boat the following Friday, the two of them were sitting in their cockpit smiling from ear to ear. They had been busy. They had more than 20 fabric samples for my interior as well as a large piece of heavy brown fabric they had chosen for their cockpit boarding mat. Kelly had also picked up a yoga mat she thought might work as a rubber non-skid backing. During that weekend “the ladies” (Nancy, Kelly, and almost every other woman on our pier they could find) came to a consensus on my interior fabric. The pumpkin material with green lines had just the right “pop” they said. Now it was my turn to get to work.
Making the mats
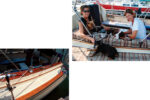
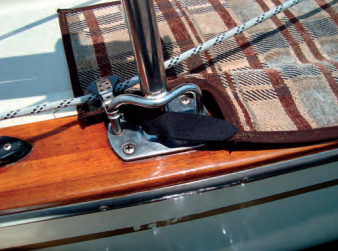
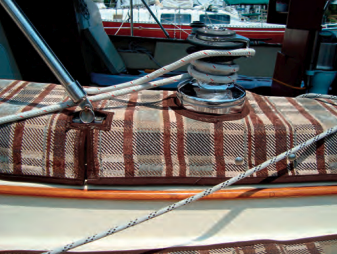
I laid the yoga mat down and marked how it should be cut to fit on the sidedeck between the toerail and the cockpit coaming and around the hardware. I then cut it with scissors and tested the fit. I took the remaining piece of yoga mat and fit it on the top of the coaming.
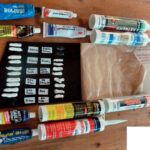
At this point, I wasn’t sure how I was going to bond the mat to the fabric. Once I got home, I tested some 3M Super Trim Adhesive on a scrap of the rubber yoga mat for chemical compatibility by gluing a sample of the fabric to it. It held very well. I figured that the glue, along with sewing the edges with 1-inch Sunbrella binding, would hold the yoga-mat material in place on the fabric.
Test over, I cut a piece of the fabric large enough to cover the upper and lower areas and laid it out on my kitchen table. I applied the glue to the coaming-top yoga mat and carefully pressed it down on the fabric. After the required 20-minute curing time, I trimmed the excess material around the mat and began sewing the Sunbrella binding around the edges and the cutouts I’d made for the cockpit winch, cleat, and support mounts for the Bimini. The Ultrafeed sewing machine stitched through the rubber yoga mat without a problem.
On-site decisions
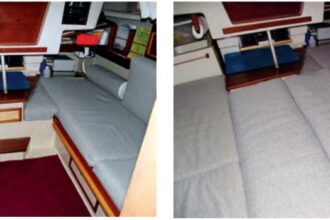
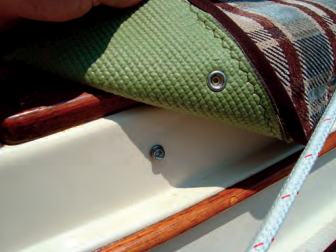
The next weekend, I took my initial work to the boat to see how it fit. I had not yet determined how I was going to fit the fabric over the drop between the two levels while keeping the lines in the fabric lined up. Nancy and Kelly suggested that the mat might work nicely as two separate pieces to better show off the brightwork trim of the coaming. This was a great idea. I could even use the existing Bimini-cover snaps to hold the upper-level mat in position and Velcro straps to hold the lower-level mat in place. Nancy and Kelly were not too concerned about matching up the lines in the fabric but I still marked them so the lines would be close.
The following week, I glued and sewed the lower mat and added the Velcro straps. The final job was to use my handy Pres-N-Snap tool to install female snaps in the upper mat to mate up with their existing male snaps on the side of the cockpit coaming. Kelly finished off the job by spraying the fabric with Scotchgard to protect it.
Starboard side too?
With that, we were done . . . well not quite. The following weekend, we took a trip together down to Freeport, Texas, for the Texas Mariners Cruising Association Spring Fling, and Amelie was assigned a starboard-to slip! I had made mats for Amelie’s port side to suit her home berth! By then, I knew a little more about what I was doing and, in another week, we had both sides covered . . . literally.
One of the nice things about this project is that the dogs seem to enjoy what we did. Sasha will now lie down on the deck area, while he seemed to avoid the gelcoat non-skid surface before. Winston now has more confidence jumping between the boat and the dock. Mattie seems to say simply, “It was about time they laid out the carpet for us!”
Our work’s not done though. I still have to re-cover the interior of my boat in a pumpkin material that “pops” while Nancy has the cockpit brightwork yet to do. But it is great teaming up with my slip neighbors while we “spruce up” our good old boats together.
Stephen Thompson is a professional mechanical engineer. He sailed on inland lakes as a boy, and, at 50 years of age, he successfully built a small sailing vessel from scratch and caught the bug once again. Over the past few years, he has undertaken the complete restoration of a 1970 Hallberg Mistral 33 in Houston Texas. See “My journey with the Vera May,” page 50.
Thank you to Sailrite Enterprises, Inc., for providing free access to back issues of Good Old Boat through intellectual property rights. Sailrite.com