Creating a bug-free zone down below
Issue 67: July/Aug 2009
When you’re anchored in a marshy cove, it’s important to keep the bugs from invading the confined space belowdecks. Even if they aren’t the kind that bite or sting, once they get in they may have some trouble getting out, becoming annoying captives whose incessant buzzing can ruin a quiet meal or a night’s sleep. A sailboat’s hatches allow air to flow below, but if they don’t have screens, they are also an open invitation to bugs. To solve this problem, I decided to make screens for the two hatches in my 30-foot sailboat. To keep the project simple, I planned to attach the screens with Velcro.
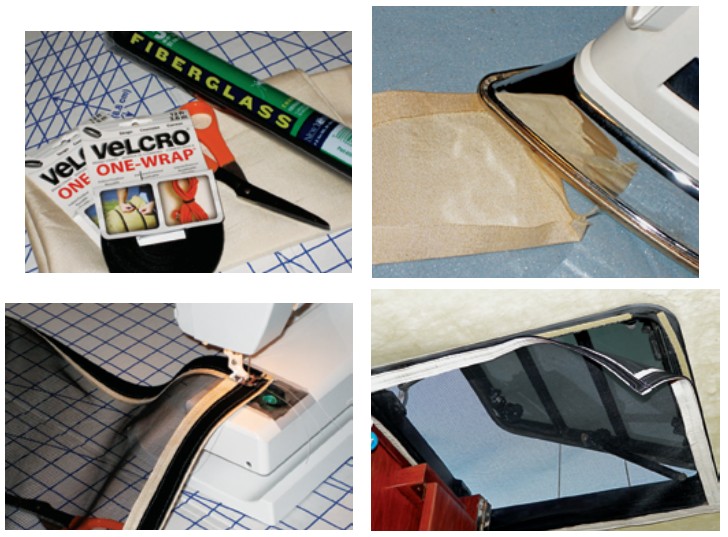
After measuring the hatches, which are different sizes, I cut two pieces of fiberglass screen, along with eight 3-inch strips of fabric for trim — four per screen. I folded the frayed cut edges of the strips inward to hide them, then folded the strips in half, so the screen would be sandwiched inside, and ironed all the folds to set them.
Using a sewing machine provided by my sister-in-law, I sewed each strip of fabric onto the screen, creating about a 1-inch trim around the perimeter. I then cut the Velcro and sewed a strip onto each of the four edges. Since no nearby store had enough one-sided Velcro, I used the more expensive double-sided kind. Don’t try sewing the “sticky-back” kind; you’ll gum up the needle and make it difficult to sew.
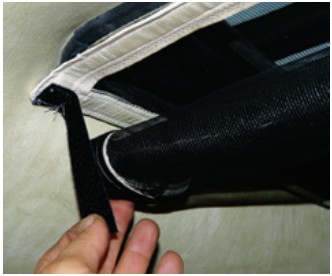
There were already thin strips of Velcro glued around the insides of the hatches on my boat, left there from screens that had long since disappeared (the boat is 25 years old), so once I had the screens completed, I just stuck them into place. On one of the screens, I added two Velcro tabs that can be used to secure the screen when it’s rolled up.
Overall, this was a remarkably fast and easy project that cost me about $30 in materials and a couple of hours at the sewing machine.
Chris Ferro and his wife, Shannon, explore Chesapeake Bay aboard Vita Brevis, their 1983 Seidelmann 30T. The boat was a “fixer-upper” when they bought her, but now, after four years of work . . . she still is.
Thank you to Sailrite Enterprises, Inc., for providing free access to back issues of Good Old Boat through intellectual property rights. Sailrite.com