. . . replace irreplaceable windows
Issue 99 : Nov/Dec 2014
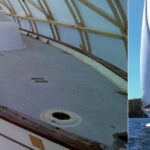
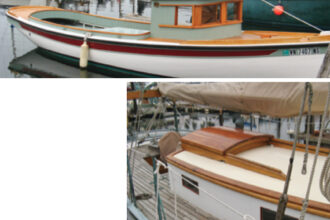
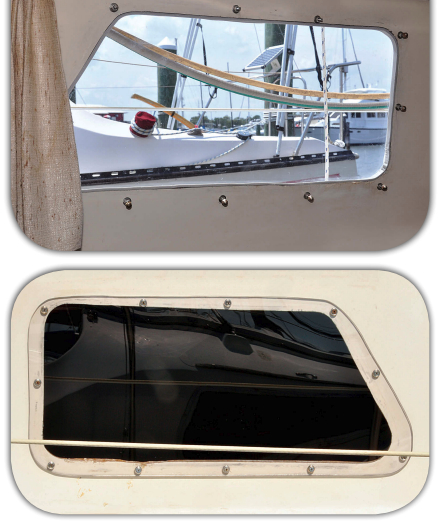
When it was time to replace the deadlights in the deckhouse on my 1978 Eastward Ho 31, I ran into a problem. Replace them with . . . what? The originals had been leaking for more than a year no matter what I did. I tried resetting and re-caulking them. I tried caulking around the exterior only. I considered replacing them with new ones, but these windows were no longer available and my budget would not stretch to aluminum replacements, which would have to be custom-made.
I consulted with a shipyard where I normally have the bottom painted. They showed me several boats with surface-mounted replacement deadlights made of polycarbonate. (Lexan is the best-known brand.) They looked professionally done and quite attractive. I asked the price for making and installing just two. After picking myself up off the ground, I decided the yard price was also outside my budget. However, replacing the windows in this manner looked like a project I could take on myself. All I had to do was find a source of polycarbonate, get it cut to the correct size, and install it.
First, a template
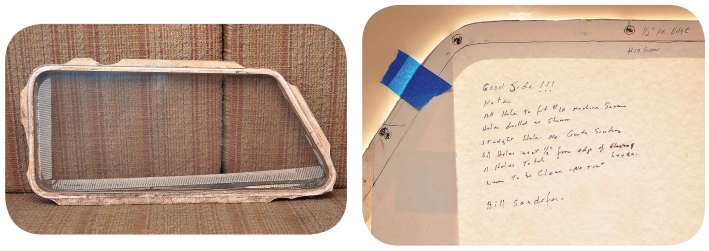
Step one was to make a template of the existing window, then enlarge it, to allow for it to be surface mounted, while making the corner radii proportional to those of the cutout in the cabin side. This was the easy part of the project.
Once I had the template, I found a glass retailer who stocked 1⁄4-inch polycarbonate and was willing to cut, bevel, and drill it to match the template. I was pleasantly surprised by the quote this time — just $75 for each port.
I took my finished windows back to the boat and checked their fit against the holes in the deckhouse sides. There was a 1⁄8-inch gap between the outer shell and the inner liner that would have to be filled. I used waterproof caulking (from our local big-box store) in an almond color to match the liner.
Next came the hard part. The replacement polycarbonate sheet had to be correctly aligned with the hole, but overlapping it. I chose the fastener hole in the center of the aft edge of the new window and drilled a hole in the cabin side to match it. By passing a screw through these holes, I was able to pivot the window up and down to find its correct position. This was more a question of visual alignment than measurement as the boat has so many curves and angles. Once I was happy with the position of the new window, I drilled the remaining mounting holes.
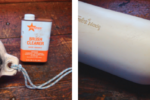
When I was looking for the polycarbonate, I became aware of the need to use a compatible sealant to form a waterproof gasket between the polycarbonate window and the fiberglass deckhouse. This is easier said than done. I read most of the labels and explored the Internet to find the answer.
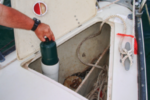
I was not looking for an adhesive, as the windows would be held in place mechanically by bolts. All I wanted was a material capable of forming a watertight seal. I thought pure silicone would do and, after consulting with the manufacturer, was proved correct. The silicone will not act as an adhesive but it will stick to the fiberglass and the polycarbonate sufficiently to form a waterproof joint. The first heavy rain proved the port watertight and a full success.
The total cost of each deckhouse window was about $100 including polycarbonate, sealant, and fasteners. This was well within my budget for a job well done.
Bill Sandifer, a Good Old Boat contributing editor, has been involved with boats and the water since the age of 12 when he “borrowed” anchored rowboats for “rides” while never leaving the mooring. (He just paddled around with a “found oar.”) Since that time, he has been a launch operator, sailing instructor, founder of a SCUBA company, and owner of a boatbuilding company. He currently cruises the U.S. Gulf Coast with his family in an Eldridge McInnis-designed 31-foot sloop.
Thank you to Sailrite Enterprises, Inc., for providing free access to back issues of Good Old Boat through intellectual property rights. Sailrite.com