An easy-to-make cover protects an inflatable dinghy
Issue 86: Sept/Oct 2012
Take a look at inflatable dinghies clustered around a dock or sitting on the beach in a cruising area. Almost all of them will have a cover and the majority of the covers will have been professionally made by a canvas shop. When we started cruising 13 years ago, I wondered about this. Inflatables are made of expensive Hypalon or PVC and they have warranties, yet many manufacturers do not even offer a cover as an extra. Why then do almost all cruising dinghies have a cover? It didn’t take us long to figure that out.
Cruisers really use their dinghies. They are the sport vehicle, the family car, the fishing boat, the “off-road” explorer, and perhaps even the life raft. They are exposed to all sorts of weather 24 hours of the day, every day. All this is hard on human skin, as we know, and the dinghy does not have the advantage of sloughing off the old skin and constantly growing new, as we do. So, if you want your dinghy to last and if you want to be able to sit on the tubes without burning your bare skin, you need a cover.
Our original dinghy was an Avon RIB. I made a cover for it when we were in the Rio Dulce for hurricane season, but the design and execution were amateurish. Most notably, when we went fast in the dinghy the cover scooped water and deposited it on the driver’s backside! Still, it was functional. All it cost us was the material, and that cover and dinghy were still in good shape when we sold them more than five years later.
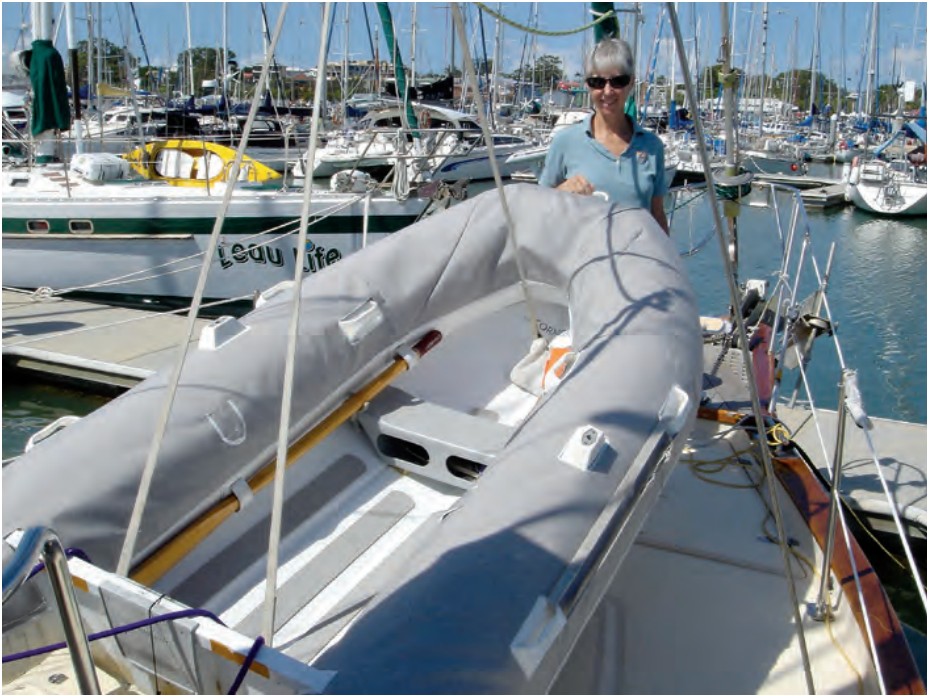
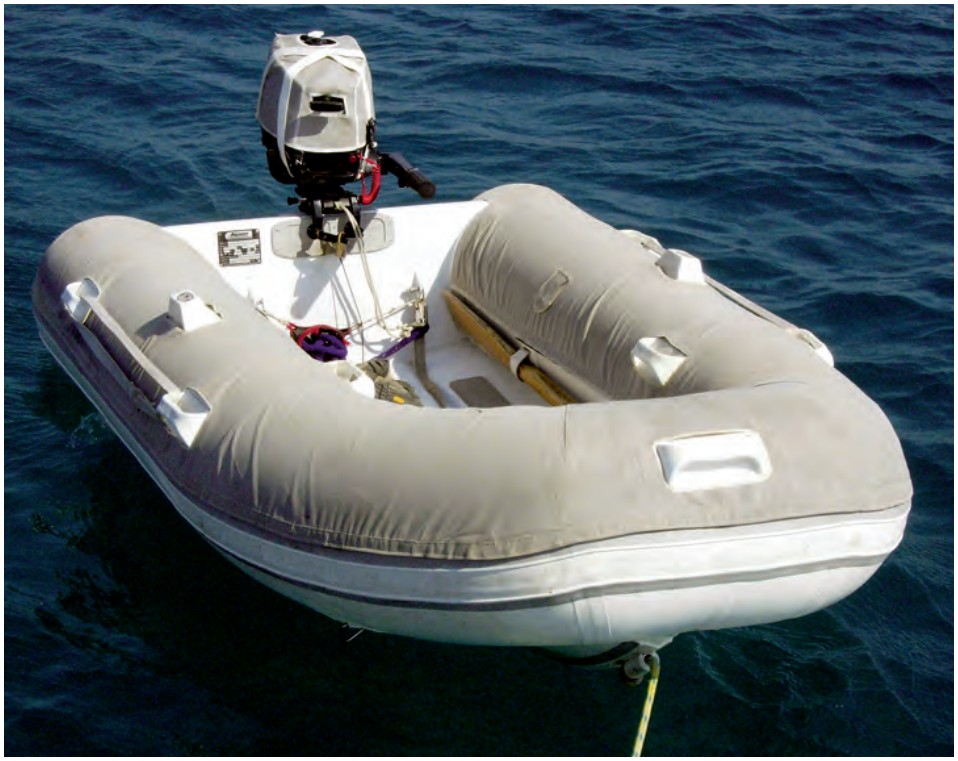
At that point, we were back and forth between New Zealand and the Pacific Islands and the old Avon with the motor on it was just too heavy for us to carry up the steep beaches and over the rocks. Lots of people have dinghy wheels, but Cormorant is a cutter and we have just enough space between the mast guard and the staysail for a dinghy while allowing enough room to open the foredeck sail lockers. We found the perfect dinghy, an AquaPro aluminum RIB, that fit that spot and was light enough for us to carry with the 3.3-horsepower engine on it. We chose the PVC material because of cost relative to warranty. Now all we needed was a cover.
No avoiding homemade
Because my first cover was so hard to make, and so imperfect, I went to a professional for a price. The quote came back at almost a third the total price of the new dinghy! I was reluctant to try my custom-fabrication skills again, so I decided to go high-tech and try using a UV protectant rather than a cover. I bought the special 303 Aerospace Protectant and carefully followed the instructions about how to apply it and how often to do it.
After a year in the intense sun of the South Pacific, it was evident from the surface of the dinghy that the protectant was not doing the job. The white material had softened enough that it got a little gooey and dirt and mildew became permanent marks.
Luckily, when I finally accepted the fact that I had to make another dinghy cover, we were anchored at Asanvari in Vanuatu, together with Lisa and Marc Labonte on Nahanni. I was admiring their cover and trying to figure out how it was done when Lisa said she made it herself and would share the secret.
A pattern makes perfect
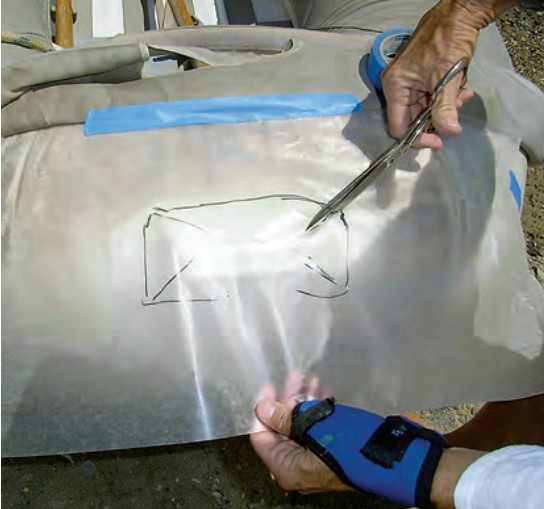
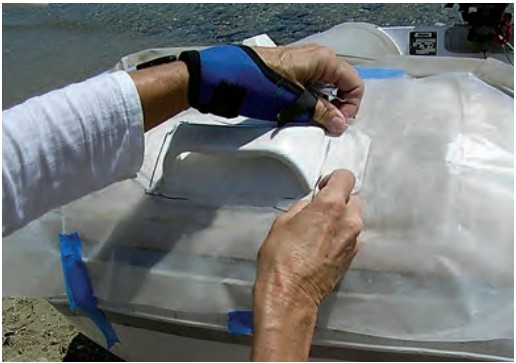
A canvasmaker told her to buy a cheap clear shower curtain and use the clear plastic to make a perfect pattern before cutting the Sunbrella fabric. Plastic sheeting does not stretch and is easy to handle, so you can experiment with placing the seams in various places until you get an arrangement that works with your dinghy’s shape. I even had to put a couple of darts into my cover, but those were also done with the pattern.
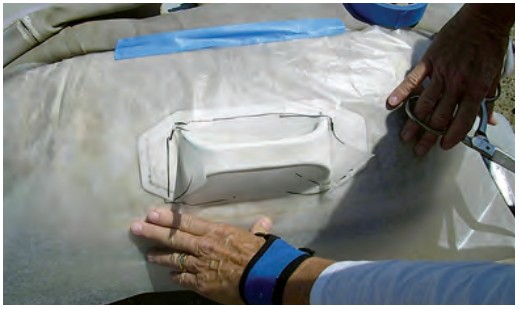
What makes creating a dinghy cover so difficult is getting all the cutouts in the right places and getting the whole thing tight and firmly attached. Using the clear plastic for a template made it easy to mark the openings for the handles, the oarlocks, and the inflation valves. If the first cut was not perfect, I simply cut smaller pieces of the plastic and taped them in place to correct the pattern.
Now that I had a good pattern, I had another challenge. I was thinking all those cutouts had to be trimmed with binding tape or hemmed somehow without altering their shape. A good seamstress can probably do this easily, but for me and most other “sewers by need” it’s a nightmare. Then I had an inspiration, and my solution turned out to be easy, looks good, and has lasted without any problems for more than three and a half years.
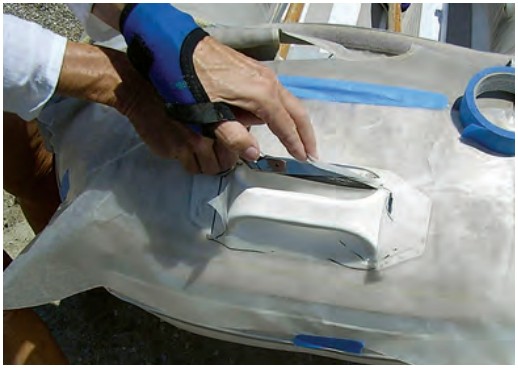
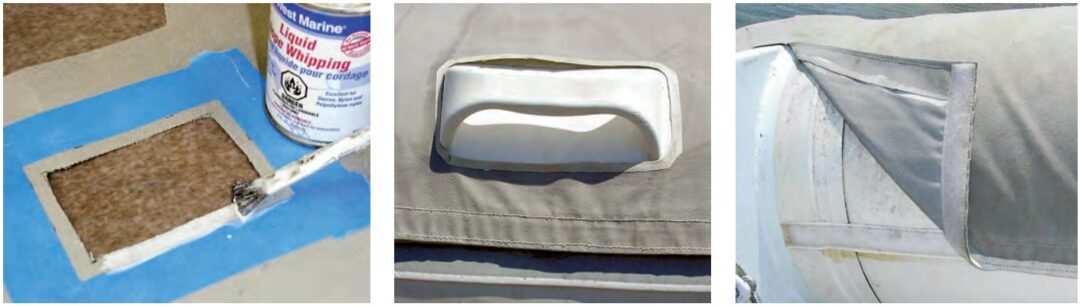
I cut the openings exactly the finished size. I then measured 1/2 inch all around each opening and put standard boat “blue tape” on both sides of the Sunbrella. Using a product called Liquid Rope Whipping (also available as Whip-End Dip), I painted the exposed canvas and the cut edge, applying two layers of the white stuff. The tape made a nice straight edge so it looks good and, since the whipping is flexible and made for ropes, it is resistant to salt and sun. Problem solved.
A (non-) sticky situation
I thought the next problem would be easy to solve but, as we all know from experience with Murphy’s Law, it was not. That was the issue of attaching the cover to the dinghy.
I looked at every dinghy I could find. The best-looking and best-fitting covers were all attached with Velcro. I sewed the loop side of the Velcro to the canvas cover, on the inner and outer edges. Lisa told me she sewed her hook Velcro to vinyl before gluing it to the dinghy, since vinyl to vinyl makes a better bond than fabric to vinyl. Based on her insights, I went to a canvas shop, got some vinyl scraps to cut into lengths, and made long strips of Velcro sewed to vinyl to attach to the dinghy.
My unanticipated problem was that the glue would not hold. One professional told me he used contact cement, so I tried that. But two months later it was coming off. Then I tried an “outdoor camping” glue for tents, and that lasted about two months.
If I had a Hypalon dinghy and had sewed my Velcro to Hypalon scraps, and had the proper glue, it prob-ably would have been easy. But we have a PVC dinghy and we were in Australia, then Indonesia, and then Malaysia looking for the right glue. Finally, in Phuket, Thailand, I went to Cholamark Dinghy Company, where they make dinghies and covers, and bought several little brown bottles of what they said was the proper glue. I put it on in late November 2008 in Malaysia. It is July 2010 as I write this. We are halfway across the Aegean Sea and the Velcro is still firmly attached.
From start to finish the cover project took less than a week and the total cost was only the cost of the fabric, the plastic curtain, about a half bottle of Liquid Rope Whipping, and some glue that also works as dinghy-repair glue. Our investment was less than $100. Without the cover the dinghy would probably be useless by now.
Jane Lothrop and her husband, Harry Hungate, have been liveaboard cruisers since 1997. On December 28, 2011, they completed their leisurely circumnavigation on their Corbin 39 cutter, Cormorant.
Thank you to Sailrite Enterprises, Inc., for providing free access to back issues of Good Old Boat through intellectual property rights. Sailrite.com