Protect your investment from weather and covetous knaves
Issue 75 : Nov/Dec 2010
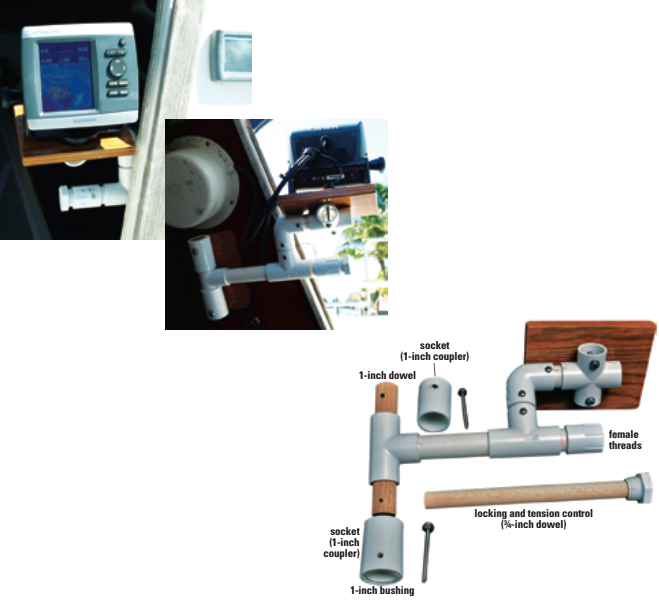
Many GPS chart plotters are designed for bulkhead mounting but, if they’re visible, thieves love them. With that in mind, I made a bracket so I could swing mine between the cabin and the companionway opening.
Swung into the companionway opening for viewing, it’s easily adjustable for maximum visibility, which is not possible with a bulkhead mounting. And it has a locking system to keep it where I swing it. Swung into the cabin, it’s hidden and out of the weather.
I assembled the bracket from PVC pipe and hardwood dowels and made a small wooden platform for the chart plotter, all for about $20.
If you plan to make a similar bracket, measure the space you have between the side of the cabin and the companionway opening, as this will determine the length of the primary arm and the height of the wooden platform on which you mount the GPS device. Ideally, you’ll be able to swing the bracket through a full 180 degrees so the entire assembly is out of the way when not in use.
Dowels and plumbing parts
The core of the vertical hinge is a 1-inch dowel on which a 3⁄4 -inch PVC tee holding the horizontal arm rotates. (The 3⁄4 -inch tee takes 3⁄4 -inch-inside-diameter pipe, so slides over the 1-inch dowel.) The dowel is held in sockets made from 1-inch pipe couplings. A short piece of 1-inch pipe (which has a 1-inch inside diameter), driven into one end of each coupling, serves as a bushing to center the 1-inch dowel in the vertical assembly.
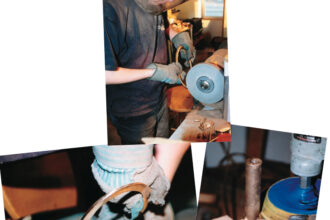
The bushings must not extend past the centers of the couplings but you may have to grind away the small ridge inside the coupling so the dowel can pass through.
As it turns out, the 3⁄4 -inch PVC tee on the end of the horizontal swinging arm will fit and rotate nicely inside the 1-inch couplings. The screws that fasten the entire assembly to the bulkhead pass through the couplings, the bushings, and the 1-inch dowel.
The vertical dowel must be fixed for the locking and tension control to work. The control device is a length of 3⁄4 -inch dowel with a 3⁄4 -inch threaded plug fitting pressed snugly onto one end. The plug screws into a threaded coupling on the end of the horizontal arm — tightening the plug presses the horizontal dowel against the fixed vertical dowel, creating friction that lets you set the swing-out bracket at the angle you want it.
The length of the 3⁄4 -inch dowel must be fairly precise, and depends on the length of the primary horizontal arm. If you cut it a bit short, you can place stainless-steel washers (or pennies) under the cap as shims.
The tee at the base end of the horizontal arm fits into the couplings and rotates in them. Lubricate those rotation points with a little silicone spray. Leave a big enough loop of cable that the bracket can swing through its full arc.
Now when you lock up your boat, you’ll be locking up your GPS chart plotter as well.
Clarence Jones is a writer, news media consultant, photographer, sailor, tinkerer, and inventor. He and his wife, Ellen, live on, work from, and sail their Precision 21 from Anna Maria Island in the mouth of Tampa Bay, Florida.
Thank you to Sailrite Enterprises, Inc., for providing free access to back issues of Good Old Boat through intellectual property rights. Sailrite.com