How to build it and stow it conveniently
Issue 42 : May/Jun 2005
Years ago I was thumbing through a sailing publication and saw a photo of Larry Pardey standing on his sidedeck grasping a stowed boathook. A closer look revealed how he had stowed it. For years I had meant to do the same thing with a neat, traditional-looking boathook for my boat. This was the inspiration.
No doubt others would like to know how to make their own boathook and store it conveniently. The boathook itself is made using an off-the-shelf cast-bronze hook and a length of 1 3⁄8-inch clothes pole from your local lumber yard. All you’ll need is access to a stationary sanding disc to custom fit the pole to the hook. Here’s how to do it.
Making the taper
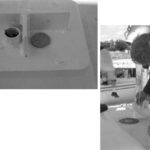
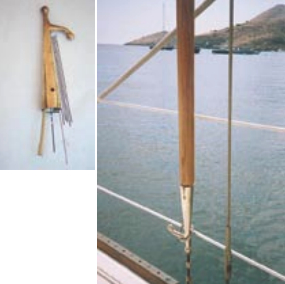
The biggest problem is matching the inside taper of the hook to the pole. Draw a line on a piece of paper and lay the axis of the hook centered on it (see photo at left). Put a chopstick or any small-diameter straightedge, like a pencil, in the hole. Press it against one side and trace that angle to the paper. Do the same thing on the other side of the tapered hole. Use the chopstick again, placing it down the center to measure the depth of the hole this time.
Let’s say the largest inside diameter in the hook taper is 1 inch and the depth is 4 inches. Mark a line at a right angle to the centerline mark where the traced, tapered lines are 1 inch apart. Make another short line 4 inches into the tapered trace, and you’ll have the exact shape the pole end will need to be if it is to fit into the hook.
Draw a series of parallel lines out from one side of the traced taper. Now fold the paper on the centerline and tape it to the table edge closest to the disc.
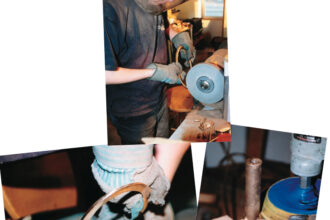
Move the pole into the spinning disc, keeping it parallel to the lines. Spin the pole with your fingers as you press it into the disc. Within just a few minutes you’ll have a tapered pole that fits the inside of the hook perfectly. If the point of the pole is too long, shorten it a bit so it will fit in all the way.
Varnish the entire pole with a minimum of three coats. Then use a good bedding compound to seal the joint of the pole and hook to keep water out. Add a series of French hitches near the aft end of the pole using 1⁄8-inch Dacron line to keep the pole from slipping through your hands while in use.
Mounting the pole
Use two rings to hold the pole in place on a shroud. The lower one can be smaller, but the upper one needs to be large enough that the pole can slip through it smoothly.
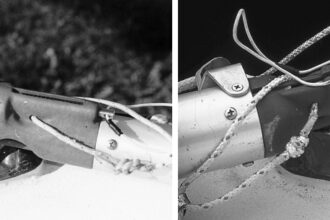
The shroud needs to be threaded through the rings, so remove it from its chainplate. Slip both rings onto the shroud and then reinstall the shroud. Use seizing wire to attach the rings at the top and bottom. The smaller bottom ring is there to accept the point of the hook (see photo on facing page). The larger top ring will hold the pole and should be positioned in a place adjacent to the French hitch (see photo at right).
The downward weight of the boathook will keep it there, out of the way through the worst of sea and weather conditions, yet it will always be readily available when you need it.
Thank you to Sailrite Enterprises, Inc., for providing free access to back issues of Good Old Boat through intellectual property rights. Sailrite.com