Rolling Awlgrip for a mirror shine
Issue 93 : Nov/Dec 2013
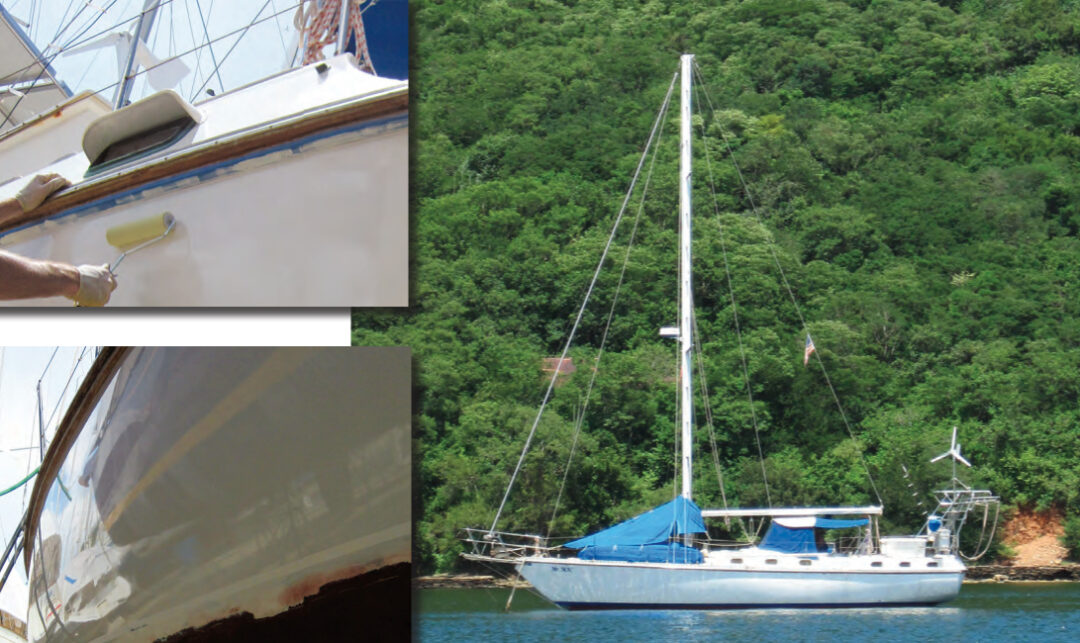
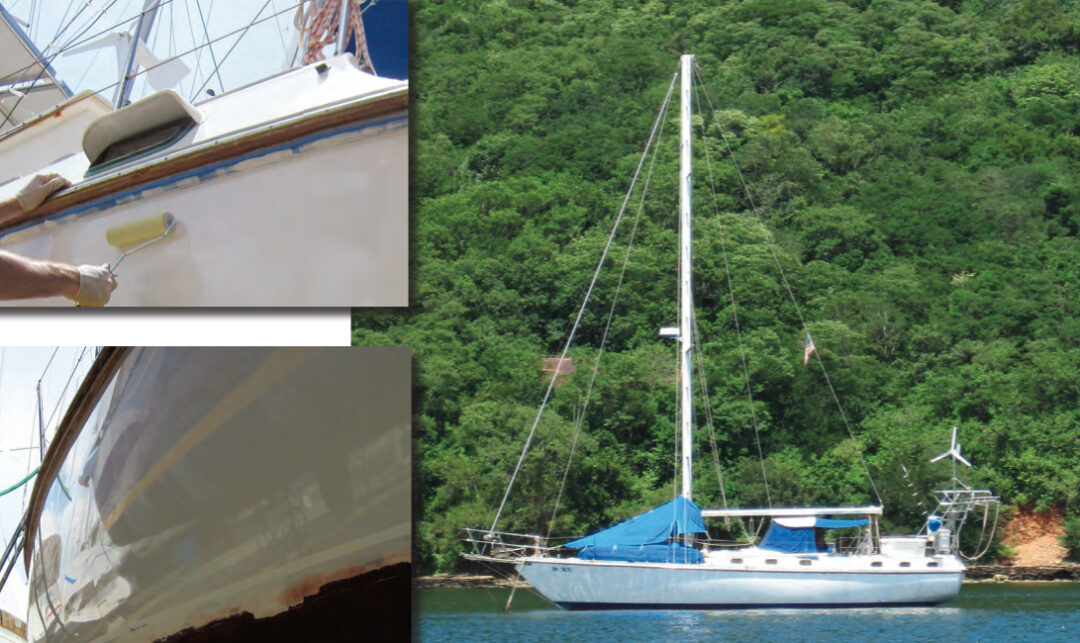
In this first of two parts, Anne and Chris make the decision to apply Awlgrip to the topsides of their Bruce Roberts 45, Mr. Mac. While they began by rolling and tipping the paint, they later learned that the finish was improved when they eliminated the tipping step. In this first article, they also include the biggest part of the battle: preparing the hull. In part two, they’ll go into the details of mixing and applying the paint.
Admit it. You’ve often admired the bright, glossy hull of a passing boat and thought that, someday, the topsides of your own beloved vessel will reflect the sun like that, inciting hull envy in all who see her. But reality rears its dull and mottled head and you heave a sigh. Surely it takes years of experience, weeks of work, and a boatload of money to achieve a mirror shine. Surprisingly, it doesn’t.
The topsides of our 1986 Bruce Roberts 45-foot sloop, Mr. Mac, were in need of a facelift. My husband, Chris, and I had owned our boat since January 2000 and the topsides were in reasonably good condition then. But after nine more years in the Florida sun and two years actively cruising from New England to Trinidad, the hull was faded, dull, and stained. During our previous haulout, Chris had compounded and waxed it, but even that did not restore the luster. As much as we dreaded it, it was past time to paint the topsides.
We had heard good things about Awlgrip, a two-part polyester urethane coating. We were hauled in Trinidad to paint the bottom anyway, so we gritted our teeth and got a rough estimate from the boatyard for spraying the topsides with Awlgrip: $10,000 to $12,000 and four to six weeks. There was no way the cruising kitty would survive that kind of gutting. There were good contractors who might do the job for less, but Chris knew he would need to oversee every step of the work, saving us no time at all. We decided to do the job ourselves using roller and brush. It might not look as good as a professional spray job, but it would cost about a quarter of the price.
We’d been painting the bottom ourselves for years, and Chris had repainted the deck, most of which was non-skid, prior to our departure from Florida. But now we were talking about 45 feet of hull above the waterline, in full view, requiring a glossy, flawless finish. There would be no room for mistakes. As if fated, we met another cruising couple who had painted their own 52-foot sailboat’s topsides with Awlgrip, using a rolling-with-
out-tipping technique, with excellent results. They passed on a CD of how-to documents with tips and hints from other cruisers on painting topsides with Awlgrip. We followed the recommendations, learning and modifying our technique as we went.
The bottom line? It came out beautifully. After just the first coat, fellow cruisers and boatyard workers stopped by to admire our work. Many times, we were asked, “Did you spray that?” This boosted our confidence and made us believe the job was going to turn out well.
Planning
In addition to the documents provided by our friends, we read the official literature. Awlgrip produces an application guide with detailed instructions for applying any of the Awlgrip products to any type of surface, specifying which application technique — spray or roll-and-tip — is appropriate for each product. We used Awlgrip Topcoat, which can be rolled or brushed. Awlcraft 2000, for example, is intended for spray application only.
I downloaded the guide as a PDF from the Awlgrip website. This document is long (77 pages) and somewhat intimidating. It stresses that it is not a how-to guide for do-it-yourselfers. Regardless of the intended audience, it has a great deal of useful information. To simplify things, I copied and consolidated only the text we needed.
This guide recommends the use of specific name-brand products for wash-down solvents, deluxe tack rags, roller covers, paintbrushes, and so forth. We used good-quality supplies (they are listed in the sidebar), but not necessarily those made or recommended by Awlgrip. We followed the recommendations for the primer, topcoat, converters, and reducer. The application guide contains the product data sheets (including pertinent information such as product number, description, sizes available, and application information) for all the Awlgrip products.
Preparing the hull
Our first task was to figure out what was on our topsides, gelcoat or paint. If it was paint, we would have to worry about whether the Awlgrip would adhere to it. After some scraping and sanding, Chris determined that paint had been applied over the original gelcoat. The paint was in poor condition, discolored in some spots and nearly worn through in others. The Awlgrip application guide has complete instructions for determining compatibility — if we knew what the paint was, which we didn’t. We decided to take it down to gelcoat.
Prepping the hull turned out to be about 70 percent of the total project. First we removed the boat name and home port from the stern. These were vinyl appliqués and Chris used a razor blade to lift the edges, while being careful not to deeply scratch or nick the surface. Then he peeled off each piece. (Note: a heat gun can be very helpful with vinyl removal. Plastic “razor blades” and similar sharp plastic products also work well. –Eds.)
Before we began sanding, we washed the hull with detergent to remove wax and dirt. (A powdered household scouring cleanser is recommended in the application guide.) It is important to start with a clean surface. Sanding old wax into the surface can lead to adhesion problems.
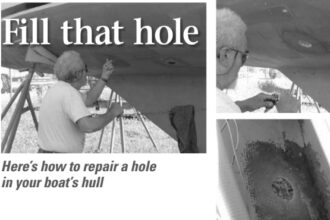
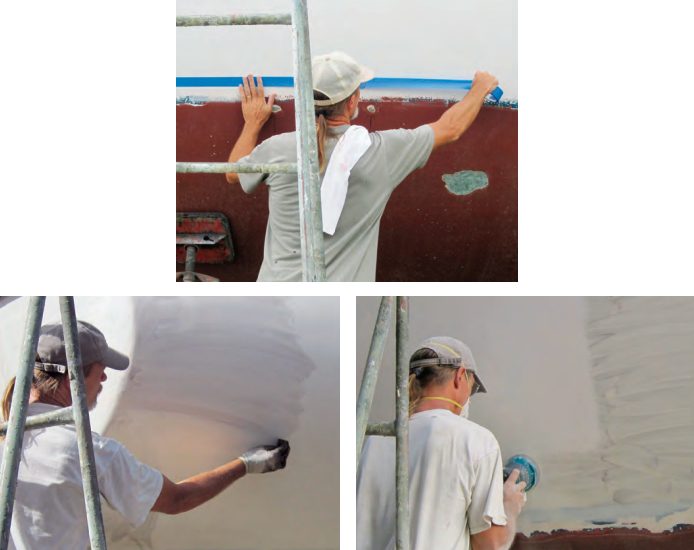
To remove the old paint and uncover the gelcoat, we sanded with 80-grit sanding pads on a 5-inch random orbital sander, then hosed the dust off the hull and let it dry. To smooth the surface, we next sanded using 120-grit sanding pads on the random orbital sander, replacing pads often (about one pad for every 6 feet of hull) and sanding with broad strokes to achieve an even surface. In places too small for the sander, such as behind the bobstay and between through-hull vents and the rubrail, we sanded by hand using 80-grit, then 120-grit, sandpaper. When sanding, Chris wore an N95 dust mask/respirator to avoid inhaling particulates. Once the sanding was done, we again hosed the dust off the hull and let it dry.
We applied 1 1⁄2-inch blue painter’s tape to the teak rubrail and the boot stripe and followed up with one more thorough cleaning to ensure we had removed all the dust and oils. Chris developed a routine for this procedure: dust a section of the hull with a clean towel, wipe down the section with acetone using a second clean towel and, finally, wipe the section with a clean, soft, black T-shirt. Residual dust stood out on the black fabric, ensuring that we didn’t miss a spot. We snapped the first towel and T-shirt often to free them of dust (downwind and at a distance from the boat) and changed to new towels every few sections.
We didn’t have hull damage or any areas that required fairing. If we had, this would have been the time — prior to priming — to fair them and sand those areas again.
Any contaminant, such as sweat and skin oils, whether natural or applied, will cause adhesion problems between coats of paint. For the duration of the sanding and cleaning phases of the procedure, we avoided using hand cream or sunscreen and wore rubber gloves. It was warm in Trinidad, so we used a separate towel for wiping sweat from our faces and arms.
Priming the hull
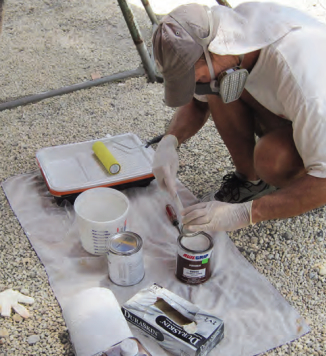
Good organization is essential when painting primer or topcoat, and it really helped that there were two of us. To ensure that we had all our supplies at hand, before beginning we laid everything out on a clean towel beneath the boat. We kept extra supplies handy in case of an accident, like dropping the roller in the dirt, so we wouldn’t lose time (and the wet edge) while rummaging around for spares.
First, Chris cleaned the hull with acetone, then he donned the respirator and mixed the primer. This is a two-part epoxy primer; the two parts, which Awlgrip calls base and converter, are mixed 1:1. The how-to document on the CD suggested applying two coats of primer, one right after the other, with no sanding in between, so we prepared all the primer we needed in one batch.
We mixed one quart of primer with one quart of converter in a 2 1⁄2-quart mixing pot, added about 10 percent reducer, stirred it well, and let the mixture sit for 15 minutes for induction, per the manufacturer’s instructions. One quart each of the primer and converter made enough for two coats on our hull. Starting at the bow, Chris rolled on the primer in 4- to 6-foot sections to maintain a wet edge.
We had a single scaffolding stand that we moved after each section was complete, while taking care to protect the roller from making contact with anything. We used this single scaffold instead of two with a board between them to speed up the moving process. I moved along with Chris, refilling the roller pan with primer and checking that he didn’t miss any spots.
The guide coat
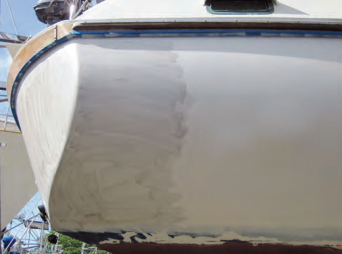
The morning after applying the primer, Chris prepared an ink mixture to apply over the primer as a guide coat. He broke open a black Hewlett Packard inkjet printer cartridge, took out the ink-filled sponge, then placed the sponge in a quart of denatured alcohol and stirred it well. Any type of ink would probably suffice. Using a foam sponge, he wiped the inky liquid over the primed hull as a guide coat. Being alcohol-based, it dried quickly and it was easy to see against the white primer. That afternoon, he sanded with 240-grit sanding pads on the random orbital sander, changing pads frequently. He hand-sanded the hard-to-reach spots with 240-grit sandpaper.
The guide coat indicates when a smooth surface has been achieved. The ink reveals brush marks and stippling that need to be sanded smooth. The trick is to sand only until the guide coat is gone but to ensure that it is all gone. A light-colored topcoat will not easily cover up a dark mark or defect, so any spots where imperfections show through a primer coat need to be re-primed. We found only a few pinholes in the primer and decided they were small enough to not require re-priming. We filled them with white Marine Tex epoxy and faired them with a razor blade.
Anne McMillen-Jackson is a marine biologist turned full-time cruiser. She and her husband, Chris Jackson, cast off the docklines in May 2009 and have cruised from Maine to Trinidad aboard their Bruce Roberts 45, Mr. Mac. They support their seaborne habits by writing articles about boating and fantasy/science fiction novels for which they have won awards.
In part two, in our January 2014 issue, Anne and Chris will explain the fine art of mixing the Awlgrip paint and applying it. They’ll also include tips they learned along the way.