A big makeover for a cramped water closet
Issue 108: May/June 2016
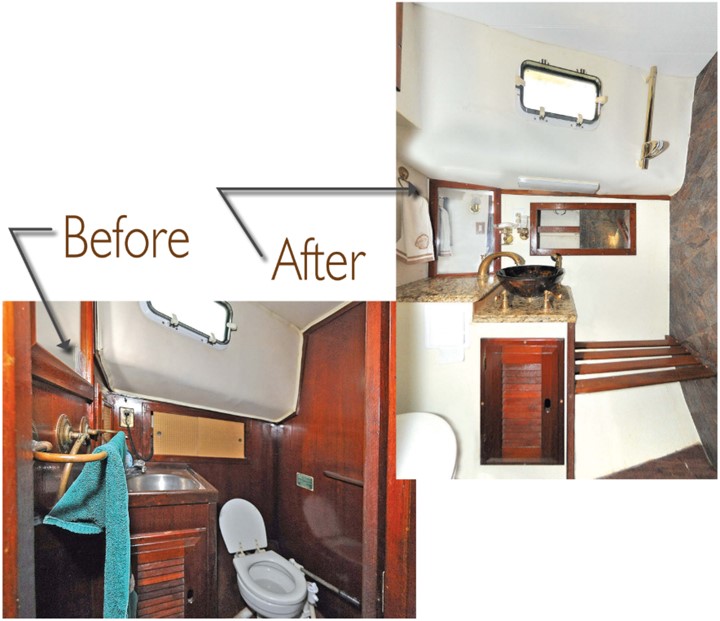
When we bought our 1977 Down East 45 schooner, the forward head was a poky little place with a tiny “unstainless-steel” wash-basin and a minimum-sized manual toilet that, for love nor money, I could not prevent from leaking. The toilet was not plumbed into the holding tank, as I had been led to believe by the seller. It had been disconnected, probably because the aluminum holding tank had more holes in it than a sieve.
There was no room to shower — unless you wanted to sit on the toilet and soak everything else as well. There was no shower drain, so runoff water went straight into the bilge . . . not a good idea when the toilet leaks.
I closed all the seacocks and we used the place as a storage locker for fenders and lines. As it was a wasted space, I started to consider what else could be done with it.
The main problem was the small space: 4 feet long by 3 feet at its widest. However, there was an 18-inch wide, full-depth locker just forward of the head. It had a door that opened into the corridor but the locker was not accessible from either of the two forward cabins. Since each cabin had its own hanging locker anyway, after careful measurement, I decided to combine the volume of this locker with that of the head and then see what I had to work with.
I cut away the bulkhead between the head and locker, using a large reciprocating saw, a big hammer, and a chisel. Then I removed the locker door and its frame to reveal a surprisingly large space. I closed the opening where the locker door had been with plywood from the bulkhead I had just removed.
We had a functioning head for the aft cabin, so it didn’t matter what I dismantled or discarded from the forward head. I discarded the washbasin and old toilet, along with all their plumbing and the smelly panels around them. On removing the liner from the cabin trunk, I discovered the caulking around the portlight had perished and leaked. I removed the portlight to be re-bedded with new sealing compound. The vinyl overhead material was old and discolored so I ripped that out as well. As boat owners know well, one thing leads to another . . . and another . . .

A pause for head scratching
Now that I had a bare shell, I could finally see what I had to work with, yet I had no clear picture of how it would all go back together again.
After a lot of measuring, thinking, and sketching, I decided the widest part of the area, where the old toilet had been, would make a good shower stall. A new toilet would fit nicely where the locker had been, and in between I could install a decent-sized washbasin.
After looking at all types of toilets, manually operated as well as electric, I finally decided to “go electric.” These heads have come a long way since marine toilets were first “electrified.” I chose the Marine Elegance model from Raritan Engineering, which has an internal macerator, a full-sized seat, and fully automatic controls. I bought the seawater-flush version, as opposed to freshwater-flush, because we will eventually be cruising and I don’t want the toilet to deplete our supply of fresh water.
The toilet fitted flush against the old locker bulkhead, and I was able to route the inlet and discharge pipes down through the sole so no pipes are visible in the compartment. I don’t like to see marine heads with exposed pipes and valves when, with a bit more effort, they can usually be enclosed.
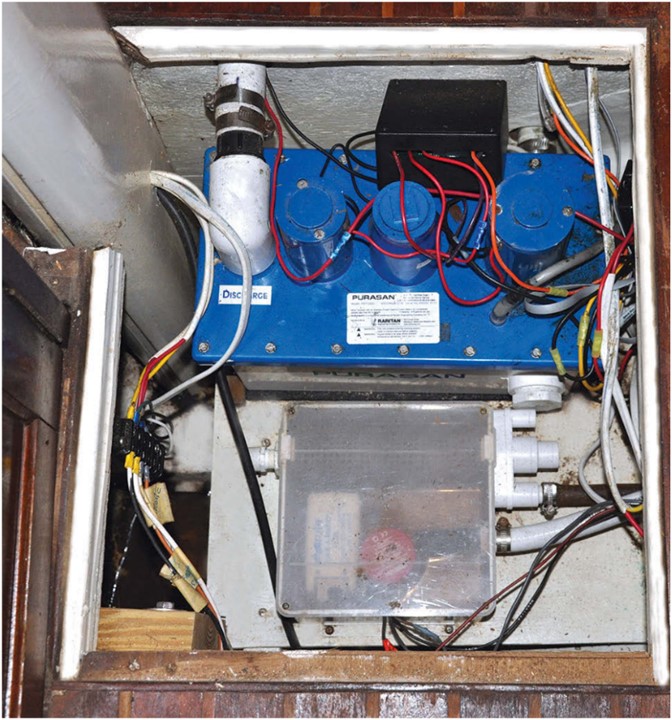
Raritan also makes a U.S. Coast Guard-approved waste-treatment system, called the Purasan, that does not need a holding tank. It uses a chlorinator to percolate chlorine into the waste, neutralizing the bacteria and making it legal for overboard discharge.(Note: Discharging even treated sewage is not legal in federal no-discharge zones –Editors)
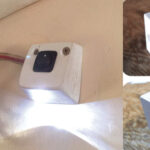
I installed the percolator behind a mirror so it cannot be seen. The system employs twin macerators in a large plastic box that I mounted low in the forward bilge. I piped the discharge through the old toilet seacock.
The electrical side was easy, as it was all pre-wired. The control panel gives options for different flushes and a fully automatic mode that allows you to just push a button and walk away. At least this saves the embarrassment of having to show landlubber guests how to work a marine toilet.
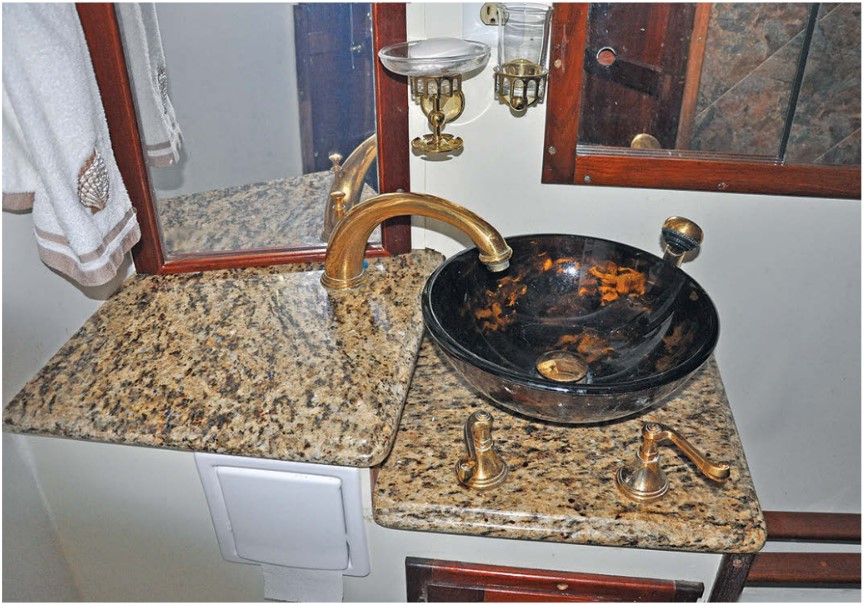
Fashionable basin and faucet
I found a beautiful tempered-glass vessel bowl and a polished-brass faucet set at Overstock.com. The bowl mounts securely on top of the counter, rather than being recessed in it like most washbasins. The faucet set came with a shower head on a flexible pullout cord and a polished wall-mounting bracket for it to hook onto. These were top-of-the-line German products, but were not expensive because the models had been discontinued.
It was not difficult to modify the existing wooden sink locker to mount the new bowl, but the single faucet needed to be mounted higher due to the height of the bowl. I therefore incorporated a raised section into the cabinet and covered both levels with imitation polished-granite tops.
Installing the toilet in the locker space left a nice area for a shower. The shower head pulls out of the washbasin countertop and can be attached to the adjustable bracket in the shower stall.
Fresh trim
The plywood bulkheads around the new shower space were scratched and coated with thick layers of varnish, so I decided to tile them with regular domestic 1⁄8-inch-thick waterproof vinyl tiles. I glued them to the bulkheads and caulked them thoroughly.
I finished the back panels outboard of the shower and around the toilet with Plas-Tex plastic sheet from Lowe’s. This comes in 4-x 8-foot sheets and is very pliable, waterproof, and washable. I first made paper templates, then glued the plastic sheet to the cabin sides with contact cement. When everything was fitted and caulked, I built a seat from teak slats to allow sit-down showers when under way.
I installed a Rule shower-drain sump (item #500056 from Defender Industries) beneath the sole. The shower drains into the sump, which pumps out automatically through a vented loop into the washbasin overboard drain.
To make the head brighter and give it a much larger feel, I replaced the old wicker locker doors with mirrors. I clad the overhead, which now spanned the toilet and locker areas, with EverTrue PVC interior wainscot planking from Lowe’s. These 7 1⁄2-inch-wide and 8-foot-long tongue-and-groove panels form a very nice rot-proof overhead liner. They are 3⁄8 inch thick and offer a degree of insulation the old vinyl did not. I screwed and pinned the panels to the existing wooden crossbars and concealed all the wiring for the overhead lights behind them. I also installed three 120-volt wall sconces from Home Depot.
The forward head now looks more like one in an elegant yacht of a bygone era, yet it is modern and extremely functional.
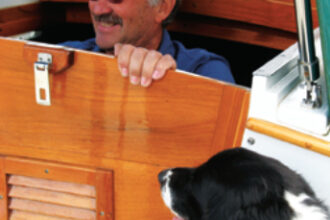
Roger Hughes has been sailing for nearly half a century as a professional captain, charterer, restorer, and happy imbiber on a lot of boats. His present project, the restoration of Britannia, a once run-down Down East 45, is nearing completion after five years. Roger and his wife look forward to cruising later this year and using all the innovations he has incorporated into the boat, many of which have been featured in Good Old Boat. Stay up-to-date with Roger’s projects at his website: www.schooner-britannia.com.
Thank you to Sailrite Enterprises, Inc., for providing free access to back issues of Good Old Boat through intellectual property rights. Sailrite.com