Defy both chafe and corrosion
Issue 98: Sept/Oct 2014
Like many sailors, I spend much of my free time “dock walking.” I enjoy marine design in all its aesthetic variety and my “technical eye” is always on alert.
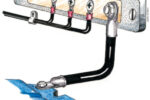
On a recent walk, I noticed that many sailors wrap their turnbuckles with tape. While this technique does protect sails, clothes, and skin from being snagged by exposed cotter pins and turnbuckle parts, it also prevents oxygen from reaching the surface of the stainless steel and, as a result, inhibits corrosion protection. In order for stainless steel to be “stainless,” it must be exposed to oxygen. If it’s not, that one-molecule-thick protective layer of oxide cannot form and corrosion can occur.
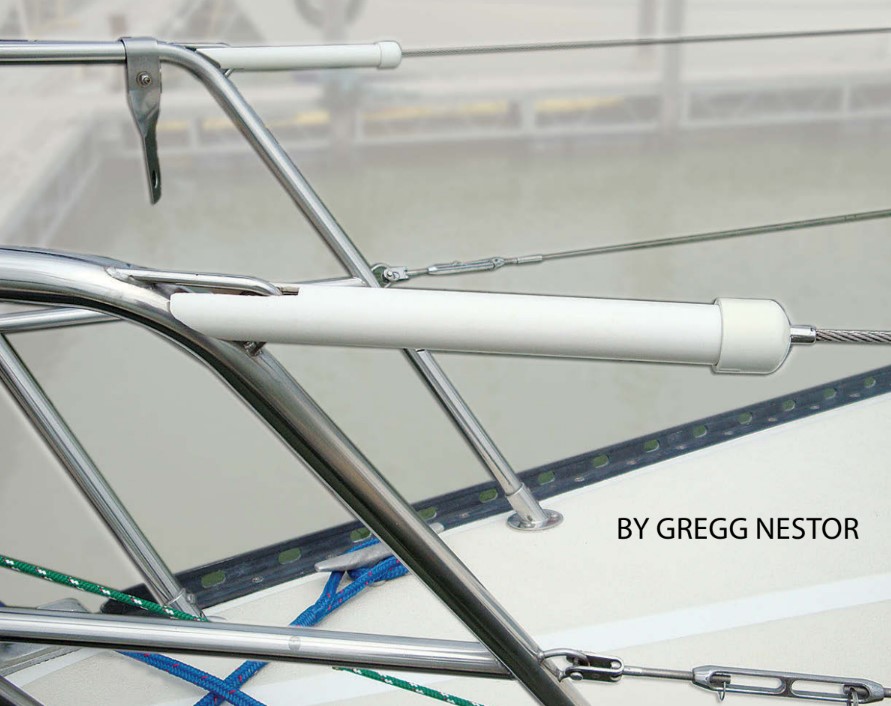
Rigid or semi-rigid turnbuckle covers protect the sailor and the sails and allow the stainless steel to breathe. While turnbuckle covers are readily available in a variety of sizes and materials, I’ve yet to see any appropriately sized for lifeline turnbuckles . . . until now.
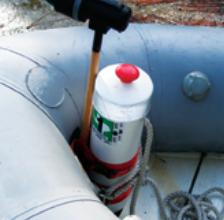
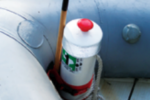
A friend of mine devised a simple solution in response to chafe on his headsail caused by the lifeline turnbuckle. He took 3⁄4-inch-ID PVC water pipe and, using his Dremel tool, fabricated a custom turnbuckle cover. A band saw or coping saw will also work. While lifeline attachment points differ with each boat, fabricating and installing these covers is straightforward. This same technique can be used on standing rigging turnbuckles.
Simple step by step
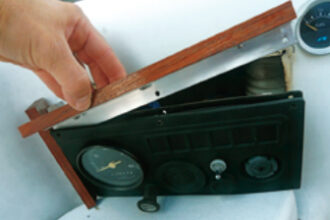
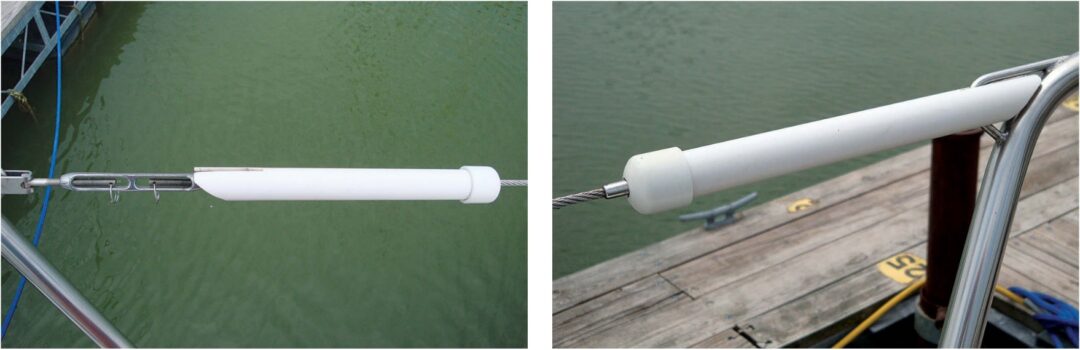
Since bow and stern pulpits have different angles, these boots have to be custom made for any boat. Hold the PVC pipe parallel and next to the turnbuckle, scribe onto the pipe the angle where it meets the pulpit, and cut the pipe to that angle.
Detach the turnbuckle from the pulpit, hold the PVC pipe against the pulpit, and scribe the top slot onto the pipe. Cut the top slot and a slot on the underside to match.
Check the alignment of the pipe against the pulpit, then cut it to the desired length.
Drill a hole in the end cap to be a tight fit over the swage fitting on the lifeline, then glue the cap onto the pipe.
To install the finished turnbuckle boot, undo the turnbuckle from the lifeline, slide the boot onto the lifeline, and reattach the turnbuckle. A combination of friction and the snugness of the top slot hold the boot in place.
Gregg Nestor is a contributing editor with Good Old Boat. He has authored three books on sailing, including Twenty Affordable Boats to Take You Anywhere and The Trailer Sailer Owner’s Manual. He’s currently contemplating his fourth, maybe an ebook.
Thank you to Sailrite Enterprises, Inc., for providing free access to back issues of Good Old Boat through intellectual property rights. Sailrite.com