Issue 26 : Sept/Oct 2002
In a fit of enthusiasm, I decided to paint Time Out’s ancient and slippery deck with non-skid paint. It was a difficult decision, but it was made for me when I darned near ended up over the side after a particularly aggressive powerboat left me in her wake at close quarters.
Well, one thing led to another, and since the rest of the boat now looked a bit shabby, compared with her new non-skid, I ended up painting the cabintop and rubrail as well. She looked great.
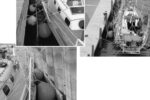
The thought then came to me that my mooring lines would rub away the nice new paint, and that it might last just six months. I investigated various options such as stainless-steel rubbing strakes — too big and too expensive. I thought of aluminum, but that becomes grubby too fast, not to mention what it would do to my lines. I thought of teak, but that’s another piece of sacrificial wood to worry about.
Then I came across a high-density, low friction plastic called UHMW polyethylene that could be worked with woodworking tools and polished by running a propane flame across it — although I don’t advise even thinking about doing that on the boat. (UHMW stands for ultra-high molecular weight –Ed.) I think StarBoard has similar properties, but this material was available in a 3-pound bag of off-cuts from Lee Valley Tools.
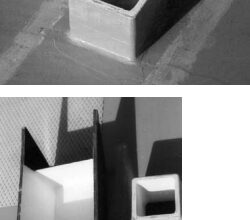
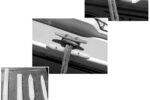
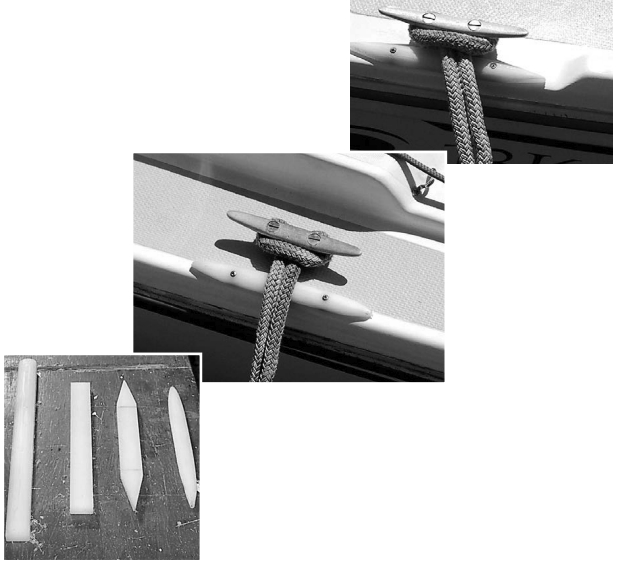
The starting point was to rip the plastic board into working pieces for the four strakes. The actual shape and measurements will be an individual thing to suit each boat. Mine were 7 inches long, 3⁄4 inch wide, and 3⁄8 inch high. The width was dictated by the thickness of the board; everything else was flexible.
I used a radial-arm saw, but a bandsaw or a hand ripsaw will work as well. Use a ballpoint pen to mark the lines. Pencil barely shows up and rubs away with simple handling of the board. It is definitely a low-friction material.
After a practice cut or two to see how the plastic would handle in the saw, it was evident that it cut cleanly with a ton of shavings but not much dust. Wear a dust mask and eye protection anyway.
The evolution from sawn pieces was to shape the ends with a long bevel and then, using a plane and rasp, shape the top into a smooth curve. The end points were cut with a small backsaw, but a coping saw will also work. I used a plane to shape the blanks roughly and round the top, and then finished by filing to the finished size and shape with a rasp. A coarse mill file will also work but will be much slower. Finish files barely cut the plastic, and sandpaper just left fuzzy threads on the surface, so don’t bother with them. (You can use a router on this material, too. –Ed.)
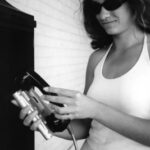
I took the advice of the manufacturer and ran the flame from a propane torch over the surface of each strake. Let common sense prevail here. Place the strakes on a clean, heatproof metal or ceramic surface. Make sure there are no plastic shavings left in the area that could melt or burn, and be careful with the torch. I tested a piece before doing the strakes and found that the surface melts readily, but it takes a lot of effort to make the plastic burn.
After each strake was flamed, the plastic took on a smooth, hard surface. I pre-drilled each end for #6 pan-head screws so the screw heads would be below the surface of the strake. Installation on the boat was a case of drilling holes to match the holes in each strake, applying Sikaflex to the back of each strake around (and in) the screw holes, and fastening the strakes to the deck.
Having used the strakes for a few months, I’m pleased with the results. They stay clean, will not corrode, and are easy on the lines. I tested one of them with anchor chain and, apart from some dirt marks from the chain, there were no signs of wear or scratching. A wipe with a damp cloth had it clean again. The strakes stand up to a lot of abuse without losing their slippery surface.
Not bad for about five hours of work and a couple of dollars.
Thank you to Sailrite Enterprises, Inc., for providing free access to back issues of Good Old Boat through intellectual property rights. Sailrite.com