Installing air conditioning was a cool move
Issue 108: May/June 2016
My Down East 45 schooner, Britannia, had neither air conditioning nor heating when I bought her one December in Fort Lauderdale. In Florida’s winters, you can often manage without either. However, by April and throughout the summer, the oppressive heat and humidity can be unbearable inside a boat. I therefore set about researching the many makes and prices of reverse-cycle (heating or cooling) air conditioning units available.
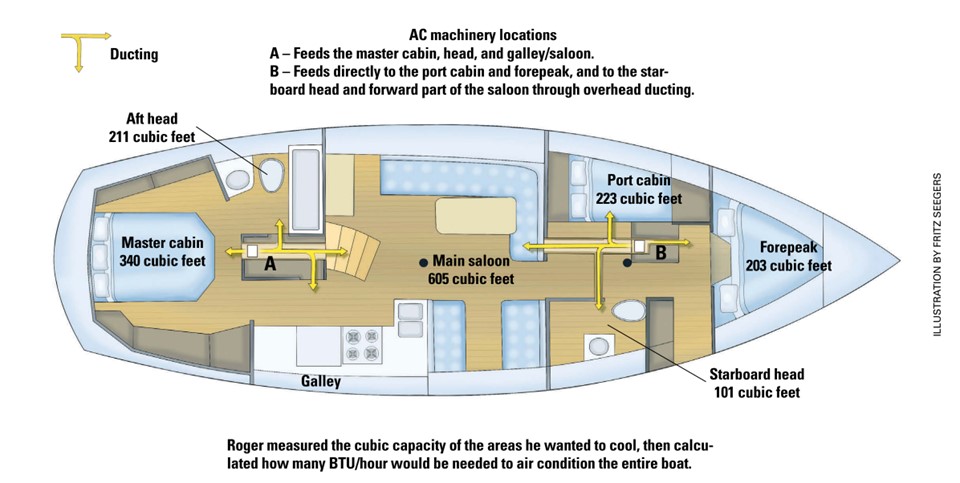
I had never fitted AC in a boat, so I had no idea of what size unit or units might be needed or how to install them. I took detailed measurements and calculated the cubic capacity of all the areas I wanted to air condition. I then made a drawing and mailed it to different manufacturers to solicit their suggestions.
I received a variety of recommendations, from a single large unit in the middle of the boat to three separate smaller units. Most proposals seemed to agree the overall cooling capability needed to be about 30/35,000 BTU (British thermal units) per hour to be effective in the height of summer. Prices and specifications were similar between manufacturers so, rather than try to choose which make to buy, I decided to buy from the salesperson who had shown the most interest in my project.
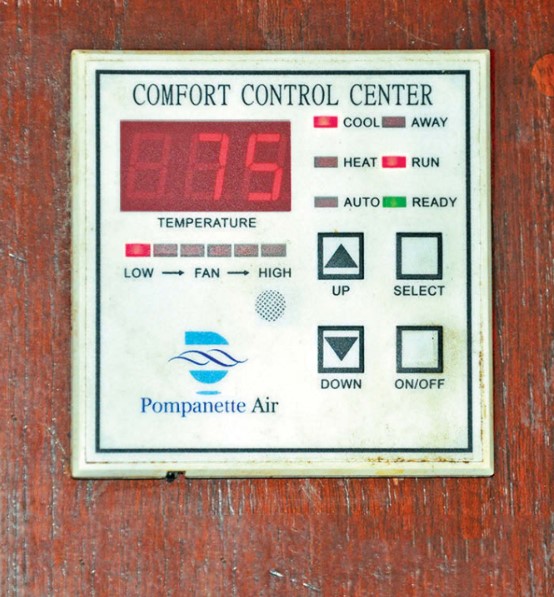
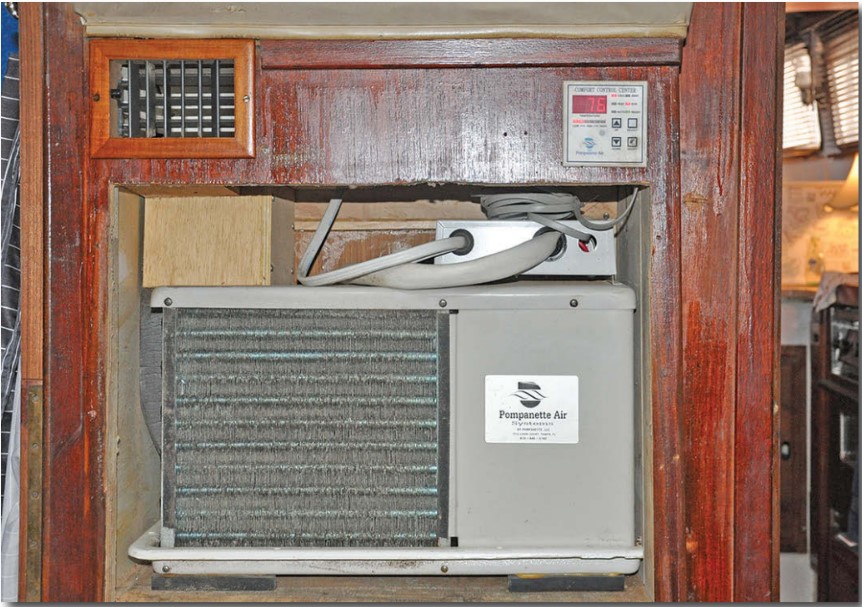
Mike Patrick worked for Pompanette Air, a company in Tampa, not too far away from Britannia. I went to see him and we began a conversation that resulted in a very satisfactory and efficient installation of two 16,500 BTU-per-hour AC units.
AC units and accessories
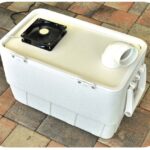
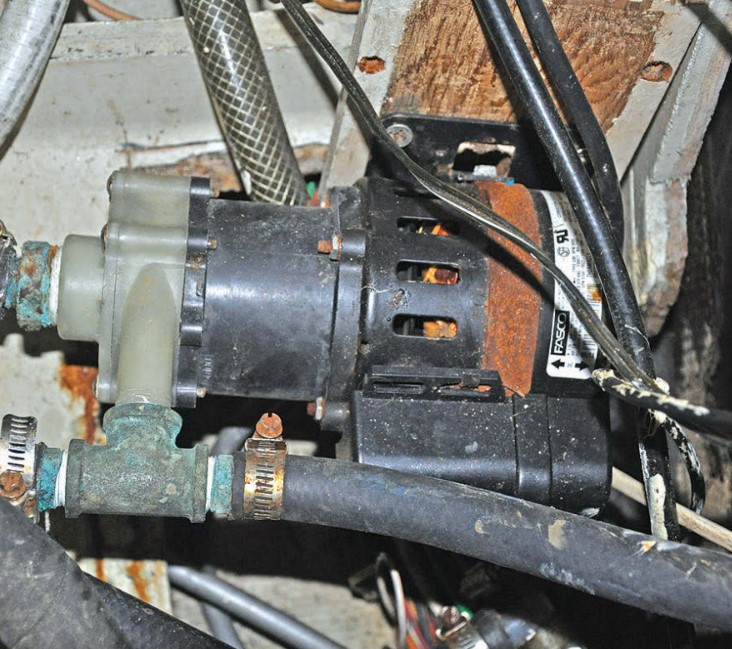
A basic kit for an AC unit consists of the main air-conditioning unit, usually self-contained on some sort of base; an electrical box and digital controls; and a 120-volt pump that delivers seawater to the units. Other items must be purchased as needed according to the installation. These include water pipes, filters, ducting, and vents.
Ducting is especially important because, if the tubes are very long or twisty, considerable efficiency is lost. This was one reason I decided to buy two units instead of one large one, which would have been cheaper. I would have needed very long tubes to carry air to the front and rear of my 45-foot-long interior.
Another reason for installing two units was that, if one broke down, we’d still have cooling from the other. In fact, a breakdown did eventually occur. A blocked seawater pipe shut down one unit, yet the other continued to function while I removed the clog. This is a very practical consideration when it’s 100°F outside and — without cooling — it would rapidly become 110°F inside.
Forward unit
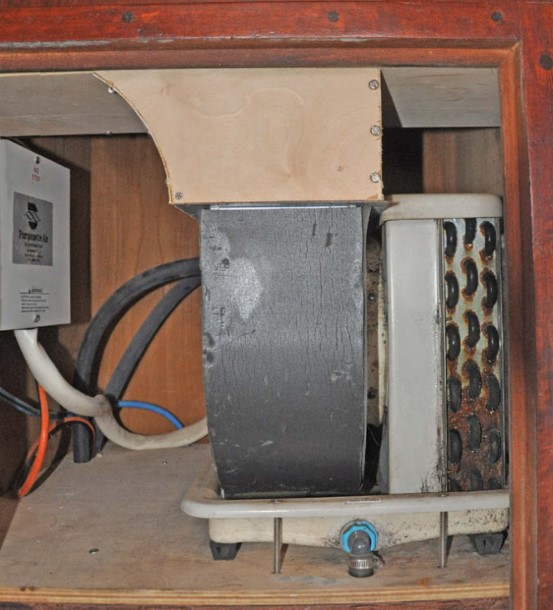
The forward section of the boat consists of the port-side cabin, the starboard-side head, the forepeak cabin, and the forward area of the saloon. It’s better to have the cool air discharge as high as possible because cold air descends. That’s not so easy to do on a small sailboat. Luckily, the boat has a full-height locker forward that is 2 feet square and was once used for a washer and dryer. I built a strong shelf high in this locker and shoehorned one of the 80-pound AC units into the space. The heavy electrical cable, left over from the washing machine, still led there from the AC breaker panel, so I used it and saved about $200 in wire.
It took a bit of scrambling to mount the large 120-volt water pump and filter, plumb it to a spare seacock, then wire it to a breaker. The water is piped through the air conditioner and discharges through an above-water seacock. The condensate overflow, which is the condensed water from the air-conditioning process, discharges through another small seacock above water level.
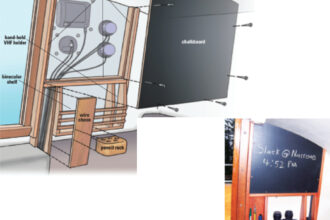
The digital controls were easy to install since they were pre-wired to plug into the wall-mounted control panel.
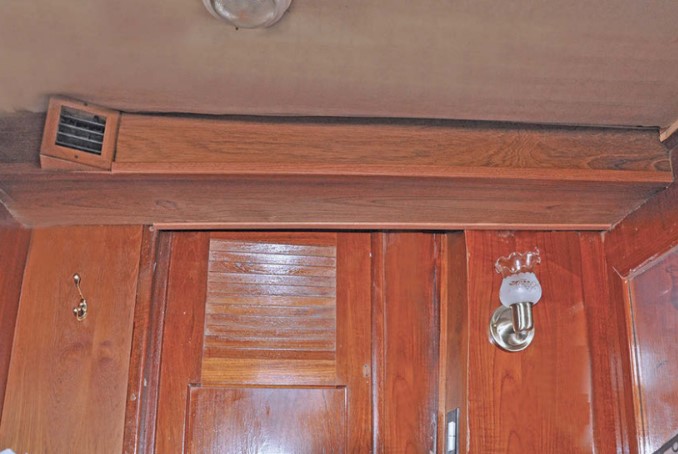
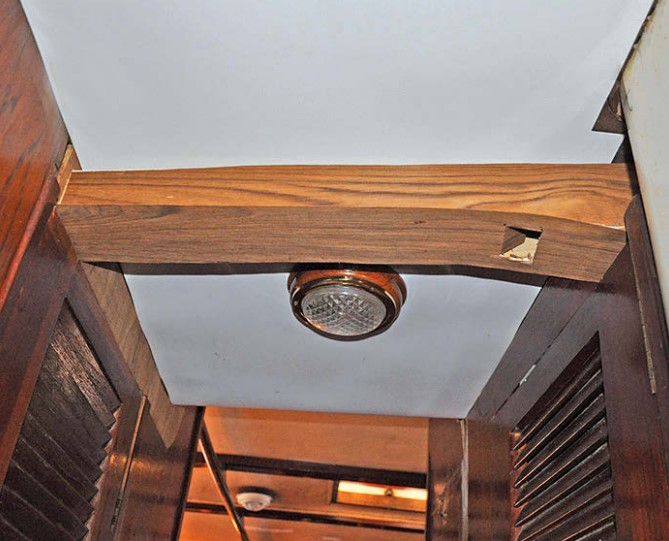
Once the electronics and plumbing were complete, the installation became a woodworking project, since I had decided to build my own ducting out of 1⁄2-inch plywood. This offered a much smoother flow than convoluted tubing and enabled me to direct the air in straight runs exactly where it was needed. The main duct was 8 inches wide by 4 inches high with ducts branching off into the two cabins. I also channeled some air overhead across to the starboard-side head and forward passageway. A further advantage of plywood was it didn’t need insulating like the thin flexible pipe normally used for ducting.
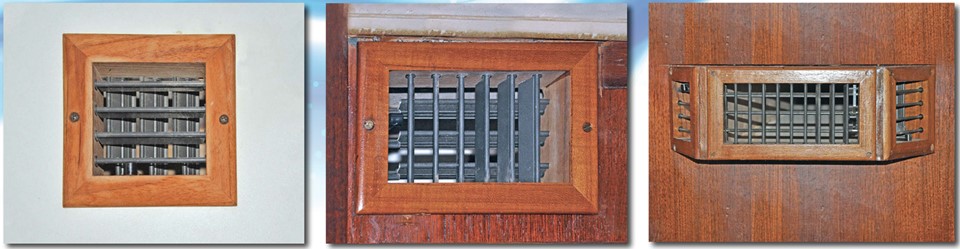
I bought the more expensive teak adjustable vents, since they offer better airflow distribution and can be closed off completely if required. They also look nicer than plastic vents. I was advised to use 3-inch-square vents for cooling the two forward cabins and the heads. This didn’t seem large enough to me, but proved exactly right in practice. I used a 7- x 3-inch vent in the aft cabin. In the saloon, I combined two 3-inch vents with a 7- x 3-inch vent to distribute air more evenly in different directions.
It was all quite straightforward and I completed installation of the forward unit in a week. It was marvelous to finally press the “on” button and feel the machine blow a blast of cool air into the cabins and saloon. Mike arrived with flow and pressure gauges and declared this was the most efficient system he had seen on a small sailboat. (In Mike’s line of work, the 46-foot Britannia is small.)
Aft unit
I cleared a space for the aft unit by moving a couple of drawers in the aft cabin. Installing this unit was easier because I was now “experienced” and the seawater pump was already fitted.
I again built the ducting as a straight-through plywood box in the aft cabin, with branches supplying the aft head and aft area of the saloon. A key part of the system, a dedicated vent that blows into the galley, pleased my wife. I plumbed the condensate into one of the cockpit-drain pipes.
The electrical draw from both units is too high for a single shorepower cable, so I ran a second shore cable into a new AC breaker panel. I needed this anyway to handle our electric kettle, toaster, microwave, and washer/dryer. I also had to modify the wiring from the 6.5kW generator to feed both panels when running the air conditioners on generator power.
Beating the heat
In the summer, Florida gets to 95° to 105°F with oppressive humidity. These two machines now keep the inside of the entire boat at a nice dry 75°F. Cool dry air, (or heat when it’s needed — the reverse-cycle units can also extract heat from seawater), spreads evenly throughout the interior and no area is warmer or cooler than any other.
Both units work independently, except for the common seawater pump that feeds one unit even if the other is switched off. This provides great flexibility. When just the two of us are on the boat, we sometimes switch off the forward unit or close the vents into the two forward cabins. This has the benefit of blowing more cool air into the other areas.
The aft unit’s ducting passes just under the cockpit sole. As the cockpit has a full enclosure, I now have an idea that I could deflect some cool air into the cockpit, using a waterproof vent. This would make it very pleasant for sundowners on hot sticky evenings.
The total cost for both units was around $4,600, including pipes, wire, plywood, and vents. This, of course, did not include my labor, but on a boat that’s supposed to be the fun part of a project! Even though we tend to take our air conditioning for granted now, it is still one of the best investments we have made in our boat.
Roger Hughes has been sailing for nearly half a century as a professional captain, charterer, restorer, and happy imbiber on a lot of boats. His present project, the restoration of Britannia, a once run-down Down East 45, is nearing completion after five years. Roger and his wife look forward to cruising later this year and using all the innovations he has incorporated into the boat, many of which have been featured in Good Old Boat. Stay up-to-date with Roger’s projects at his website: www.schooner-britannia.com.
Thank you to Sailrite Enterprises, Inc., for providing free access to back issues of Good Old Boat through intellectual property rights. Sailrite.com