A wee dram and a little ingenuity create twice the storage space
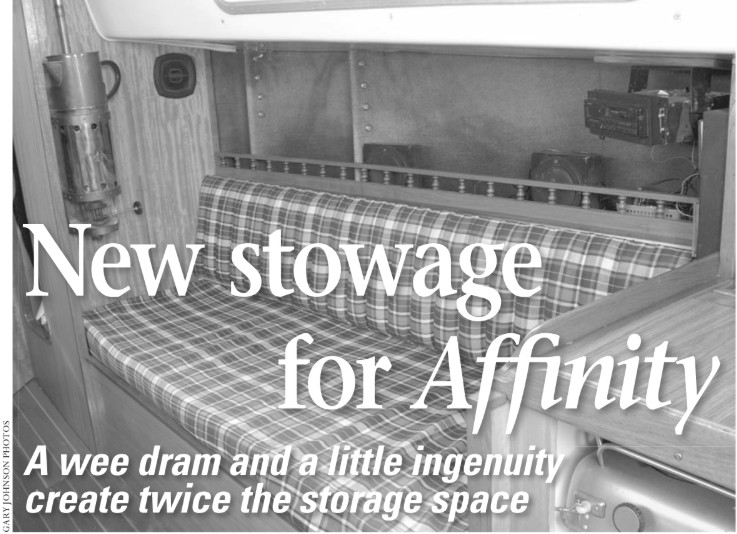
Issue 52: Jan/Feb 2007
IT STARTED INNOCENTLY ENOUGH LAST year. Bert MacKay, a sprightly Scot of indeterminable age, had found his way aboard Affinity for a wee dram of the Highland nectar. Sitting in the cockpit with glass poised, he glanced below and remarked, “Aye, Grampian 30s . . . great boats, but there’s too much wasted space. I can show you how to double the space with just a few hours’ work and less than a $100 in materials.”
Bert had been a shipwright in Scotland and worked at cabinetry and home renovations among other businesses in Canada, but I could see that his love was renovating boat interiors to make them more comfortable and practical. He pointed to the 6-inch-deep shelf along the starboard side and said we could extend it at least another 6 inches or more to create cupboards big enough for dishes, books, and even a bar.
Then he noted that the same wasted space existed behind the back of the settee, and pointed out that we could build lockers that could be easily reached by a hinged back on the settee.

My only objection was that I’d be narrowing my favorite sleeping berth: the starboard settee. But Bert had an answer for that as well. With a plywood support, he pointed out, the cushion could be pulled out about 12 inches into the aisle for use when sleeping and then slipped back into position as a settee cushion the rest of the time.
“An’ we’ll put sliding doors across the cupboards so that your books and stuff don’t come tumbling out every time the boat heels over a bit,” enthused Bert. “An’ we’ll make one of the cupboards a fancy bar, which you can keep stocked with more of this fine Scotch.”
A few hours work and less than a hundred bucks? Hey, I’ll drink to that!
Buying materials
Step One was to buy the materials. In all, it required a 4- x 8-foot sheet of 3⁄4-inch plywood, two planks of 1-inch x 6-inch by 6-foot mahogany, a few lengths of 1⁄2- x 1⁄2-inch scrap wood for securing the shelves, some burgundy-colored felt cloth, some caning bamboo material for the door inserts, two boxes of screws, some sandpaper, and some stain and varnish. This came to just a bit over our hundred-dollar budget, as it turned out, but not by much.
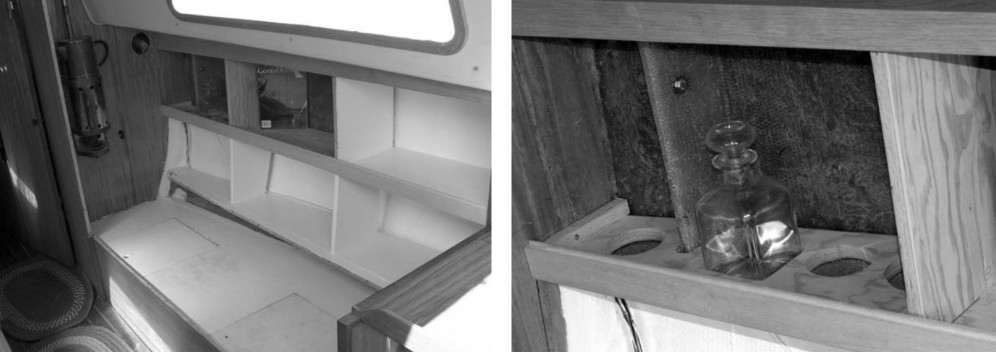
Step Two was to take the starboard side down to bare fiberglass by removing the decorative railing, the settee back, and the ugly blue burlap that had been glued to the fiberglass at the factory more than 30 years ago. The 6-inch shelf was well attached; it had been glassed in, so we decided to use it as the foundation for our cupboards. As one might expect, chainplate fittings run through the area.
Step Three was measuring the wood pieces that would form the plywood shelves, the top and bottom mahogany facings of the cupboards, and the sliding mahogany cupboard doors. Because the sides of the boat and the running edge of the cabin were irregular shapes, I thought measuring would be a painstaking task. Our goal was to create cupboards that formed a straight line top and bottom so the sliding cupboard doors would ride along the grooved tracks smoothly.
Bert solved the measuring problem by having me hold the upper mahogany board in place while he ran a scribe with a pencil attached down the length of the cabin under the windows. In less than a minute, we had the line for our upper facing, which would follow the cabin liner on top and be straight on the bottom.
Trickier measuring
Measuring the two 6-foot-long lateral shelving sections was a bit trickier because the shelves would follow the line of the hull and narrow as we got closer to the bow. I watched in amazement as Bert took four measurements at various places along the shelving line and then drew the line on the sheet of plywood. The four upright plywood boards that would divide the cupboard sections were measured to have a flush front and the back part following the slope of the hull. Measuring the cupboard doors was much easier. The entire length of the shelf would be 6 feet. That meant each of the two sliding doors would be 2 feet long by the height of the top shelf, which was 14 inches.
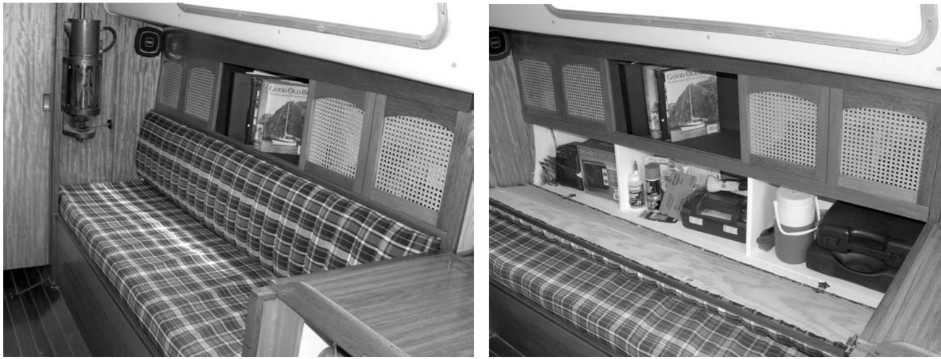
Step Four consisted of watching Bert use a table saw the way Picasso used a paintbrush. First he cut 2 feet off the end of the 4- x 8-foot plywood to give us enough for the two 6-foot shelves and the upright panels. Then he placed the 6-foot length on the table and guided it through the blade, following the curved line we’d drawn, to give us the two 6-foot shelves. Next he cut the mahogany for the sliding cupboard door frames and even used the table saw to create the tongue-and-groove edges that would keep them on the track.
Finally, it was the mahogany boards for the upper facing and the lower rail that succumbed to his table-saw artistry, including the thin grooves that would become the sliding tracks for the doors. As he did this with masterful precision, Bert pointed out that the younger generation usually uses a router for such work these days.
Step Five involved putting it all together. The top shelf was supported by the original 6-inch shelf fiberglassed in at the factory. The bottom shelf was supported by our 1⁄2- x 1⁄2-inch pieces at each end and a support in the middle. The top and bottom mahogany rails were secured to the shelving with 1⁄2- x 1⁄2-inch pieces.
Hiding screw heads
The cabinet doors were assembled using small dowels and glue to avoid showing unsightly screw heads. The bamboo caning inserts were installed in the sliding doors. The upright panels were fitted in, screwed in top and bottom, and given a small bead of silicone at the back to prevent any water from migrating from one section to another.
To prevent a marine tragedy — such as a bottle of Scotch tumbling out of the bar while at sea — a second shelf, with round holes sized to fit the bottles of our favorite refreshments, was put into the bar section. Then the bar and middle sections were covered with the burgundy felt. The settee back was hinged from the bottom to enclose the lower compartments, and a snap clasp was installed to keep it closed while under way. A final touch was the rubbing of candle wax along the bottom grooved board to help the cabinet doors slide easily.
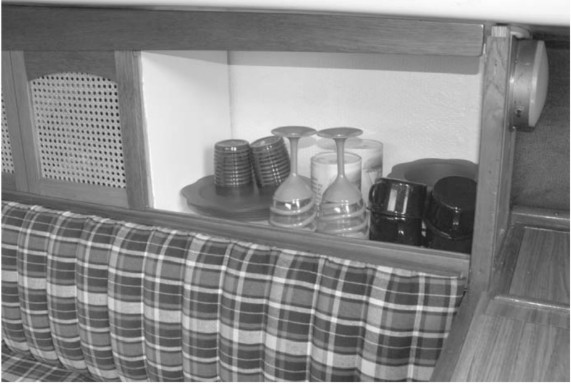
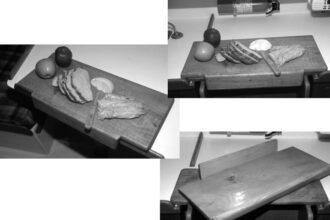
The pictures tell the before and after story. About 20 hours’ work and just a bit more than $100 turned what was a relatively useless 6-inch shelf along the starboard side into three large cupboards for dishes and cups, books, and the bar. The lower section access is much more convenient. I no longer have to lift seat cushions, slide locker hatches to one side, peer in, and remove the article I need. Now I just lower the settee back, and it’s all open and easy to get at. In addition, both the upper and lower compartments are secure while under way.
Bert’s improvements to my Grampian 30 will work with any boat with a high cabin. It sure makes my cabin a lot more comfortable. From Bert’s viewpoint there’s yet another benefit: he now knows where the bar on Affinity is located . . . because he built it.
If we get enough requests from good old boaters, we’ll draw up the plans for this renovation and make them available as a downloadable PDF. Contact Don Davies at dbdavies@sympatico.ca or Bert MacKay at bcmackay@rogers.com.
Cheers from Affinity’s new bar!
Thank you to Sailrite Enterprises, Inc., for providing free access to back issues of Good Old Boat through intellectual property rights. Sailrite.com