Here’s how to reinforce those grommets
Issue 56 : Sept/Oct 2007
Many a respected sailor reinforces the grommets on his mainsail (see, for example, Larry and Lin Pardey, The Self-Sufficient Sailor). I decided to do it myself also. The first step is to assemble tools and materials. Any chandler should have everything you need:
- Number 16 sail needle
- Hole punch, such as a fine awl
- Leatherworker’s needle or a wire brad in a pair of locking pliers
- 1⁄8-inch waxed polyester fl oss or twine (such as #520PW- 4 Bait Rigging Floss from Consolidated Thread Mills)
- Ruler for marking 1⁄8-inch intervals
- Scrap of sailcloth or piece of stiff paper
- Sailmaker’s palm (may be handy)
The method
Make a template for marking around your grommets. Measure your grommets and mark a stiff piece of paper or sailcloth with an arc of a circle that is slightly larger (say 1⁄8 inch) than the diameter of your grommets. Cut out the center of this partial circle, leaving an opening on one side large enough to work this template around the shackles, webbing, or stitches that hold the slides or slugs to the luff bolt rope. Use the template to mark around the edge of the cutout at 1⁄8-inch intervals.
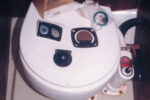
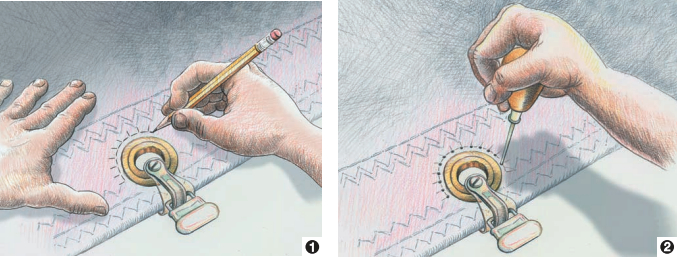
Mark your sail. Place the template around each grommet and make marks with a soft pencil (1).
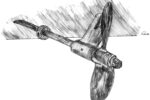
Pre-punch the needle holes (2). This makes the actual sewing very much easier. Don’t make the holes too big or you will weaken the cloth. I used a small wire brad gripped in a pair of locking pliers. The holes should be within 1⁄8 inch of the edge of the grommet.
Load your needle with the waxed floss. Cut a convenient length of floss (10 to 12 feet, or two arm stretches worked well for me), thread it through the eye of the needle, pull it so the needle is in the middle, and twist the two parts of the floss together to form a doubled length about 5 feet long. This is enough for several grommets.
Sew around and through each grommet. Start by passing the needle through the fi rst pre-punched hole (either end is OK). I found it easier to point my needle down into the sailcloth from above, so I could see the holes easily, then bring it back up through the large grommet hole. Pull the floss almost all the way through so there is about a 1-inch tail. Bring the needle through the eye of the grommet, pass it over the tail, and sew through the second hole.
Not too tight
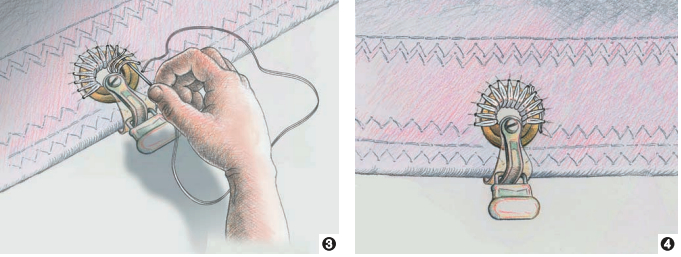
Pull the floss so it is snug around the grommet and cloth, but not so tight that the tail pulls out. Continue sewing in this manner, capturing the tail as you sew, until there are three holes left. For the last three holes, leave large loops of the floss so you can grip it to pull the loops tight after se- curing the end. Now turn the working area over so you can insert the needle through the last 4 loops (3), like finishing a whipping on a rope, and pull it through. Back on top, pull each of the loops tight, tightening the last loop by pulling the needle. Finally, cut off the excess floss close to the finished reinforcement (4).
Possible problems? Be sure the floss is snug but not so tight as to cause deformation of the sailcloth. If the floss gets to be too short to complete a complete reinforcement after you start around a grommet, remove the section you’ve already sewn, cut a new length of floss, rethread the needle, and start over.
This is an easy task that will help your mainsail stand up to the strains of sailing; it can be done over the winter or any time the sail is off the mast, and it only takes a few minutes for each reinforcement. I spent about 2 hours on the 13 luff grommets of my main.
John Cochran has sailed the Chesapeake Bay from time to time over the past 20 years and is looking forward to more. Several years ago at a pre-retirement seminar, the presenter said, “Don’t forget your dreams.” John’s retirement project is a good old 1966 Coronado 25 that requires extensive renovation. She is aptly named An Education.
Thank you to Sailrite Enterprises, Inc., for providing free access to back issues of Good Old Boat through intellectual property rights. Sailrite.com