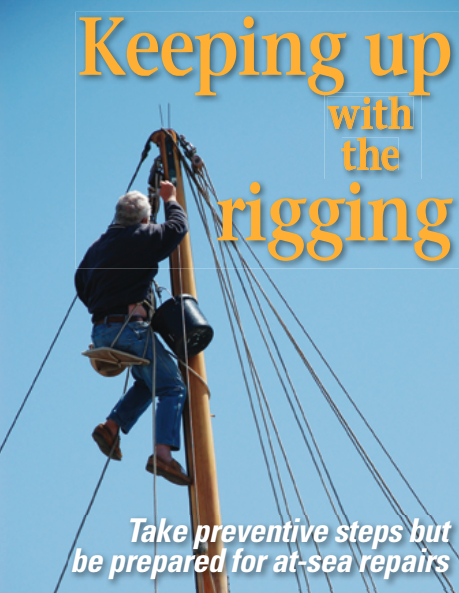
Take preventive steps but be prepared for at-sea repairs
Issue 75 : Nov/Dec 2010
This article is an excerpt from Lin and Larry Pardey’s Capable Cruiser, which was published in its third edition earlier this year. The information in this book was extensively revised for this new edition.
Of all the systems on board an offshore cruising vessel, your rigging must be the most reliable, but it is also the simplest to inspect and easiest to maintain. Unlike the parts that keep your engine running, none of the components of your rig are moving at high speed and few are hidden from view. In addition, replacement parts are available at chandleries in many yachting centers and do not have to be ordered from a specific parts supplier. That is why, with a carefully planned and built rig, regular inspections, and timely maintenance, many people, ourselves included, have sailed around the world without experiencing a rigging failure at sea.
On Seraffyn, for example, Lin and I covered 47,000 miles with our only rigging problem at sea being a spinnaker halyard that chafed through due to being unfairly led over and across the headstay. On Taleisin, during 90,000 miles of sailing, no rigging problems have occurred at sea. But we can think of some that have been prevented by the small maintenance projects instigated by our regular inspections at sea and in port. Because they were done before problems occurred, these projects were truly small — ranging from adding a bit of leather as chafe prevention, to repositioning halyard or sail fairleads.
Today, we still carry the same items for repairing gear failures at sea that we did when we first set off voyaging more than 40 years ago. Many of these items are a regular part of our rigging maintenance gear and have come in handy when we wanted a replacement or a slight change to the rigging in anchorages along our cruising route; others have sat in the same nook year after year, moved only for cleaning and inspecting. You could say they are there as insurance against our ever needing them.
The essential items in our rigging repair kit — items that should be available on any seagoing yacht — include:
- One piece of new rigging wire the length of the longest stay on the boat (in our case, the headstay). If your rigging wire is 1 x 19 stainless, it would be wise to carry one length in 1 x 19 and a second of 7 x 7. When you are at sea, you’ll find it easier to bend and put a thimble and splice or cable clamps on the 7 x 7 wire, which is more pliable. Taleisin has hand-spliced 7 x 7 rigging, so the wire we carry has one eyesplice with a thimble spliced into it. This way, we can replace any wire on board relatively quickly. I secure the ready-spliced upper end in place, measure the correct wire length to the appropriate turnbuckle, bend the lower end around a thimble, and hold it in position with marline seizing line or plastic tape. Then I use a Molly Hogan (or “hasty eye”) splice to secure it. (See pages 310 and 311 in Brion Toss’s book The Complete Rigger’s Apprentice, available at www.briontoss.com, for details of this splice and proper use of bulldog clamps. Brion’s chapter on emergency rigging repairs should, in our opinion, be required reading.)
- Spare turnbuckle
- Spare clevis pins
- Assortment of cotter pins
- Selection of thimbles
- End fittings or bulldog clamps (wire rope clamps). If your boat is rigged using swages or other mechanical ends, such as Sta-Lok or Norseman fittings, you need to carry half-a-dozen bulldog clamps for doing replacements at sea, plus spare fittings to upgrade the repair when you reach a quiet anchorage. It is important to carry spare end fittings that are either metric or imperial (inches), to match your wire.
- Swaging tool and copper Nicopress sleeves (called copper stop sleeves in some marine catalogues, or Talurit fittings in the UK) for backup to mechanical end fittings. These can be either metric or imperial.
- Assortment of stainless-steel shackles, both D- and harp-shaped
- Stainless-steel seizing wire
- Selection of soft thin leather and thicker firm leather
- Duct tape
- Plastic tape
- Wire cutter or hacksaw
- Rigging vise (optional, but it has earned us some funds as we cruised)
- Spare blocks with swivels or beckets (at least two to fit the largest line used on board)
- Two lengths of low-stretch Dacron line long enough to replace your longest halyard
- If you have wire halyards, include a suitable length of 7 x 19 (flexible wire) in your spares inventory.
Double-duty rigging
Although we actually use them as part of our everyday sailing, we consider our low-stretch Dacron rope halyard arrangements to be a major part of our at-sea rigging-repair equipment. All of our halyards are external to the mast, with the main and jib halyard rigged through two side-by-side, large-diameter masthead sheaves so either can be used for the mainsail or jib. To supplement this, we carry two spinnaker halyards run through blocks at the very top of the mast. Thus, if any halyard should break, we have another that can work as a substitute, so no one has to go aloft at sea. Should the main halyard break, we can use the tail end of the jib halyard to pull up the main, and a spinnaker halyard to haul up the jib. If your halyards are all led internally, this probably won’t work. In that case, you should have at least one spare halyard block aloft and external of the mast with a messenger line permanently rigged to let you haul up a substitute halyard. We know this from personal experience. A halyard chafed through when we were delivering a boat that was fitted out by the factory and then handed over to us to take from Miami to Puerto Rico. We had to find shelter behind a coral reef, where I spent almost an hour aloft working a line through the masthead fittings and across a double-sheave arrangement to create a replacement halyard.
Fatigue failures
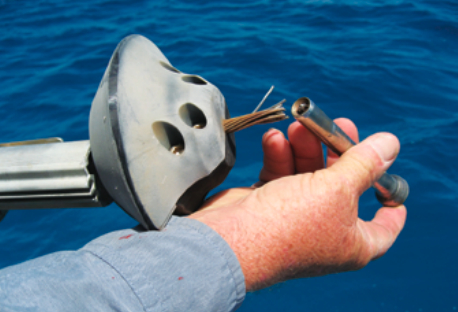
The most common rigging failures at sea that we hear about tend to be shrouds or headstays failing due to metal fatigue. The majority of wire failures seem to be the headstays inside roller-furling headsails. The weight of the furling drum, foil, and rolled-up sail swinging around at sea increases the likelihood of metal fatigue in the wire headstay. Tightening up your backstay when you are running will keep the headstay from moving as freely. A twice-yearly inspection of the swages and the wire right where it enters the swages might help prevent failure. Replacement of this headstay every three years would be a wise precaution.
But should a failure occur at sea, immediately head downwind and get a halyard secured to your bow fitting. Next, winch it up securely to serve as a temporary headstay. Then, and only then, should you deal with getting the sail down.
A rig saved
This is exactly what Darren Dzurilla did on his 36-foot cutter, Mischief, when his headstay broke 500 miles south of Hawaii. We watched Darren and his partner, Melinda, sail in to anchor near us at Kiritimati, one of the Line Islands 900 miles south of Hawaii, a place that rarely attracts cruising visitors. Darren told us they had been broad-reaching toward Fanning Island. They heard a horrendous bang and, after checking to see whether they had hit something, one of them noticed that the headsail was really baggy. That’s when they realized that the headstay inside the furling foil had broken. Darren knew the only thing holding the top of his mast in place was the rope halyard for the roller-furling headsail. So he immediately ran his spare jib halyard forward to the base of the headstay and set it up as tightly as he could. Then he and Melinda set to work
getting the jib furled. This maneuver turned his gear failure into a nuisance instead of a dismasting. Once everything was under control, Darren decided to divert to Kiritimati, with its larger population, with the hope that they could find help fixing the headstay. The last 400 miles of their voyage was accomplished using only a staysail and the mainsail. Soon after they arrived, I helped Darren go aloft to remove his headstay and the roller-furling sail and gear. I was not surprised to find that the nine-year-old wire had broken just where the wire entered the swage.
Preventing fatigue
A very simple lash-up can cut the risk of shroud failure at sea, especially if you will be sailing along on one tack for long periods. To prevent metal fatigue in the leeward shrouds (which will, without fail, slacken off and flop around as the strain is all taken by the windward shrouds), secure a length of nylon line to the forward shrouds (port and starboard) then wrap the line twice around all the leeward shrouds — the lowers, intermediates, and upper shroud. Bring the line back to the forward shroud, snug it up, and secure it tightly. This will keep the shrouds from swinging to the boat’s motion and cut the risk of metal fatigue. There is no need to loosen the lash-up when you tack, as the stretchiness of the nylon line will allow the shrouds to straighten out normally.
Learn how to repair
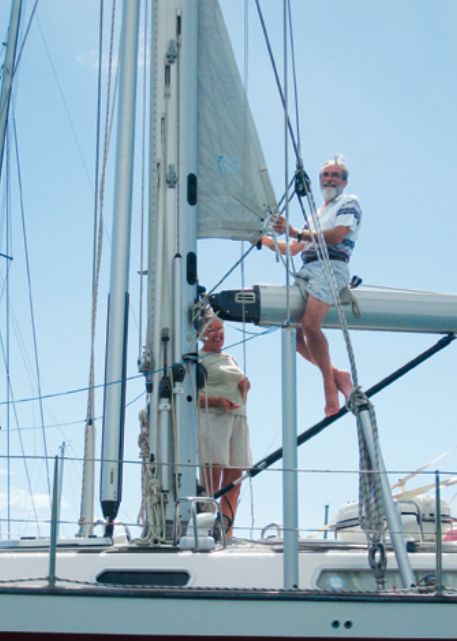
The skills and spare parts you acquire before you set sail will stand you in good stead if you cruise to out-of-the-way places. Riggers are hard to find in the islands of Polynesia and the South Pacific and even harder to locate among the atolls of the western Indian Ocean. Rigging spares are scarce everywhere except in main yachting centers. There will be some wear and tear on your gear and you will have to replace some bits in anchorages along the way. So before you set off, take the time to practice putting a mechanical end fitting on a piece of wire of the size you use on your boat. Learn how to dismantle and reassemble all the blocks on board. Fake a rigging failure and think of how you would support your mast if a headstay or shroud let go. Just thinking through the process could point out ways to simplify or improve your standing and running rigging. With a good collection of rigging supplies and with frequent careful inspections, regular maintenance, and timely replacement of wire rigging, you should never have to repair your rig at sea.
Lin and Larry Pardey are sailing Taleisin while upgrading a 21-foot trailersailer so they can try brown-water sailing on some of the dozens of river estuaries along New Zealand’s west coast.
Thank you to Sailrite Enterprises, Inc., for providing free access to back issues of Good Old Boat through intellectual property rights. Sailrite.com