Secure electrical wiring against chafe
Issue 78 : May/Jun 2011
While preparing to run the AC and DC electrical wiring in the refi t of my 33-foot Hallberg-Rassy Mistral, Vera May, I found few products on the market with which to securely mount marine wiring to a bulkhead or other interior surface. Plastic wire ties, small mounting pads with adhesive tape on their back faces, or round hose-mounting clamps are available but these devices tend to leave the wires loose. Restricting their movement significantly reduces chafe. I wanted to hold the wires firmly against a surface near where they passed through bulkheads or before terminal connections. The clips commonly used for household wiring are made of materials that corrode and are typically hammered about an inch deep into 2 x 4 framing. They are not suited to marine interior construction.
After one of the guys at West Marine gave me an idea, I decided to make my own. Hey, why not? I had access to a table saw and a drill — I could make my wire mounts. The design is simple and allows me to adjust the clamping force by how tightly I fasten the mounting screws. It also lends itself to making a number of clamps of various sizes at the same time.
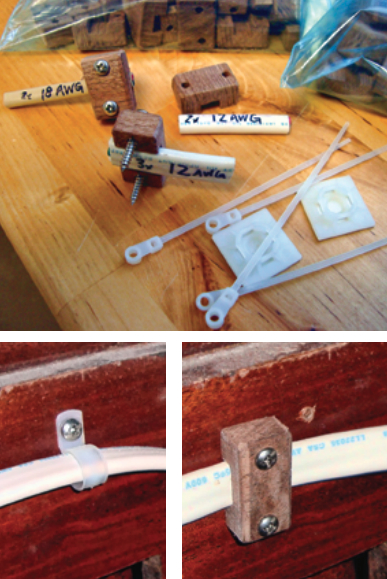
To make handsome wire clamps to this design, the only materials you need are a 1⁄2-inch-thick wooden board and some #6 x 1-inch round-head screws.

Custom moldings
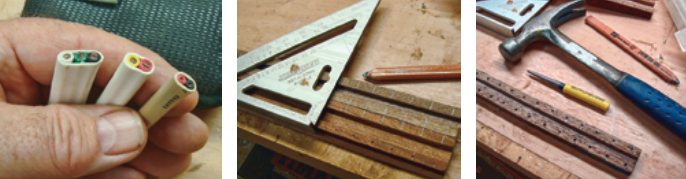
First, measure the widths of the wires or cables you will be clamping. In my case, these included 3 x 12 AWG, 2 x 12 AWG, and 2 x 18 AWG sizes. Next, cut strips from your wooden board for each wire size, making each strip the width of the wire plus an extra 1⁄2 inch for mounting-screw holes. Write the wire size on each board for easy reference.
Set up a table saw so the blade height is just a little less than the height of the wire when laid flat. Position the fence to center the blade in the board and make an initial cut along the length of the board. Check the depth of the cut against the wire height to make sure it’s correct and just a little shallow. This will ensure the clamp will bear down on the wire.
Move the table saw fence in a little to offset the blade from the center of the board. Run the board through twice, turning it and cutting from the opposite end for the second cut. This will widen the groove while keeping it centered in the board. Repeat the double-cut grooving process until the wire fits into and just slides in the groove.
Once you have grooved all your boards for the various wire sizes, mark, punch, and drill the mounting holes. I centered my holes on the outer flanges and spaced them every 3⁄4 inch. A 9⁄64-inch drill bit makes a nice clearance hole for a #6 screw.
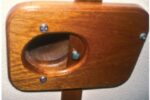
After drilling all the holes on both sides, cross-cut the individual clamps between the holes. I was having so much fun I even sanded them with the help of Elton John, Billy Joel, and a little Led Zeppelin. The result is a unique and attractive clamp that securely holds marine wire against its mounting surface. I can still use the plastic ties to bundle wires together and keep things tidy, but these wooden clips hold wires securely, and they do it with class.
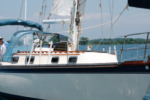
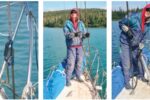
Stephen Thompson spent four years restoring Vera May and launched her last year. He sails her on Galveston Bay and the Gulf of Mexico. As he gains experience, he will venture farther out into the blue in search of more stories to tell in Good Old Boat.
Thank you to Sailrite Enterprises, Inc., for providing free access to back issues of Good Old Boat through intellectual property rights. Sailrite.com