
Siting solar panels led to an all-around renewal
Issue 124: Jan/Feb 2019
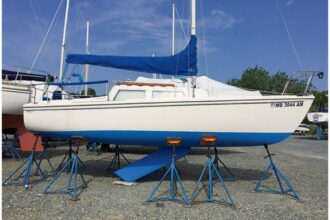
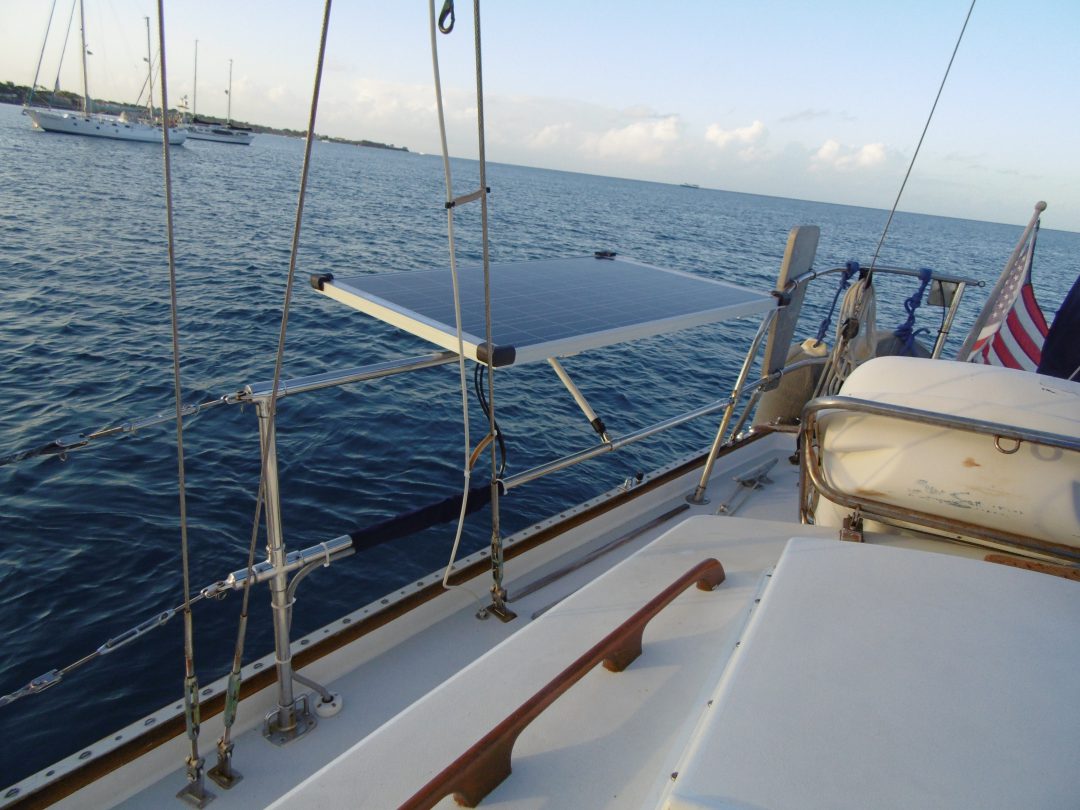
After deciding to add rigid solar panels aboard Alembic, our 1981 Whitby 42 center-cockpit the 12-foot spans into two 6-foot spans. Stanchion ketch, my wife, Helen, and I had to address the question of where to mount them. Alembic’s mizzen boom extends aft of the transom, and she also has a transom-mounted windvane self-steering unit. This configuration ruled out the stern arch commonly seen on cruising sailboats. As for mounting panels to the bimini, another favored location, we did not feel that our bimini provides adequate structural support for them. For our boat, the best solution was to mount the panels on rails just forward of the stern pulpit, where they would be less likely to interfere with sailhanding, boarding the boat, or docking maneuvers. To do that, we would have to replace the lifelines in that area with rigid tubing railings.
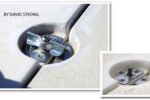
The distance from the stern pulpit to the closest lifeline stanchion was 12 feet. This is too long a span for unsupported 1-inch-diameter stainless steel tubing, so we decided to add a stanchion each side of the boat just aft of the mizzen shrouds, dividing bases are readily available in many different configurations, and after shopping around, we found an exact match for those on Alembic. Once the stanchion was in place, our next step was to add a top and mid rail between the new stanchion and the stern pulpit, using 1-inch stainless steel tubing and associated fittings.
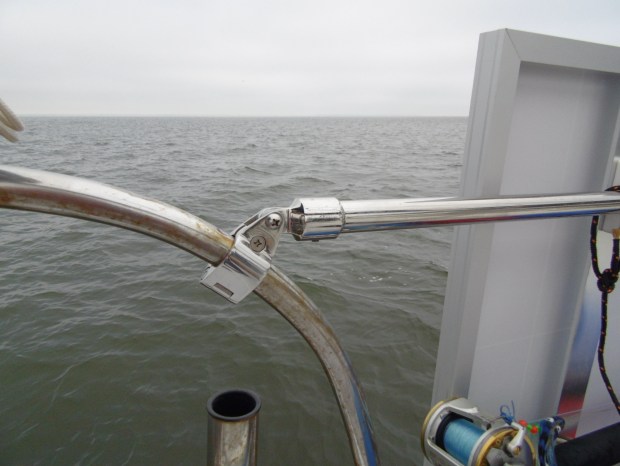
One-inch stainless steel tubing is available in several wall thicknesses. The standard grade is usually 0.049- inch wall thickness, but we used a heavier-duty grade with 0.065-inch wall thickness for both the stanchions and the horizontal rails. Constructing the rails from 10-foot lengths of tubing and fittings was straightforward. The critical steps were to take careful measure- ments for the tubing sections and making square cuts through the tubing. A good hacksaw with a new sharp blade will make a clean square cut.
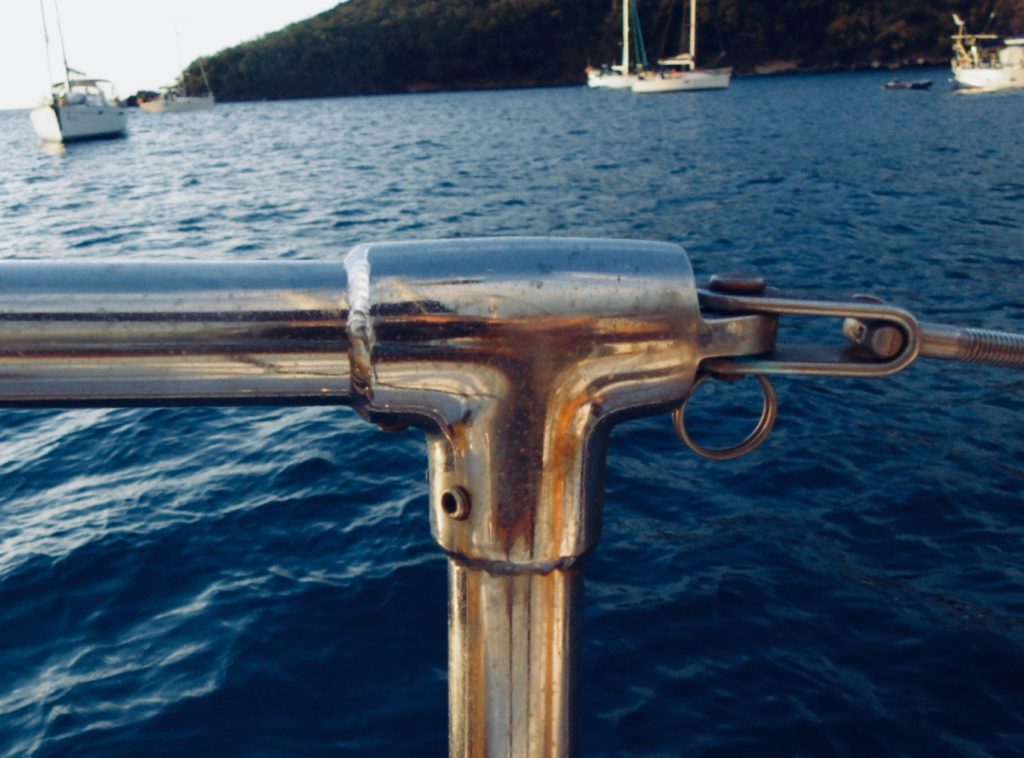
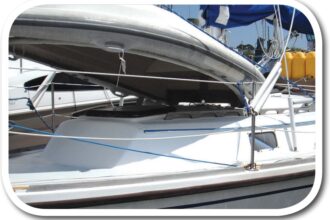
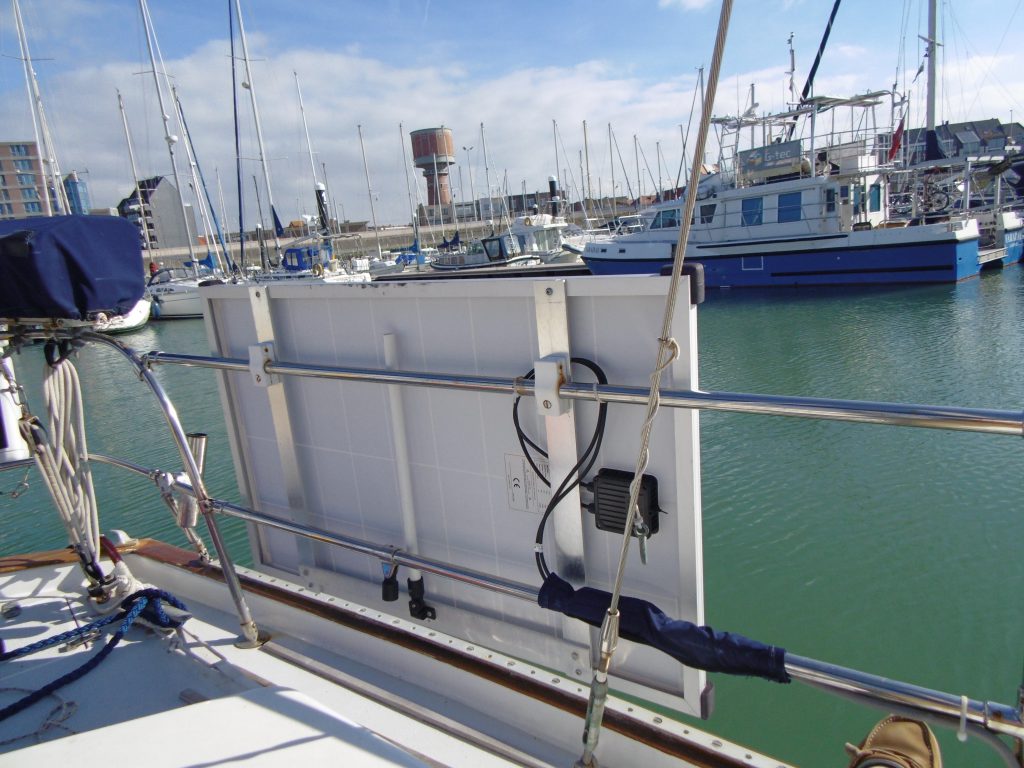
After cutting all the lengths of tubing, we assembled the fittings to them and locked everything together with setscrews. Although these assemblies seemed to be quite firm when secured with just the setscrews, to ensure their strength and durability, we had all the joints between the tubing and the fittings welded solid. The overall stern railings and pulpit are now made up of three sections: the two aft-quarter sections, with the stanchion and rails as welded assemblies, and the original stern pulpit. We joined the side rails to the stern pulpit with hinged connectors. With the solid rail sections on the aft quarters complete, we attached the solar panels to the top rails using rail mounts that allow the panels to pivot up to a horizontal position or swing down to a vertical position.
Midships security
Our success with the solar-panel rails prompted us to fit a section of 1-inch stainless steel rail to replace the upper wire lifeline alongside the cockpit. The sidedeck next to the cockpit of the Whitby 42 is fairly narrow. Going to the foredeck entails climbing from the security of the cockpit, over the coaming, and stepping forward around the dodger along this narrow sidedeck. Having a solid rail to hold on to for this maneuver is comforting. We added the section of rail relatively easily by using 90-degree tee fittings placed on top of the existing stanchions.
From wire to synthetic rope
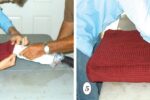
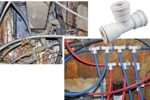
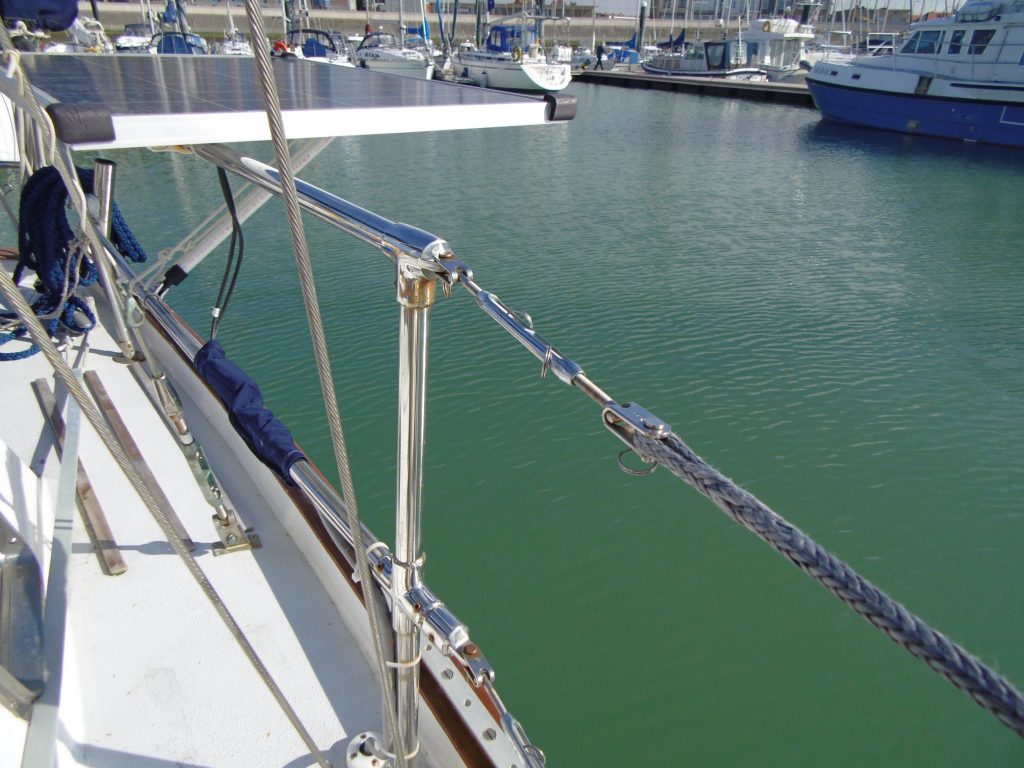
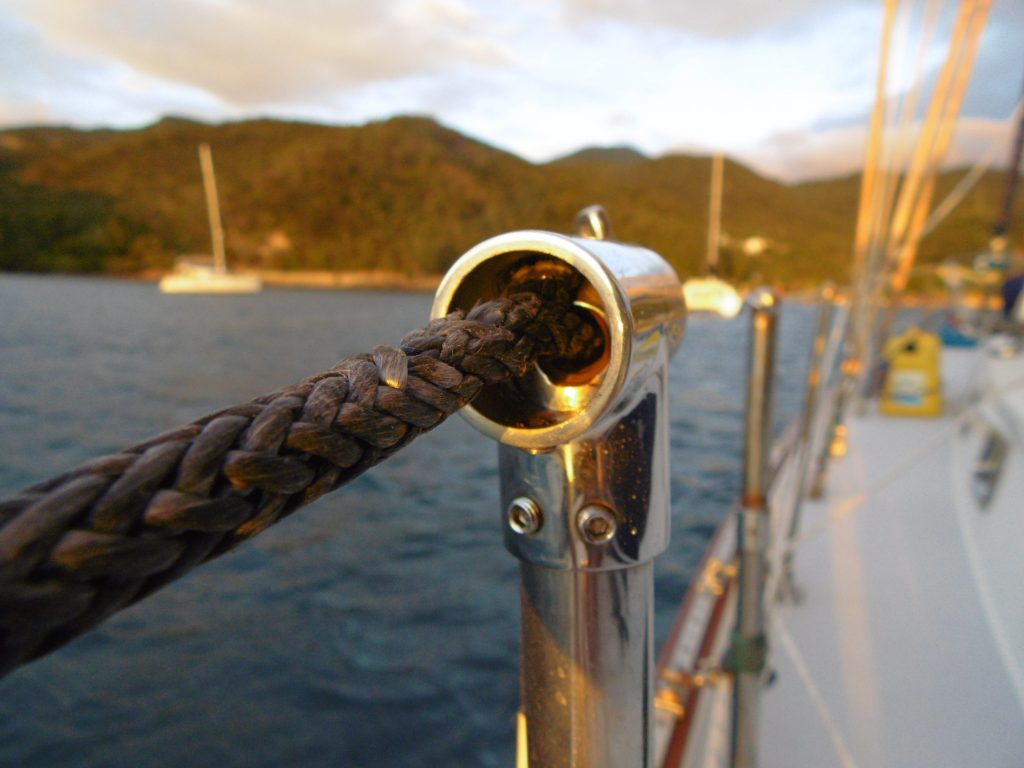
The rest of the lifelines that ran the length of our deck were in need of renewing. Rather than replace them with wire, we decided to use Dyneema rope, which doesn’t corrode and is lighter and stronger than stainless steel wire rope of the same diameter. It’s also cheaper, and it eliminates the need for swaged terminal fittings. Making an eye-splice in single-braid 12-strand Dyneema is quite easy — we mastered it after watching YouTube videos and practicing a bit. To tension the Dyneema lifelines, we fitted standard turnbuckles to anchor points attached to the ends of the rail sections.
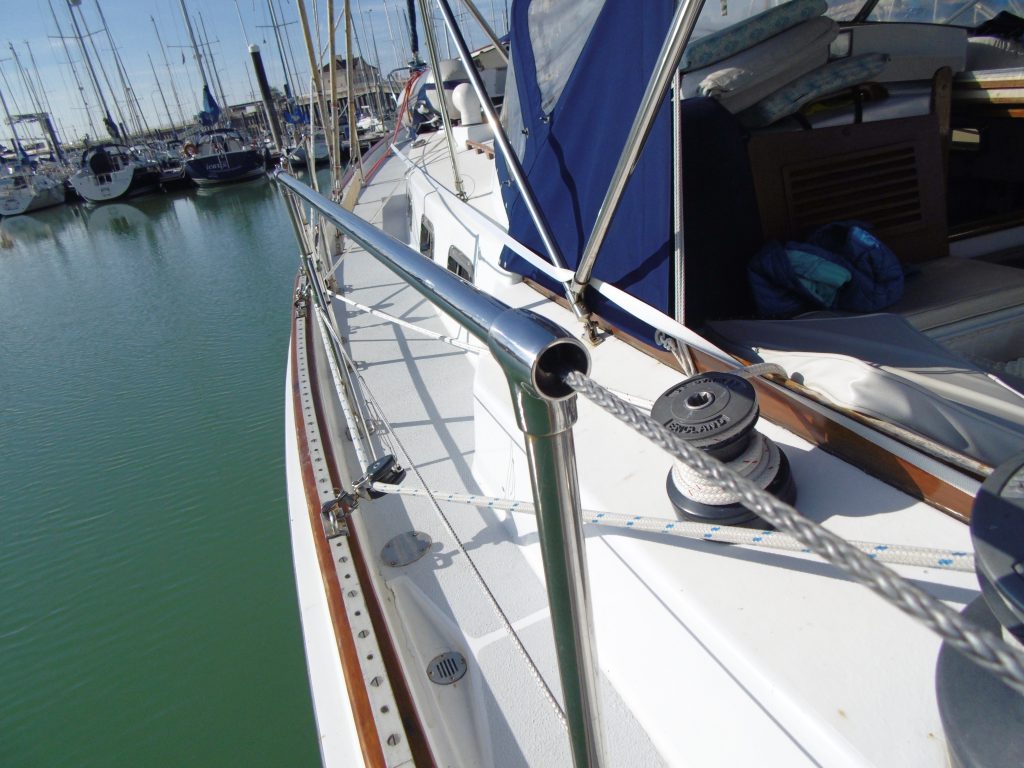
For added security, we ran the length of Dyneema lifeline that leads forward from the aft rail sections through the centers of the railings alongside the cockpit. To accomplish this, we eye-spliced the end of the Dyneema line through the top hole of the forward stanchion and slid a tee fitting down over the top of the stanchion while pulling the Dyneema line out the side of the tee fitting. Because this stanchion is part of the gate in the lifelines, that particular tee fitting has an eye for attaching the lifeline gate. The one that we used is supplied by Sea-Dog and was a special-order item at our local marine store. We used the same fitting on the forward ends of the solar-panel rails.
Sea trials
After nine months, during which time we sailed extensively, including an offshore passage from the Chesapeake to Antigua, the rail sections, including the panel mounts, showed no signs of strain or loosening, and the Dyneema line still looked new. Given the success of this upgrade, we replaced the remaining sections of wire lifeline with Dyneema. This is a typical process on an older boat: each upgrade highlights another part of the boat that is looking a bit dog-eared and due for an upgrade.
Resources
For more on replacing stainless steel lifelines with synthetics, see “Making New Lifelines” by David Lynn, March 2013.
William Weigel and his wife, Helen, have been cruising full-time since the fall of 2015. They have logged more than 15,000 miles, including two seasons in the Western Caribbean, returning to Maine each summer. In the fall of 2017, they sailed from the Chesapeake to the Eastern Caribbean, and in 2018 crossed the Atlantic to northern Europe. Writing is a new hobby for William.
Thank you to Sailrite Enterprises, Inc., for providing free access to back issues of Good Old Boat through intellectual property rights. Sailrite.com