Hard work (plus cash) saves a classic from the scrapheap
Issue 48 : May/Jun 2006
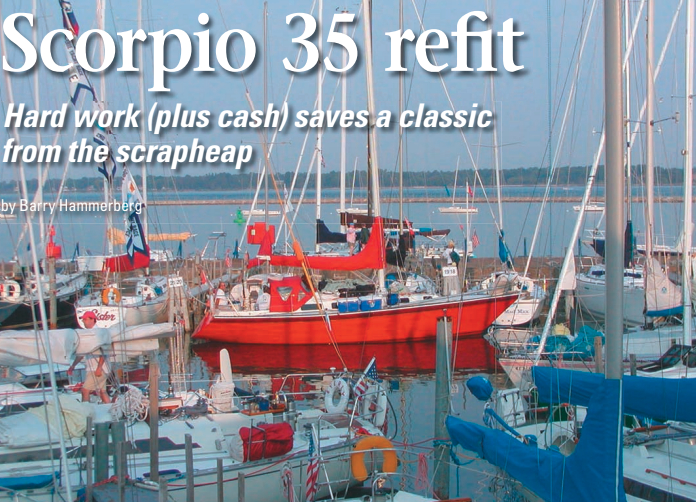
Strider’s clean white deck and the rich red paint job attracted our attention as she floated in her slip at Sugarloaf Marina in Port Colborne, Ontario. She looked new, yet she displayed classic lines. Intrigued, we wandered over to talk to Dave MacMillan, the owner, and learned that she had gone through a major refit.
Dave’s brother, Joe, frequently cruised to the marina in Dover, Ontario. As many sailors are, he was interested in orphaned boats, those that were sitting on cradles while others were sailing. Lost souls. He returned often to a flashy red-hulled sailboat that had been sitting in the parking lot for several years. He mentioned to Dave that this could be a very nice project boat; it just needed a little work. As Joe kept an eye on the boat, the price dropped annually from $69,000 through $29,000 to $20,000 (all prices in Canadian dollars). Dave decided to take a look.
He and Joe headed to Dover one rainy day. As they pulled into the yard, Joe pointed out the boat. Even in the rain, the hull glistened, beckoning. She was bright red with a gold stripe accentuating her burgundy cap stripe, a nice paint job. This was not exactly Dave’s choice of colors, but she was attractive. He and Joe climbed her ladder. There they found a dirty, spongy deck with areas that flexed to the point that Dave feared falling through. Inside the cabin it was raining just as hard as it was outside; water was dripping from the overhead. The broker agreed that the boat was about a season from becoming a total scrap, yet it appealed to Dave. This roomier 35-foot project boat, when finished, would be larger and more comfortable than his family’s Halman 27. All that was needed was a little money and a lot of work.
Made an offer
Dave brought his wife, Diane, to look at the boat. After some thought, they made an offer and bought the boat for $12,000, about the cost of the paint job on the hull. They were now the new owners of a Scorpio 35, vintage 1981. It sorely needed attention. Undaunted, Dave figured others had done it, and he could too. He had space in a heated building built for his earth-moving equipment. He had the boat hauled to his shop to begin the restoration.
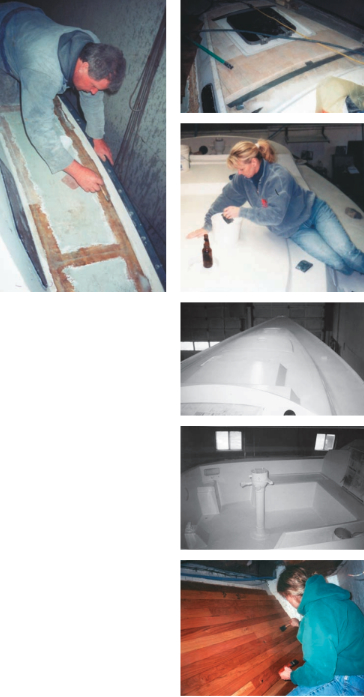
The first thing on his list of projects — before it caved in — was the delaminated balsa core deck. Dave decided to leave the interior in place to support the deck shape while they worked on it. He removed all deck hardware and fittings: cleats, turning blocks, ports, everything. To preserve the original shape of the deck, Dave and Joe cut the outer skin off the deck in sections.
Dave was amazed at how thin the skins were. He later learned the engineering principle of a cored structure that uses thin skins over a lightweight core to increase stiffness without creating excessive weight. As suspected, the core was wet and, in many areas, rotted. Much of it was literally wood pulp that could be cleared away with a putty knife and wire brush. A portable router with a bit set to the thickness of the core cleanly removed the remaining balsa wood.
They set about rebuilding the deck. Section by section, they sanded the inner skin and troweled on a layer of filled epoxy. They pressed new end-grain balsa core in place and vacuum-bagged it using a small medical vacuum pump and clear film. The film allowed them to see the epoxy flow through the core as the vacuum pressed it tightly to the inner skin.
After a section of impregnated core hardened, they sanded it, troweled another layer of filled epoxy over the core, and set the outer deck skin back in place. The vacuum was again applied to clamp the outer skin in place. They repeated this process until the entire deck was re-cored. As they progressed, they filled all the holes in the deck, including the old portholes. They added solid reinforcements where deck hardware would be placed. They also added ABS plastic core for a pair of genoa tracks.
Sanding and priming
Once the deck was structurally sound, Dave and Joe went to work on the boat’s appearance. They applied epoxy and fiberglass over the cuts they’d made in the outer skin. Now came what Joe calls the boring part: sanding, applying epoxy primer, and sanding, repeating the steps until the surface was true. Then the deck was sprayed with Awlgrip epoxy primer and sanded to a better-than-factory-smooth finish. They followed this with a spray coat of Griptex mixed with the first coat of Endura two-part polyurethane. A second coat of white Endura sealed the non-skid. The deck looked like it had just been released from a factory mold: fair and high gloss with no holes or cutouts.
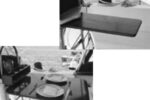
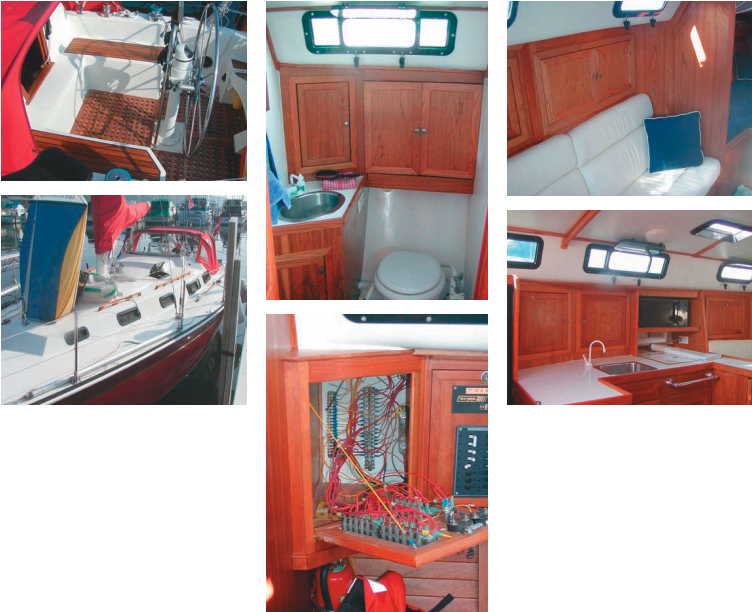
During deck reconstruction the cockpit seats were slightly redesigned with rounder edges to make them more crew-friendly. The teak planking on the seats was replaced. The original teak cockpit floor grate also needed sanding and oiling, but it was then reused.
Dave remounted deck hardware in the original locations and added new running lights and genoa tracks. He cut new port openings and installed modern ports. Below the waterline he and Joe stripped the hull of all paint
and gelcoat. Dave located templates and faired the keel. This task was complicated by the fact that previous owners had bought a shoal-draft kit, cutting the draft to 5 feet 4 inches and crudely adding a half bullet to each side of the base of the keel. Dave and Joe faired these to create a smoother transition. They applied Interlux Interprotect 2000 barrier coating below the waterline, following the manufacturer’s instructions. Interlux VC-17 provided the final finish.
Interior shambles
A year into the project, the exterior of the boat looked great, but the interior was still in shambles. It would have to be rebuilt. The layout didn’t suit Dave’s needs, so he gutted the interior during the second winter of the project. Only the head remained in place, sans walls. He discarded all plumbing and wiring. He checked the hull’s balsa core and found it to be OK except for some damage around the through-hulls. These areas were cut away and rebuilt to eliminate future seepage.
Dave redesigned the interior with two aft quarter berths, a port galley, opposed saloon benches, and V-berth. He created a navigation station starboard aft of the head with cabinets to accept the electrical panels and electronics. It looked good on paper. Now it was time to build it.
He installed new cherry bulkheads, defining the cabin layout. He built cabinetry using cherry wood that was tabbed in place. Then he bonded 1⁄4 x 2 1⁄2-inch strips of plywood to the hull on 12-inch centers. He attached tongue-and-groove cherry planking with polyurethane glue and brads, effectively lining the hull — even behind the cabinets.
Dave planed and grooved all the cherry planking from rough kiln-dried stock. He ran out of planking and had to set up to make more, making a mental note to overstock next time he calculated a project. Because he only needed to make one or two of everything, he felt he never got efficient at making any single component. The wood was finished with satin-rubbed-effect varnish to naturally darken the wood to a rich warm look.
Cherry battens
He bonded wood strips to the overhead to accept screws for mounting off-white vinyl wrapped panels. Cherry battens held the overhead panels in place. The results looked professional.
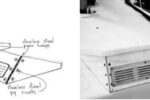
During the construction of the interior, Dave installed 12v DC and 110v AC wiring and led this to the new panel locations. The electrical cabinets were built with key locks that opened to reveal wiring and junctions, all arranged for easy service. The interior is stunning.
The engine had low hours and was in good condition. A new, 2-bladed folding propeller finished the propulsion system. Dave was able to clean and reuse all the original tanks. Fortunately, the sails were good enough for a season, allowing him to select a new inventory based on future needs after sailing the boat for a season. The current sail inventory is a 2004 main; a light and heavy #1, circa 1985; a Mylar #2, circa 1995; a #3, circa 1990; a cruising spinnaker; and two symmetrical spinnakers.
Twenty months passed before this awesome project was completed. The boat was christened Strider and launched July 2, 2003. Unfortunately, Dave’s work prevented his attendance at the launching, but Joe and his wife, Linda, helped the yard step the mast. Joe delivered Strider to Dave’s slip without incident.
When I asked if he had ever looked at the mess and wondered what he’d gotten into, Dave replied that he’d enjoyed every step because it was a learning process and a challenge. The results, he said, were always gratifying. He had Joe, Diane, and another friend, John, to help him throughout the project.
Longer than expected
“What was the worst part?” I wondered. “The last few weeks were hard because every step seemed to take longer than expected,” he told me. Joe noted that sanding was the part he liked least. Looking back later, Dave said he’d figured the project wrong. He had expected a lot of work and a little money. Well, he’d missed the target on the cost. He figured he had about $30,000 Canadian in the refit. Based on the results, it’s still a bargain.
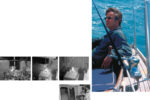
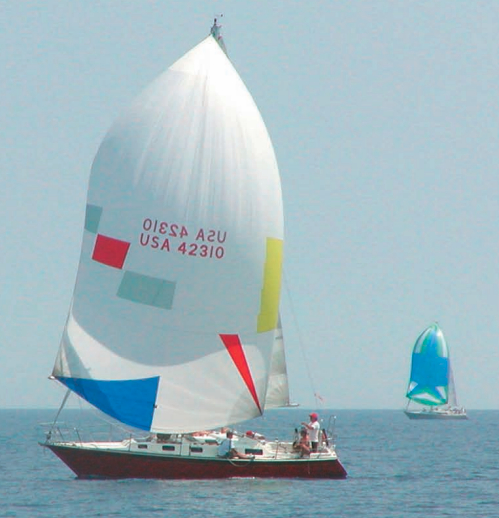
Strider races out of Port Colborne, Ontario, in the Wednesday-evening fleet. We caught up with Dave and had the chance to take photos during the 2005 Lake Erie Interclub Race series (three distance races between the U.S. and Canada and two triangular courses). In these races Strider was a real eye-catcher. She is essentially a new boat with classic looks.
When asked why he chose the name Strider, Dave replied, “When I read Lord of the Rings, I felt Strider was a cool character: a ranger who quickly and quietly roamed the kingdoms.” To Dave, that’s what sailing is all about: quietly and quickly roaming the seas. That’s exactly what Strider does.
Thank you to Sailrite Enterprises, Inc., for providing free access to back issues of Good Old Boat through intellectual property rights. Sailrite.com