Nor will SAEs mingle with metrics in the bottom of the toolbox
Issue 122: Sept/Oct 2018
Entropy, the natural process that leads to disorder, was well manifested in Second Star’s toolbox. Wrenches would go AWOL, and projects took longer as I searched for the elusive 7⁄16-inch wrench. Contributors to the mayhem were a Yanmar diesel requiring metric wrenches and multiple fittings requiring SAE wrenches.
A good cure for wandering wrenches would be easy to use, conserve space, and be portable. If it was not easy to use, I would not use it, and I would be back to square one. Space is always at a premium on a boat, and especially so in my overburdened tool locker. Portability was important, because if I could easily bring all the wrenches to the job site, I wouldn’t have to keep going back to the toolbox to fetch the next one I needed.
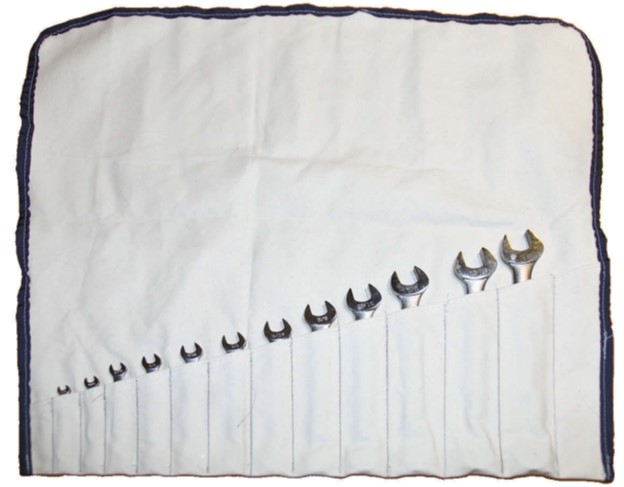
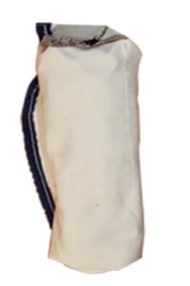
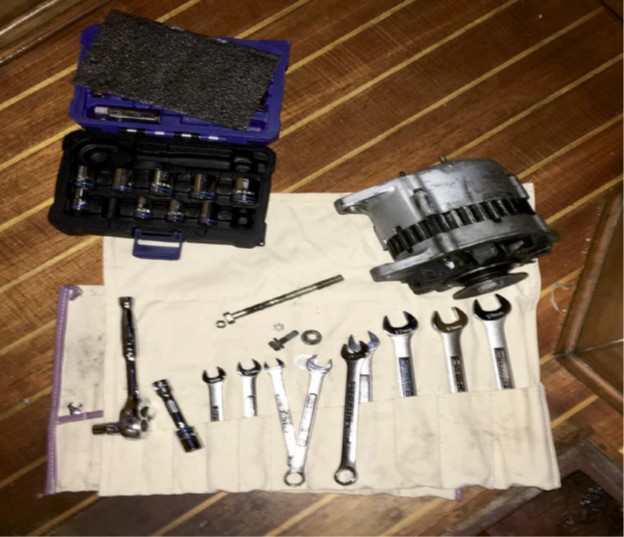
My solution was a tool wrap or tool roll. When I unroll the wrap, I can easily select the needed wrench and return it to its proper place. An unanticipated benefit of the unrolled wrap is that it provides a place to set down parts while protecting the underlying surface.
Design considerations
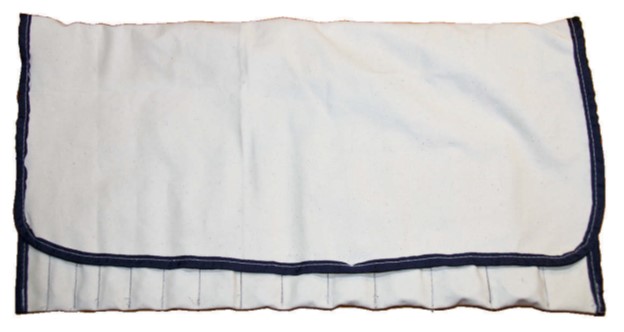
Though a wrench wrap is simple in concept, three primary design and construction aspects deserve consideration: fabric, pocket depth, and flap length. On this, my third version, I made the pockets deeper and lengthened the flap. I learned from earlier versions with shallow pockets and a short flap that wrenches had a tendency to fall out of the wrap and into disarray. By finishing the edges with binding tape instead of a simple seam, I colorcoded the wraps; one color for the metric set, one for SAE.
I found that fabrics such as cordura nylon, acrylic canvas, and cotton canvas met my requirements for durability (to withstand the rigors of frequent use) and flexibility (so the wrap can be rolled easily into the smallest volume). A lighter-weight fabric, such as taffeta, might not be durable, and sailcloth is too stiff to form a compact roll. I chose marine-grade cotton canvas because I had some left over from another project. This material in particular is also absorbent, which is a nice feature as it will absorb any grease or oils that are on the tools when they are returned to the wrap. The poor absorbency of synthetics would allow those contaminants to be spread to other tools in the toolbox or to other surfaces.
A final design consideration is whether to secure the flap closed or provide a tie to prevent the wrap from unrolling. Both options have merit, but for this version I did neither, as I’ve found that a longer flap and deep pockets are sufficient to secure the wrap.
Measure the fabric
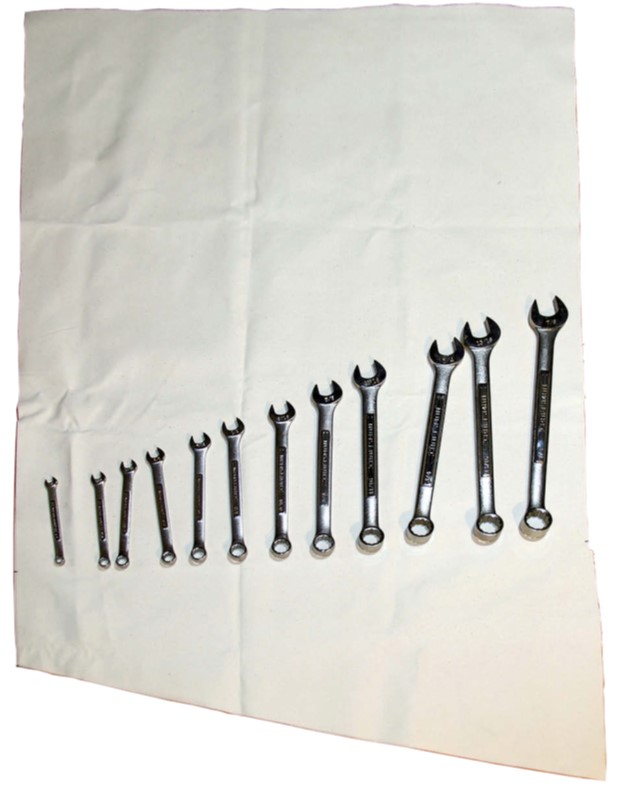
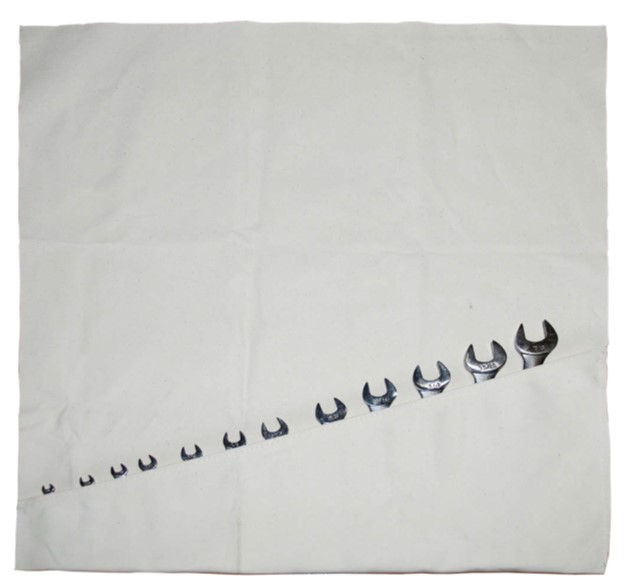
The length of the fabric needed will be three times the length of the largest wrench, and the width is determined by the number and size of the wrenches. While it’s possible to calculate the width, simply laying the wrenches out on the fabric is quicker and less prone to error. Lay the wrenches out from smallest to largest, allowing about ½ inch between them (photo 1). A little extra space is preferable to too little. If finishing the edge with binding, allow for a fat ½-inch margin at each end. If finishing with a seam, allow an inch.
Trim the front pocket
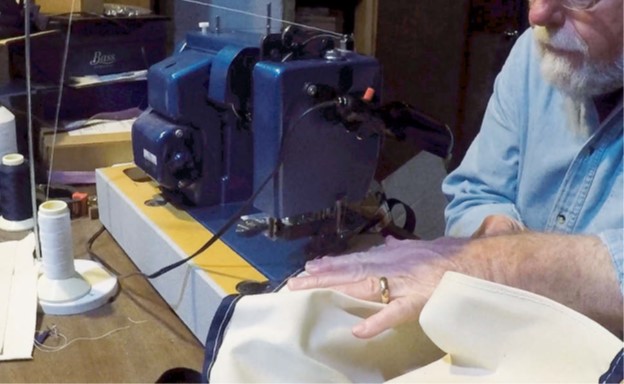
Align the wrenches box-end-down one-third of the way up the material. Fold the bottom up to cover the wrenches. The longest of the wrenches should be just covered (photo 2). Fold the fabric back at an angle so the fold just touches the top of each wrench. Mark the ends of the fold and cut along the fold. Fold the just-cut edge in 3⁄8 inch and secure it with basting tape. Repeat to bury the raw edge in the seam and sew the edge with two rows of stitching.

Form the pocket
Lay the fabric on a flat surface with the seamed edge facing up. Place the wrenches on the fabric and fold the bottom up over the wrenches. Adjust the position of each wrench so the box end is at the fold and the open end is exposed and the size marking is visible (photo 3). Mark the fold and the top of the pocket. On both sides, run a row of stitching close to the edge to form the pocket.
Adjust the flap length
With the largest wrench in the pocket, fold the top flap over the wrench. The flap should cover the wrench and almost reach the bottom of the pocket. Trim the fabric if needed. If the flap is not long enough, the wrenches will tend to fall out; if it is too long the edge will be exposed.
Trim the edges
Trim the top corners of the fabric so they are rounded, not right angles. Attach binding around the outside edges (photo 4) — it’s not needed along the bottom fold. (A binding attachment for the sewing machine makes this step much easier.)
Sew the wrench pockets
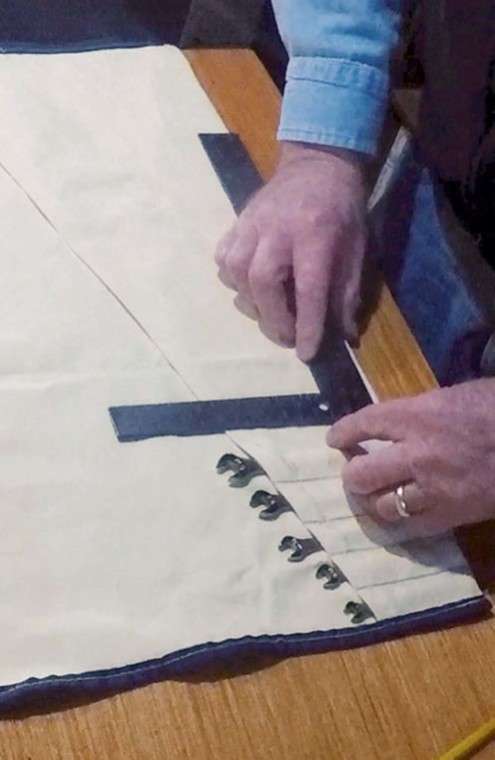
Start with the smallest wrench, placing it in the short end of the pocket. Make it snug. Using a square or straightedge, mark a line square to the fold so the fabric is snug against the wrench (photo 5). Run a row of stitching along this line. Repeat for each wrench. Each individual pocket should be snug enough to hold its wrench but not so snug as to impede removing or inserting the wrench.
Looking over the product of my efforts, my wife, Susan, asked, “Could you make one for my knitting needles?”
Corralling the odd men out
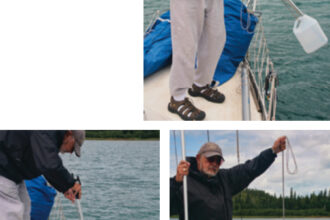
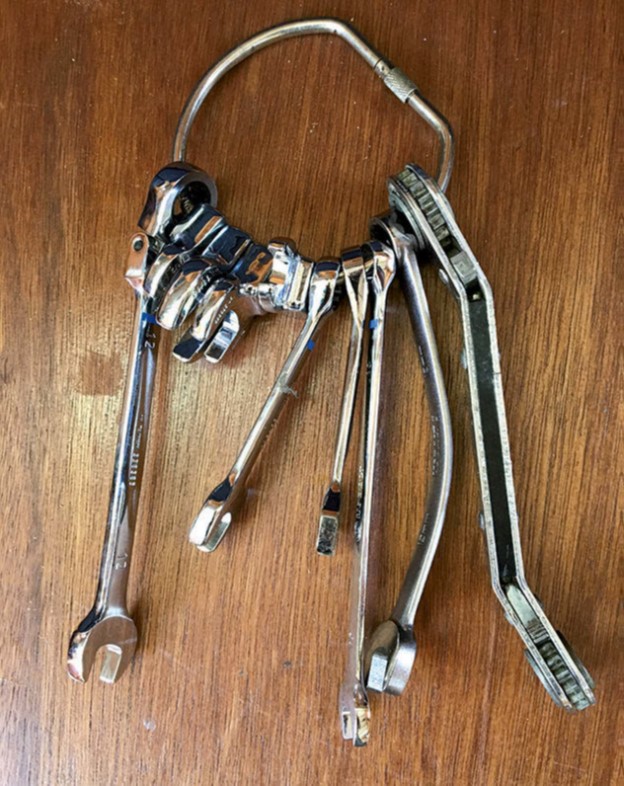
Over the years, a handful of special-purpose wrenches have found their way into the toolbox — stubby wrenches, crowfoots, bent wrenches, and the like. Due to their odd sizes and shapes, a tool wrap was not going to work for them. The solution lay in an office-supply store: a large binder ring. These rings only cost a dollar or two and function like a key ring. A simple screw closure allows the tools to be easily removed and returned. Find one tool and you have found them all. A little LanoCote on the hinge and closure helps to keep rust at bay.
David Lochner , a retired school psychologist, likes to write about the human and humorous side of DIY boating. For the past 30-odd years, he and his wife, Susan Baldacci, have been plying the waters of Lake Ontario. Currently, they sail Second Star, a 1993 Sabre 362, out of Little Sodus Bay on the southeast shore of Lake Ontario. When they finish their refit, Dave and Susan plan to sail out the St. Lawrence River and then south along the US East Coast. Follow their progress at SV-SecondStar.net.
Thank you to Sailrite Enterprises, Inc., for providing free access to back issues of Good Old Boat through intellectual property rights. Sailrite.com