One small project at haulout time leads to another and another
Issue 18: May/June 2001
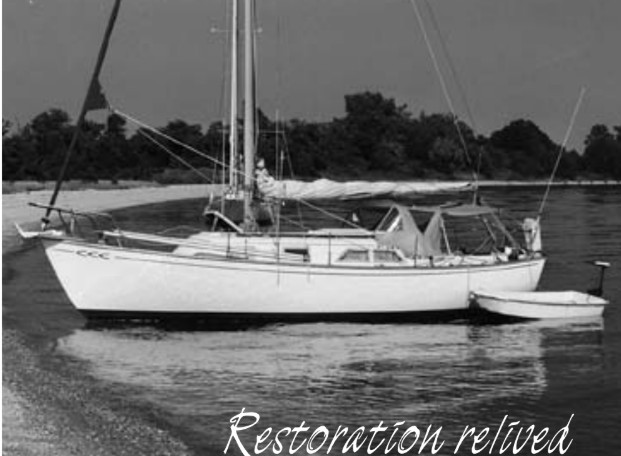
We owned our Chris-Craft Capri 30 for seven years. Each year our annual haulout included a long list of improvements and things we wanted to fix. My dream was to have a year when all we did at this annual event was paint the bottom and change the zinc. That year finally came in 1999. I looked forward to it with excitement.
My wife, Robyn, had different plans. As the month of the haulout approached, she made a suggestion: “Honey, since we don’t have any real work to do on the boat this year, could you replace the cabin sole while it’s up? You have the week off anyway.”
I should have known better, but I said yes. After all, I had been promising to replace the sole for six years, and it really was only a one-day job.
This was the first of many conversations that started with “Honey, since we . . . ”
This is the list of the major things we completed during the year of the “quick” haulout:
- Replaced the sole.
- Replaced the Formica countertops.
- Replaced the leaking mid and forward ports with opening Bowmar ports.
These items started a season-long trend that included refinishing the entire interior, refinishing the mahogany, remaking the dodger, remaking the anchor supports, and refinishing the deck.
During the course of this effort I learned several useful tips (in addition to this one: never tell your wife that you plan a short haulout). These might be useful to other boat owners.
First and foremost, I learned about a tool called a Roto Zip saw. Robyn discovered it, graciously bought it for me, then declared it might be real handy. She’s like that, bringing me new tools and expecting me to put them to use. This is a most valuable tool and nearly essential for anyone attempting to restore an old boat. It can be used to cut any shape against a variety of contours and to whatever depth is required. The carbide tip blade lasts for an exceptional number of cuts. The standard blade can be used for cuts which require the smallest possible blade-cut width but will not last as long. If you do your own work, you will find this an invaluable tool.
Easily removed
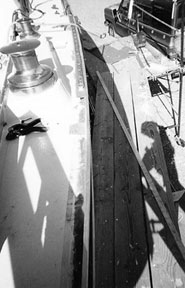
The first job was to replace the sole. The original sole was tabbed to the hull sides and counter cabinets. This was easily removed with the Roto Zip. However, there were several places that I could not reach with the tool. I dealt with this problem by placing the Roto Zip cutter in a standard Dremel tool. I did not have the control when using the Dremel that the Roto Zip gives, but it was a useful trick for tight places. When replacing the sole I made the entire middle section (about 8 inches wide) removable from the head to the engine compartment. This removable section allows access to the centerboard pin, making it possible to clear debris from the drain path all the way to the bilge. Bracing was permanently attached to the removable portion of the sole so this section could rest against the hull to prevent flexing. It’s a little tricky to match the contour of the hull, but the stable floor surface is worth the extra effort.
My next task was to replace the countertop, no small task, but it was easier than it looked. I first removed everything mounted on top of it, then the countertop itself could be removed. The countertop consisted of laminate over marine plywood that was screwed to the cabinet from the bottom and the front. The screws on top were hidden under the laminate. To get to them, the old laminate had to be destroyed. I found that the laminate could be broken loose in very large sections by using a wood chisel, but it could not be removed intact. Once it was removed, it was easy to remove the plywood top. That done, it was possible to sand this surface with a belt sander to ensure good adhesion for the new laminate. Once the top was removed, I had excellent access to the icebox. This was important because there was a significant amount of space between the box and the engine room, and it is easy to add additional foam insulation to protect from engine heat. I added about 11⁄2 inches of insulation. This added barrier almost doubled the amount of time we could go without buying ice, from two to four days.
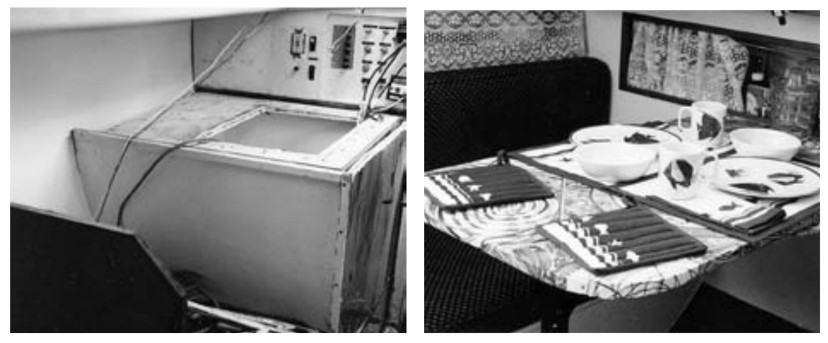
Jigsaw cut
I cut the laminate for an exact fit along the back edge. This was done with a jigsaw, using a hollow-ground blade. It did not give a perfect edge, but nobody will ever see this edge. The front edge and the edges around the sink and icebox were cut to have an overlap of approximately 3⁄8 inch. Gluing the laminate in place after the plywood counter was installed proved to be the easiest part. I followed Don Casey’s instructions and placed waxed paper over the surface after applying the Formica contact cement. Once the new laminate was exactly where I wanted it, I slid out the waxed paper one piece at a time. The result was a perfect alignment. The final step was to finish the visible edges, using a router and a laminate bit to give a perfect finish.
The third major “Honey Do” was to replace the portlights. The Capri 30 came equipped with two opening port lights that had developed a permanent leak after 30 years. We’d been trying to fix it for seven years. We finally decided to replace the ports with new ones and to add opening portlights over the V-berth. Of course, one cannot buy the same size window as the originals, so we had to order the next size up. My wife called the retailer to check on availability while the boat was on the hard. They told her they could provide three-day delivery if she wanted to pay the extra shipping cost; otherwise it would be two weeks. She agreed to pay the extra money, and we removed the old ports. When the ports had not arrived after five days, she called again and was told that the three days was after they received the ports from Bowmar in about six to eight weeks. Hell hath no fury like my wife as an angry consumer. We received the ports four days later.
Installing the ports was extremely easy. I again used the Roto Zip to open the space for the larger ports. I sealed the exposed edge with epoxy and installed the windows without a significant problem, although installation did require two people, one inside and one outside. (Note: I did not consider the small hole I drilled in Robyn’s finger while she was holding the outside frame to be a significant problem.) The added breeze is wonderful, they do not leak, and Robyn didn’t even complain.
The quick haulout prompted a season of additional projects, resulting in all the things we had talked about for years being completed, and the boat becoming a truly beautiful cruiser. So what to do when you’ve completed the upgrade? We bought a Chris-Craft Caribbean 35 in serious need of our attention.
David’s two passions are rebuilding old boats and sailing. He and Robyn cruise the Chesapeake from May through October and are hoping to cruise full-time in 5 years. Sailing and boatyard partners in all respects, the Waltrips argue only about whether David really can’t varnish or just pretends to be inept in order to avoid the ordeal. When do you suppose Robyn first suspected this subterfuge?
Thank you to Sailrite Enterprises, Inc., for providing free access to back issues of Good Old Boat through intellectual property rights. Sailrite.com