Kind to feet, it keeps dirt from getting underfoot
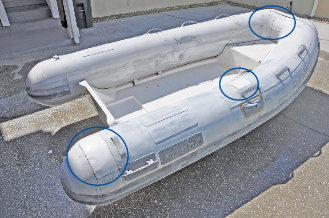
As is the case on many boats, the cockpit sole of our catamaran, Shoal Survivor, was textured gelcoat with no grating. Try as we might to keep dirt and grit off the boat, the cockpit always turned into a trashy wet sandbox, and the grinding of sand underfoot against gelcoat might as well be dollar bills burning. The previous owner had installed Dri-Dek tiles wall to wall, which solved the sand and dampness issues, but they were miserable on bare feet and agonizing to kneel on.
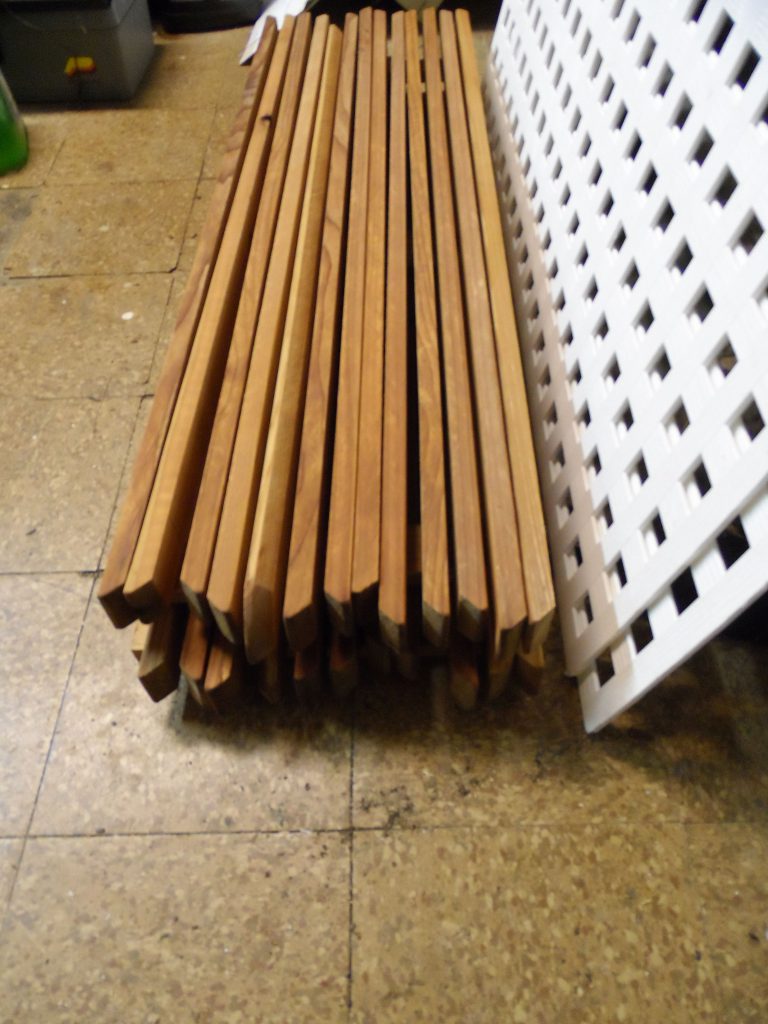
Cut to length, treated with Drew’s concoction, and carefully stacked, the cedar boards sat for six weeks to dry.
For a few years, I enjoyed an easy- to-install, inexpensive wooden cockpit grating I assembled from snap-together hardwood patio tiles (I got the idea from a blog post). Over time, though, the plastic backing disintegrated (for no good reason, as it was in the shade of a hardtop) and the wood began to rot.
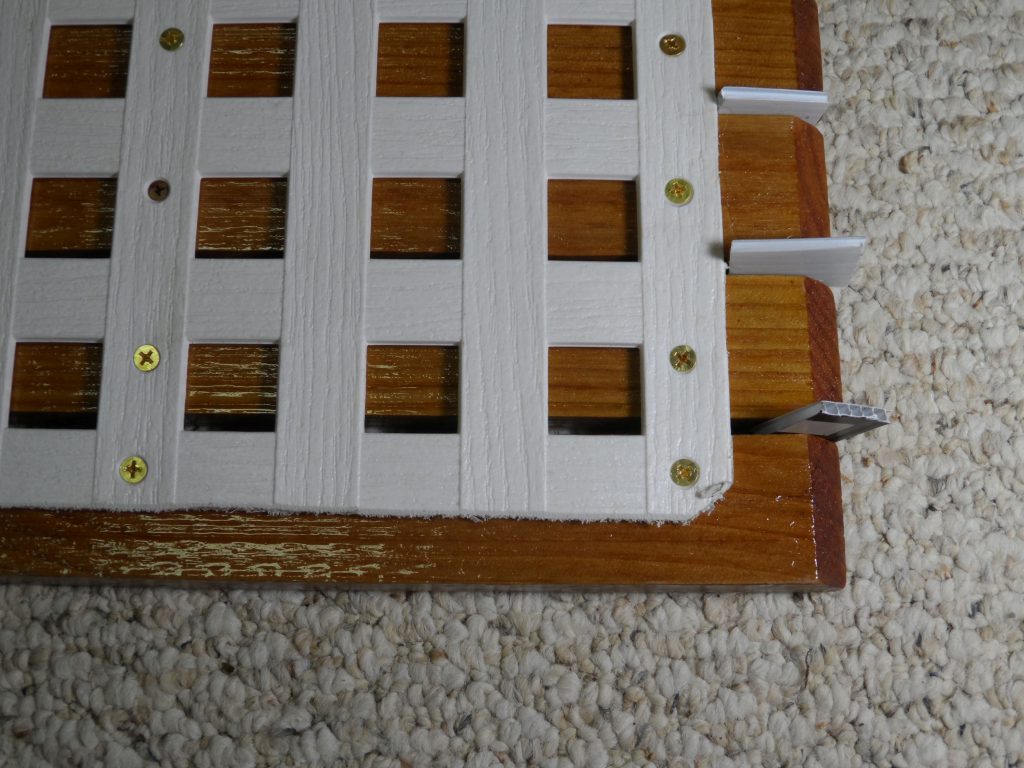
While fastening the boards to the backing, he inserted pieces of 3⁄16-inch sign board between them to ensure consistent spacing.
Because I liked this solution to the sole problem, I made note of its good attributes and resolved to improve on it. The materials were cheap, the wood-working was simple, and I liked the color. It was flexible, so it conformed to the curvature of the cockpit floor, and I could easily pick up one corner and run the hose underneath it, cleaning out several months’ worth of trash and grit in a few minutes. After considerable headscratching and some product testing, I came up with a solution.
Materials
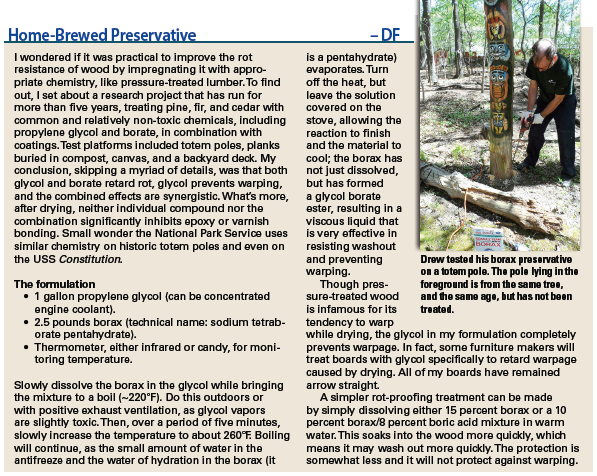
I wanted a wooden sole, but I was determined to prevent rot from ruining it prematurely. Before moving forward, I came up with an inexpensive, very effective treatment I could apply to wood to make it nearly impervious to rot.
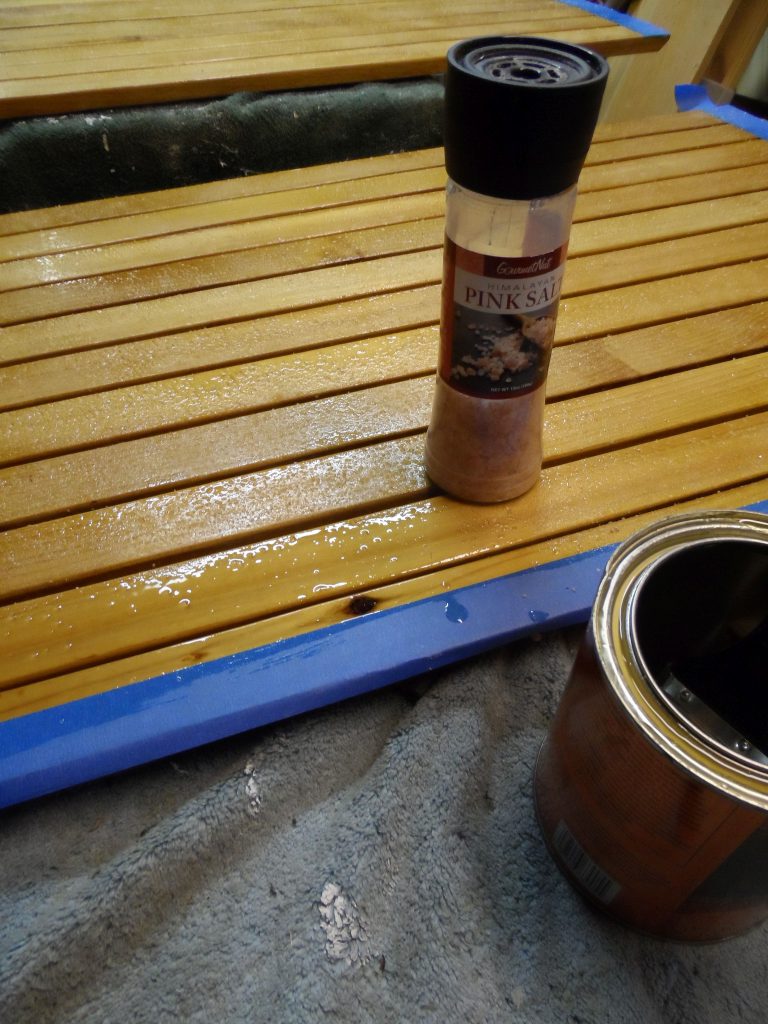
Coarse salt sprinkled on the boards while the final coat of varnish was still wet gave them a non-skid surface.
I chose a light-colored western red cedar for the deck, in part because of its light weight, rot resistance, and economy, but also because it had the look I wanted: Shoal Survivor’s cabin is cherry, not teak or mahogany. Any rot-resistant wood could work, though the extent to which it will absorb the treatment depends on the wood, and I doubt a dense wood like oak would absorb much at all.
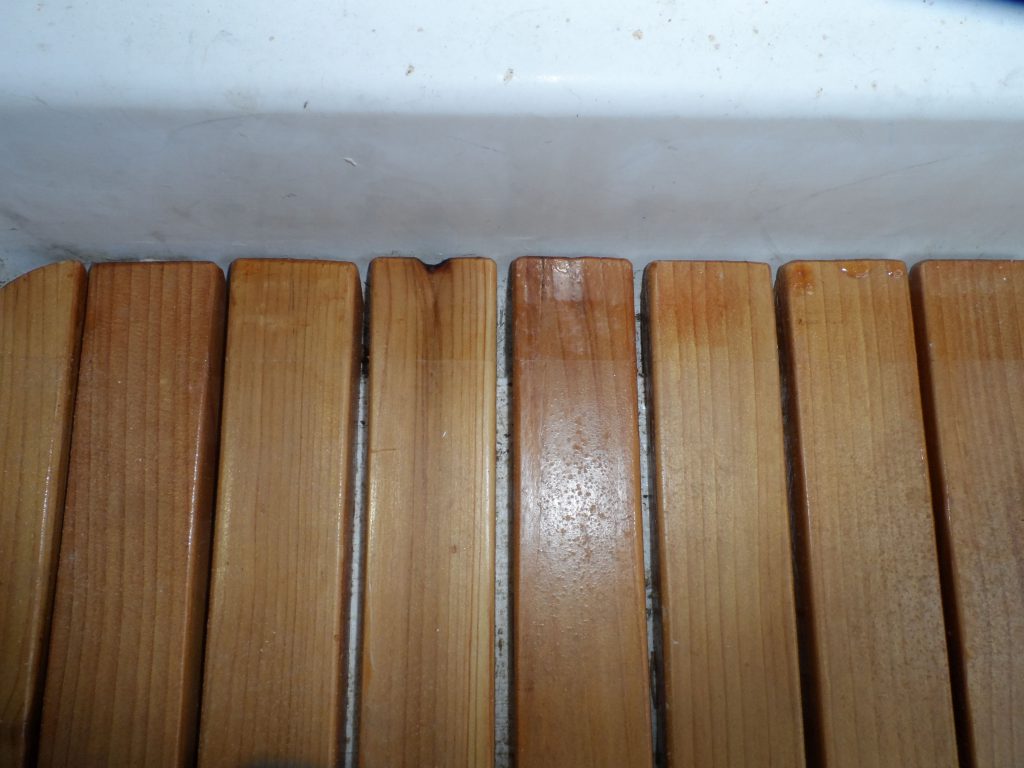
He left a narrow band around the edges of the grate glossy, for appearances.
To tie the cedar strips together and support them, I wanted a material that is flexible and durable. I’ve always been impressed with the weather and UV resistance of PVC mobile-home skirting. It’s much stronger than the backing used on typical patio tiles, completely impervious to rot, and inexpensive. Although the lattice pattern I chose is considerably stiffer than patio-tile backing, it’s sufficiently flexible to conform with the gentle curvature of a cockpit sole.
Trimming and treating
I ripped the decking from 8-foot 1 x 8 cedar planks. As well as cutting the strips to width and length, I beveled the ends at a 45-degree angle, and did the same along the sides of what would become the edge strips. I also trimmed the ends of the edge strips to match the corner profile of the cockpit. To allow clearance for the sharp curvature where the sides of the cockpit well meet the sole, I cut the PVC backing about 2 inches shorter and narrower than the cockpit well.
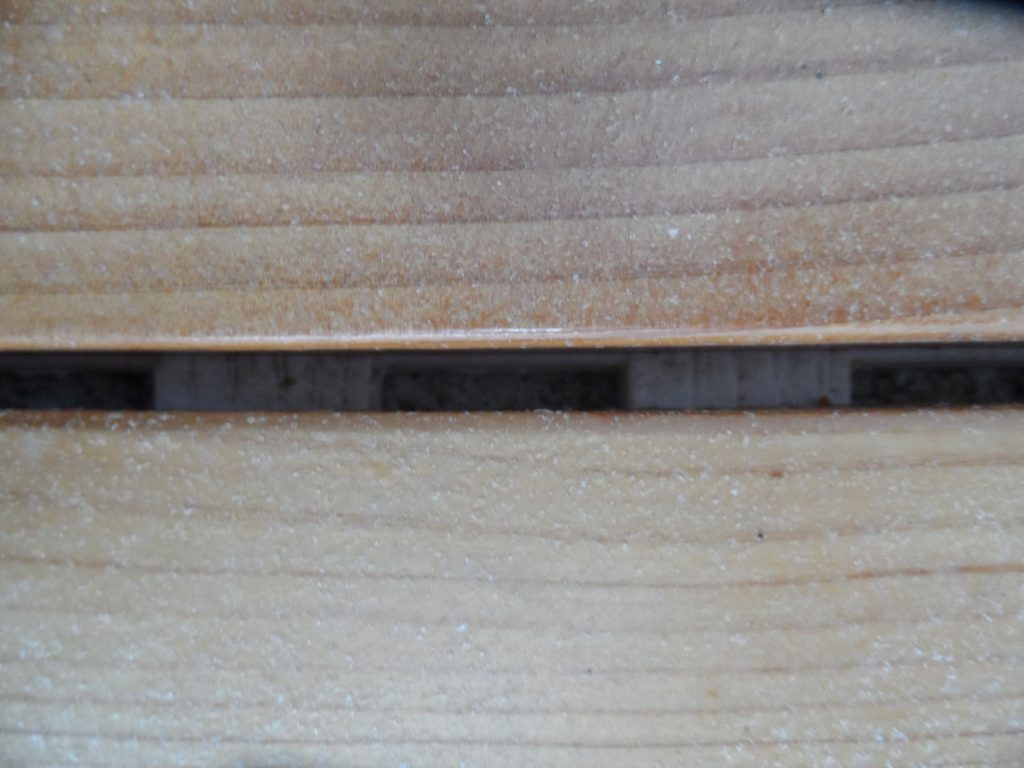
The salted finish on the finished grate is very easy on the feet.
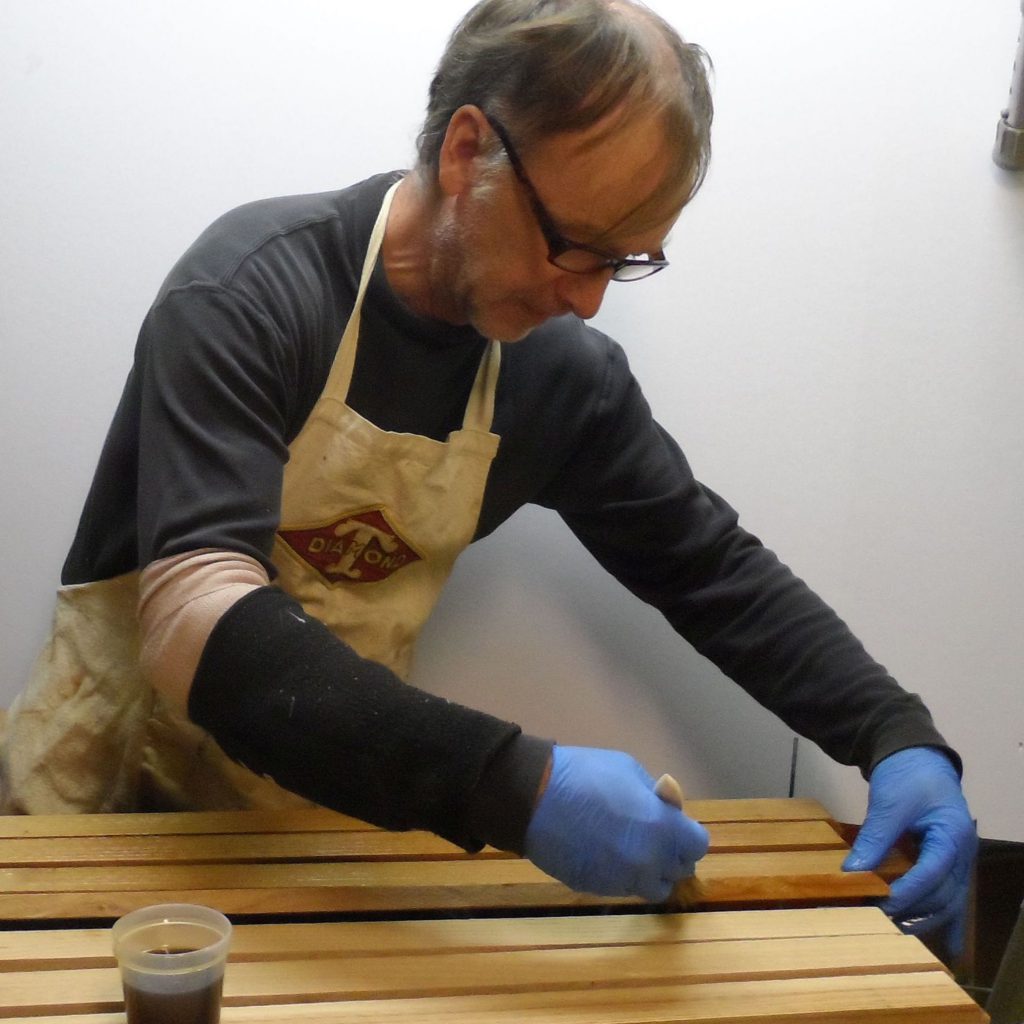
I placed the sawn and sanded decking on a waterproof tarp and liberally painted on my glycol-borate-ester anti-rot formula every few days for several weeks, until the wood would absorb no more. After each coating, I stacked the boards tightly, one board on the other, and wrapped them in the tarp until it was time for the next coat. To ensure that all the boards were completely soaked, I flipped the stack each time I coated them. I then let the boards drip off and dry neatly stacked for 6 weeks. When done, I had used about ½ gallon of the formulation, so I figure 1 gallon would treat about 12 to 15 board feet.
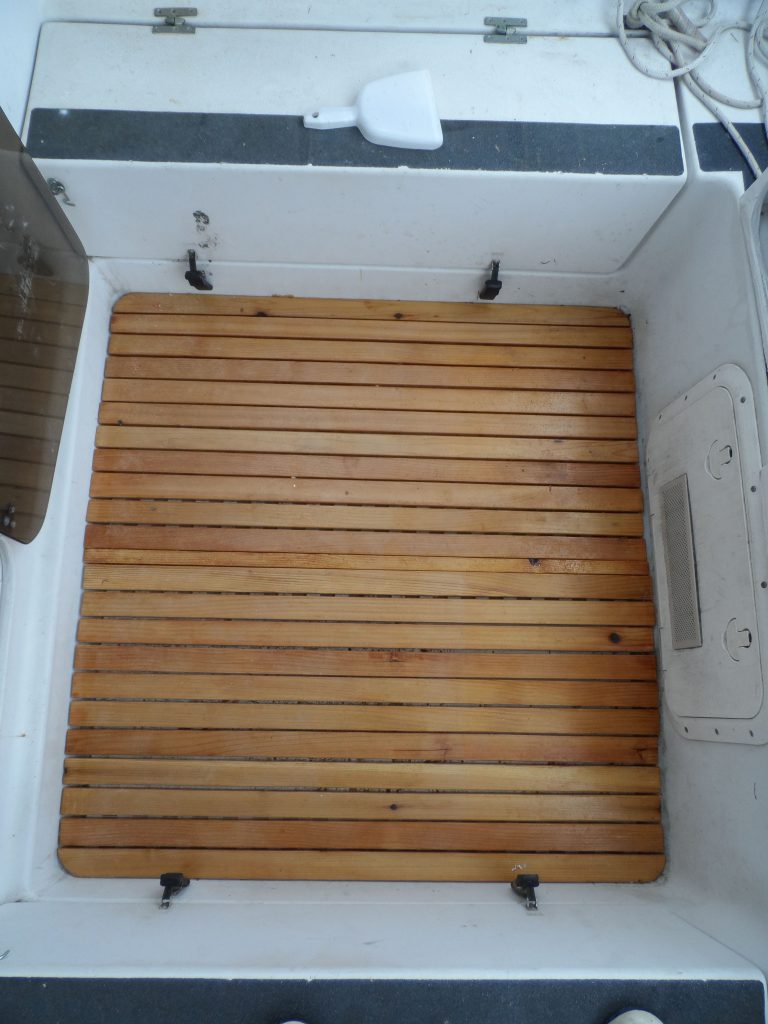
The grating brightens the cockpit and is flexible enough to conform to the slight curvature of the cockpit sole.
When no treatment was noticeable on the surface, I applied four coats of gloss marine spar varnish to all the decking strips, sanding lightly between coats. I used varnish rather than epoxy because it seemed to bond better, and it will certainly provide superior resistance to UV.
Assembly
After cutting the PVC lattice to size (any saw will work), I laid out the decking upside down on the cockpit sole, temporarily placing pieces of 3⁄16-inch sign board between the boards to ensure uniform spacing. I then laid the PVC backing on top of the decking, pre-drilled and countersank all the screw holes (every board, every 16 inches), and assembled the grating. (The screw holes, which are unavoidable, will provide a route for water to enter the wood, but so long as the water is not actively flowing through the wood, the glycol borate cannot wash out and the concentrations will remain lethal to bacteria and fungus for a very long time.)
To provide a non-skid surface, I applied one final coat of varnish and thoroughly dusted it with coarse salt. This traditional “salted varnish” finish is a favorite of ours, as it is easy on the feet, cheap, and easy to maintain — recoating involves nothing more than applying a coat of varnish with coarse salt sprinkled over the top. Just for looks, I masked the narrow band around the outside so that it is not salted; you really can’t slip in the last inch and a half.
For the cost of a sheet of PVC lattice, a few 1 x 8 cedar planks, a half-box of borax, and a half-gallon of antifreeze, I made a cockpit grating I expect to last for 20 years, and probably far longer. As a retired chemist, I enjoyed the process of determining how to preserve woods, and since teak isn’t the best wood for all purposes, I’m hopeful that someone will find my concoction useful.

