Our customers’ biggest concern is often “What measurements do I need and how do I use them to create a proper fit.” Let me respond to that question first. The key dimensions for any cushion are determined by where it will be used — how wide and long and deep is the place to be occupied by the cushion. Given these measurements, we use a simple rule of thumb to cut the foam. It will be cut 1/4 inch (.64 cm) big on each side: 1/2 inch extra width and 1/2 inch extra length. Obviously this rule of thumb dimension might benefit from enlargement in the case of softer foam or in case of relatively large cushions. And if you are making doll house furniture cushions it is certainly too much. But for normal cushion sizes of foam with relatively normal density and firmness, the rule of thumb works! In some of the Apple cushion apps (which are no longer supported), I develop algorithms allowing for variations in foam and size — although the resulting cushions are fine, they are just not notably better than those resulting from use of the rule of thumb so long as the cushions are of “normal” size and thickness.
If you are making a cover for an old piece of foam, measure that foam and subtract 1/4 inch on each of the four sides. These measurements will define the finished size of the cushion.
Now what about the size of the cushion cover, the plates on top and bottom and the facing along the sides? How should they be sized and how should we allow for seam allowance? The Sailrite team uses the foam as a master pattern. And that can be useful; it provides a kind of “connect the dot” method that simplifies things. And, of course, the Box Cushion App provides complete dimensions that connect dots behind the scenes. Here I want to “explain” these dimensions.
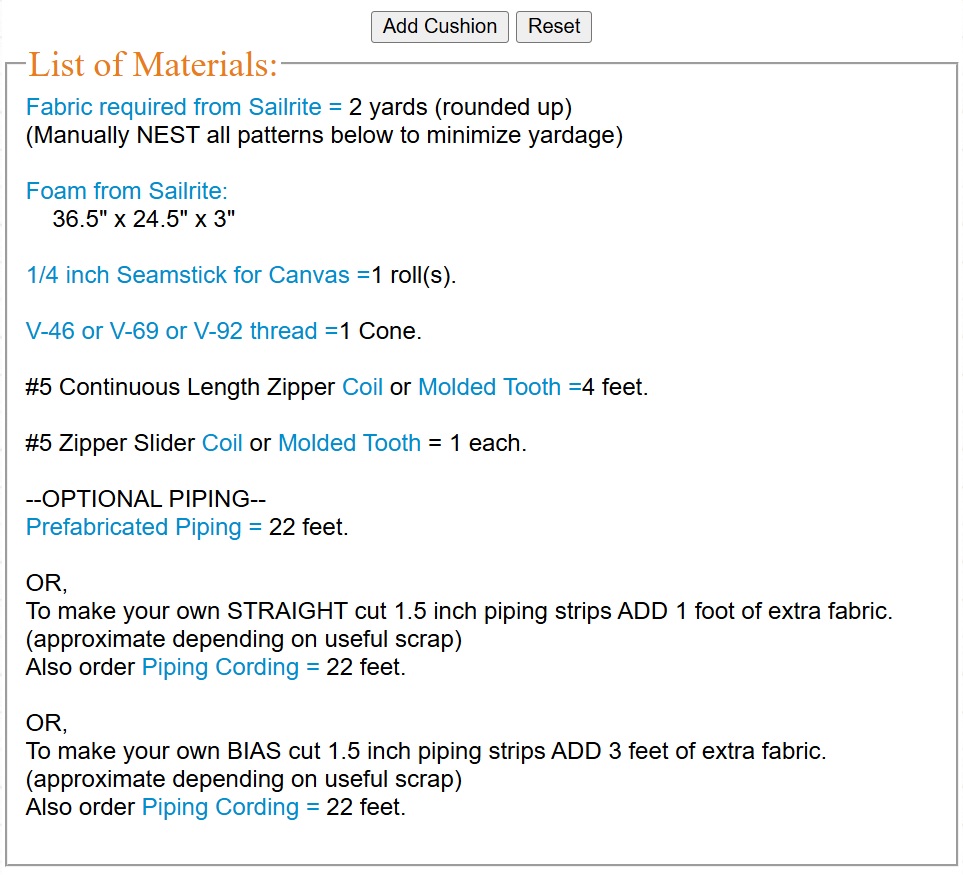
If you enter dimensions of 24, 36, and 3 in the A, B, and C fields of the second page of the calculator (after having entered 54, 14, and 9.3 in the three fields of the first page), the following will result. (A direct link to the app in question is here.)
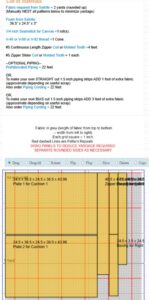
Note that under “List of Materials” the foam is 1/2 inch larger on both sides than the finished size of the cushion. And, if you move the stack of panels in the rendition so that their labels can be read, the plates are similarly sized. And the boxing is also 1/2 inch thicker than our 3 inch desired finished thickness. The plaque is 1-3/4 inch thicker than this thickness. This width will be split and a zipper will be installed. The finished plaque will be exactly the width of the boxing. Each boxing panel is the same length as the plate against which it will be matched (we left the default “Seamed Boxing” radio button checked — continuous boxing will extend the length of three sides with some extra for finishing work). The plaque panel is 4 inches longer than the back side of the plates to allow for slight needle pucker shrinkage and for zipper slider pockets at each end.
You should note that all seamed edges (the edges of the plates and those of the boxing and the plaque) are extended 1/4 inch beyond the expected finished size. All seam allowances are 1/2 inch. This means that the finished size of each plate, boxing, and plaque panel will be 1/4 inch shy of the expected finished size on each edge. This insures that the cushion cover will tightly fit over the 1/4 inch too large foam on each edge.
The reason that this works is twofold. First, the foam (unless it is very firm) will compress. Second, there is a “rounding reduction” that is subtracted from plate length and width and from boxing width top and bottom. Rounding reduction occurs because cushion edges are not 90 degree angles. They are more or less rounded depending upon the firmness and upon the thickness of the filling. The calculator uses a reduction of .25 inch (6.35 mm) that has served us well for normal box cushion sizes and foam firmness.
The rounding reduction is very important. Cushion covers will be smaller than the foam they enclose. Indeed they will be smaller (1/2 inch — 12.7mm — from edge to edge) than our finished length and width and thickness. We add 1/4 inch to each finished cushion length and width edge and to both sides of the boxing (1/2 inch overall in each). Then we use 1/2 inch to create seams. As a result the finished cushion length and width will be 1/4 inch less than our “finished measurements”. And the boxing will also finish 1/4 less than the foam thickness. Into this slightly small shell we insert foam that is 1/4 inch oversize in length and width. The result will be a tightly stuffed cushion with slightly rounded edges that measures the finished width.
Obviously these “rules of thumb” would not work with small thin cushions or with large fluffy ones (such cushions are usually clad in “pillow case” covers). But the rules do work for the two or three or four or five inch thick cushions of normal cushion size (from chair to sofa size) that has a box shape. If the cushion is thin or if the foam is very firm (like closed cell foam), feel free to add a reduced amount of 1/8 inch to the lengths and widths of all panels.