
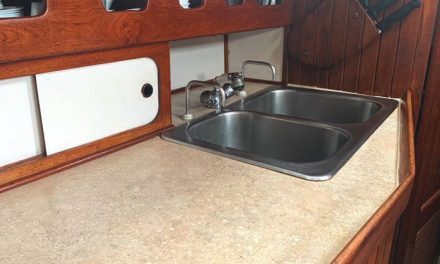
A recycled plastic vinyl overlay brings new life to a worn-out cabin sole.
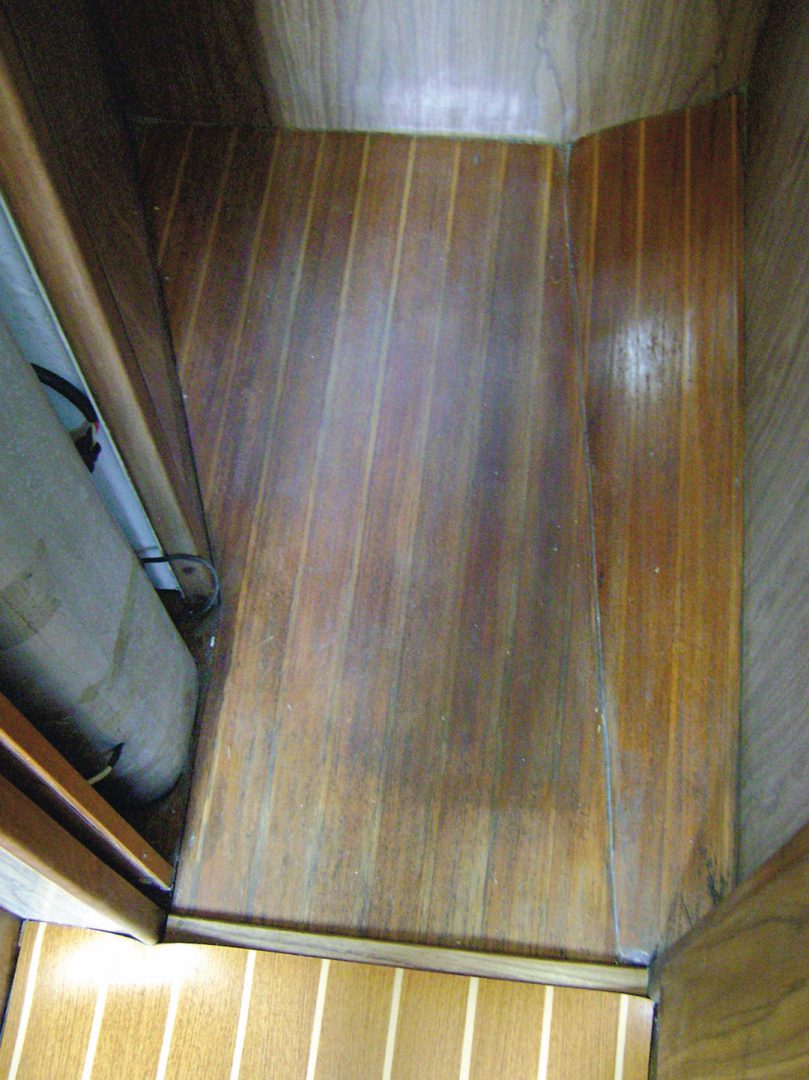
After 45 years, the teak-and-holly cabin sole of Captiva, my 1970 Morgan 33, was not looking so great. I couldn’t imagine that refinishing the sole was going to give me the like-new look I wanted, and for a while I considered replacing the sole with new teak-and-holly plywood laminate. Then I learned that for the same price I could install Plasteak vinyl flooring. Reasoning the Plasteak would be easier to clean and maintain, that’s what I went with.
The material—which is made from recycled plastic—has a satin finish and promises good resistance to water damage while always looking fresh. The manufacturer sells 6-foot-wide sheets by the linear foot. I purchased 8 linear feet to ensure that the three cabin sole levels would have a grain pattern running in a common direction. The cost, at $50/linear foot, came to $400.
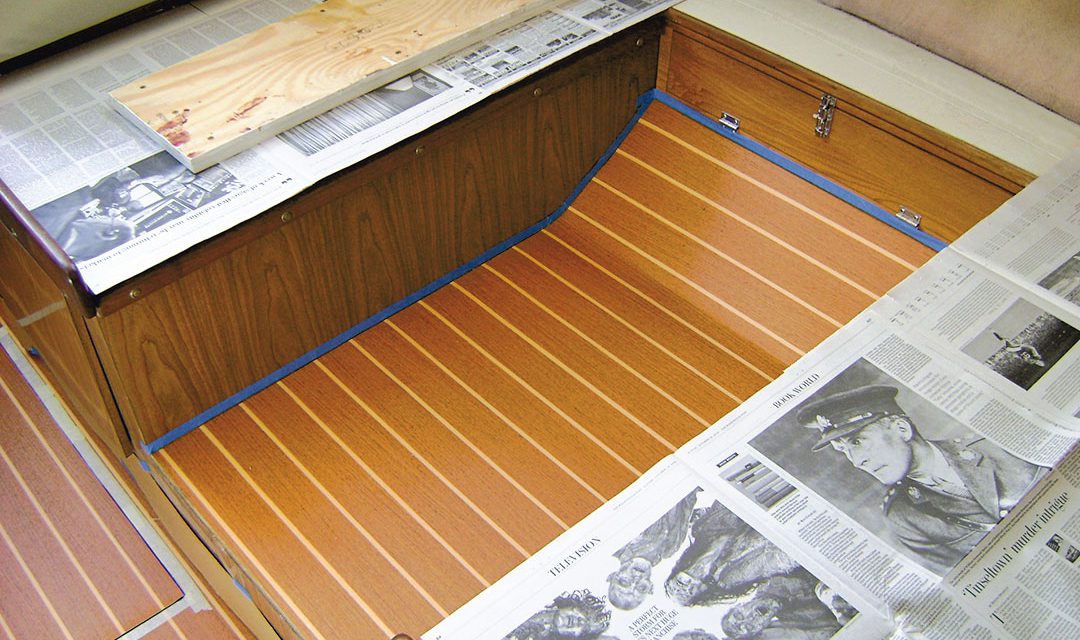
My Morgan 33 has three separate cabin sole sections, and all three have canted floor portions. I did not want any open-joint interfaces that could encourage abrasion or water intrusion, so after testing the idea I determined I could score the vinyl backing with a mat knife and achieve a perfect unbroken angle bend on the exposed surface.
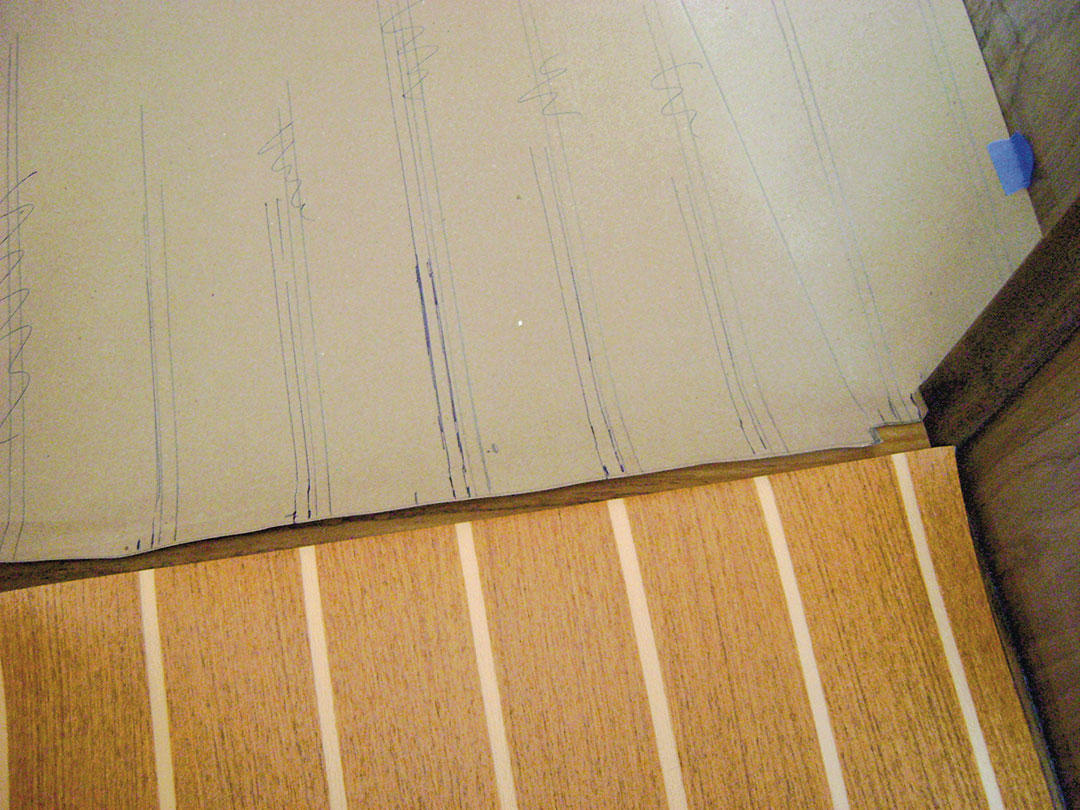
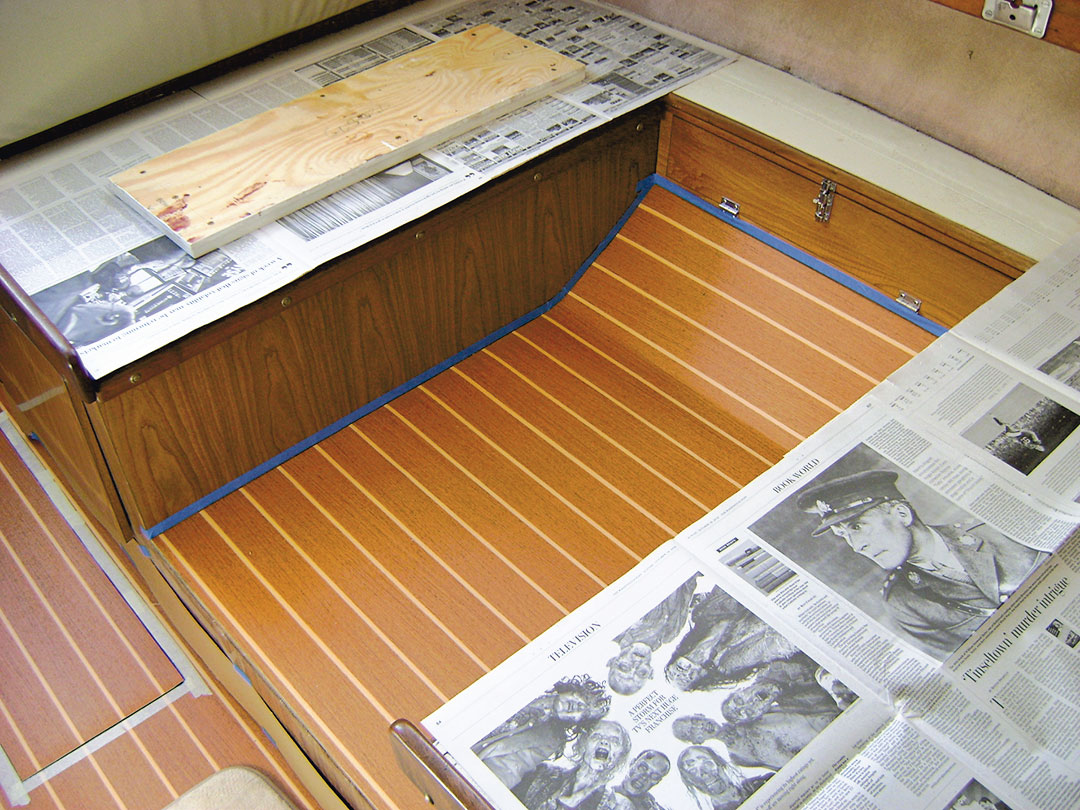
I made full-size, craft-paper patterns of each of the three areas and test fit the paper patterns on the sole. I then laid the paper patterns on the vinyl stock and used a mat knife and metal rule to cut each piece. I traced the cant score on the underside of the forward cabin piece, the dining piece, and the main sole piece. The main sole section also had a rectangular area for the lift-out bilge access panel.
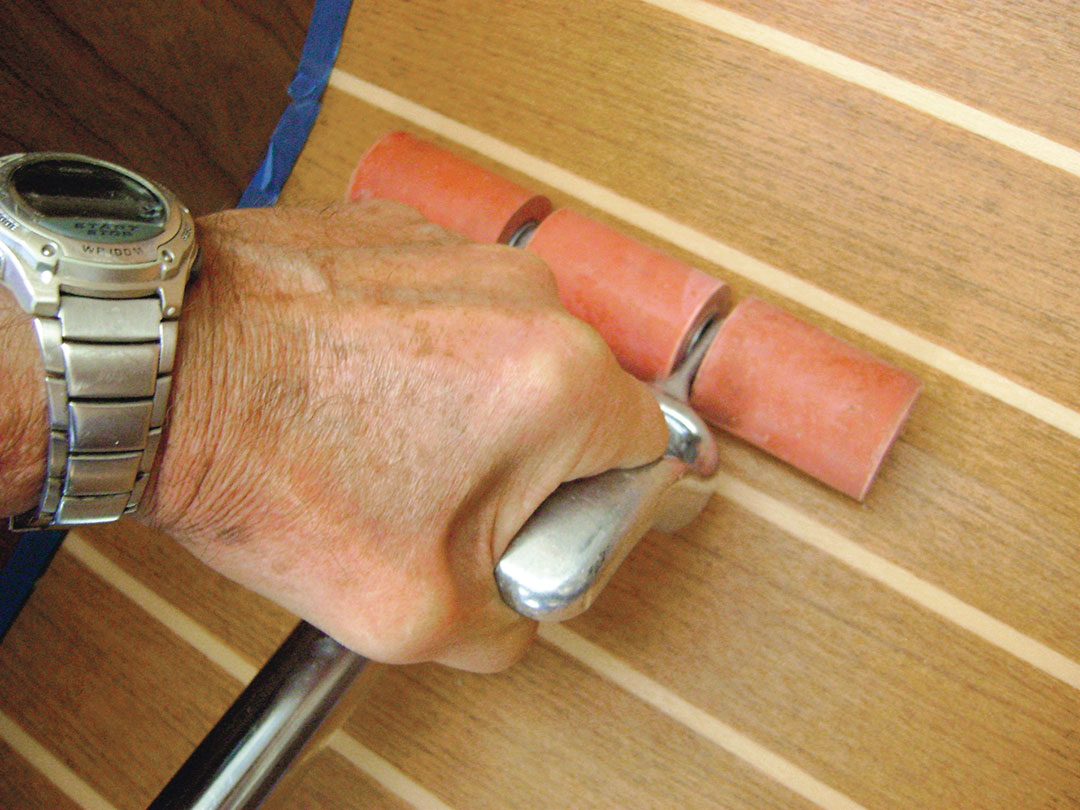
After cleaning the original sole with heavy-duty soap, rinsing with water, and allowing it to dry, I sanded every square inch to scuff the surface. Next, I applied blue painter’s tape on the vertical surfaces at the floor edges to protect them from the adhesive I planned to use to glue down the floor. I mixed two-part Lonseal epoxy adhesive and spread it evenly on the floor surfaces, one section at a time. With assistance, I carefully placed each cut vinyl piece and used a pressure hand roller to insure good adhesive bonding and no bubbles.
I faced the lift-out bilge access panel (3⁄4-inch-thick marine plywood) the same way and then used tan plastic T trim to finish the edges.
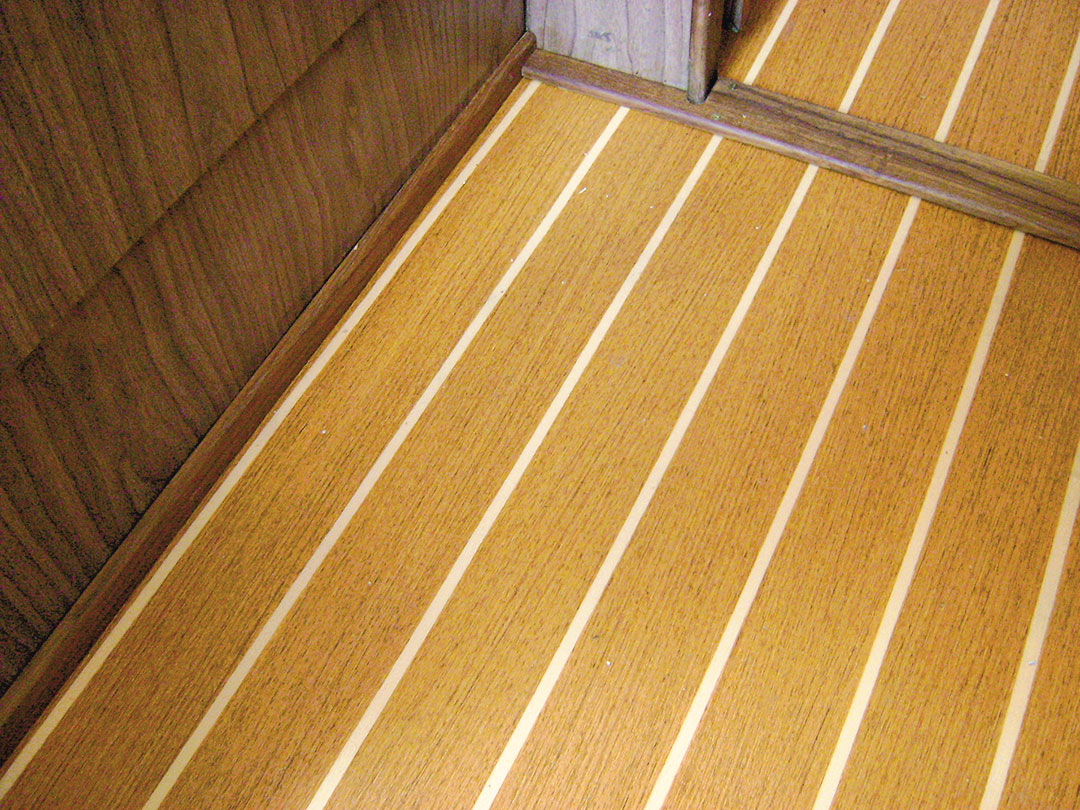
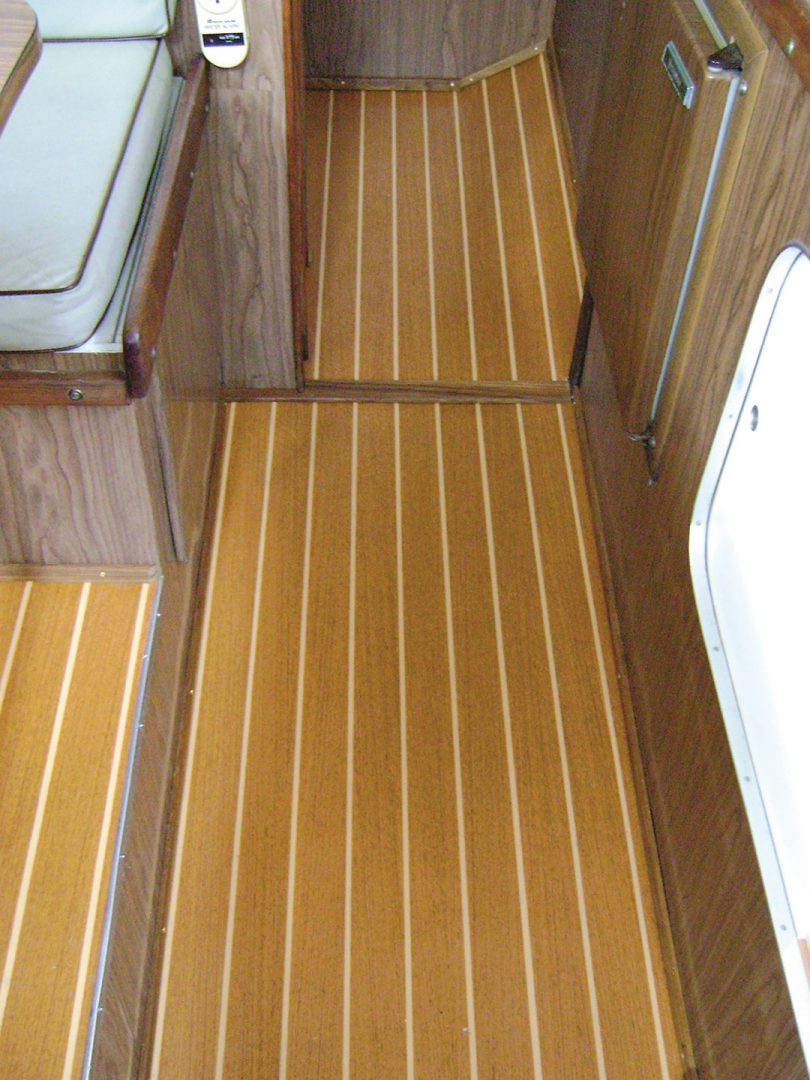
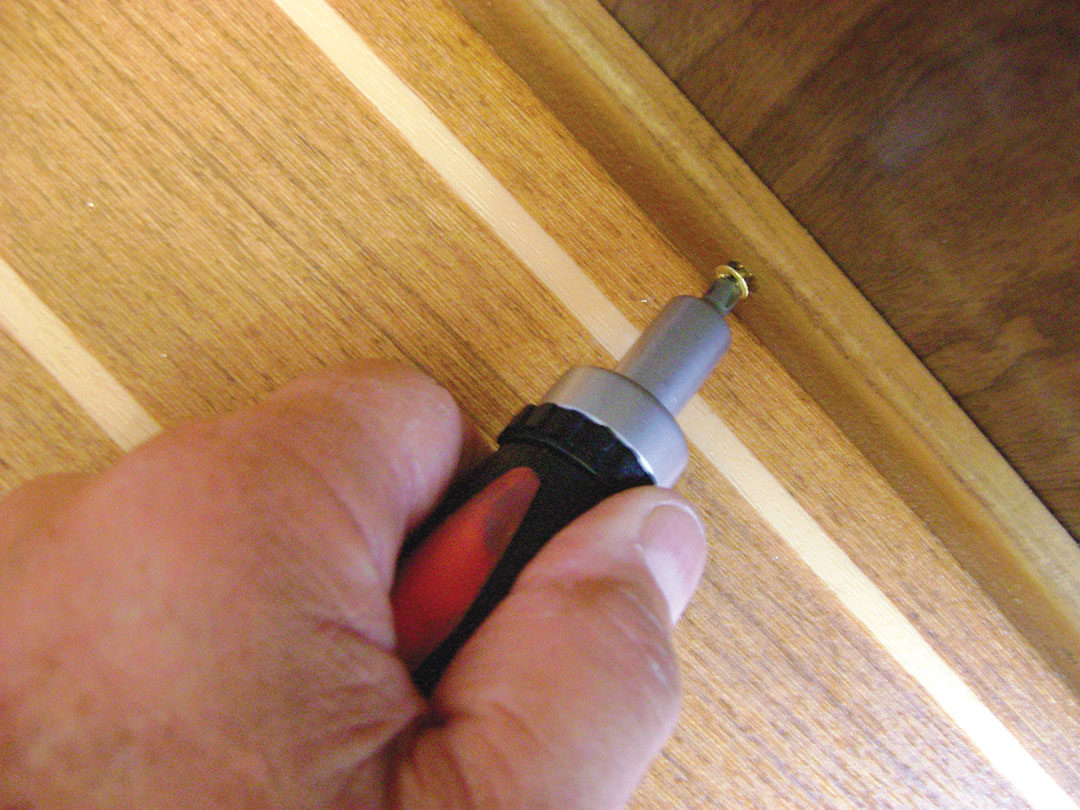
Because the 1970 Morgan does not have a molded fiberglass floor section, I did not want the cut vinyl to simply butt against vertical surfaces. To finish these intersections, I purchased solid teak battens (3/8 x 1 1/2-inch ) and ripped the lengths in half to 3/8 x 5/8 inches. I custom cut each piece to fit in place as baseboard trim, covering the entire perimeter of the cabin sole. I secured the trim using flat-head brass screws.
I finished this installation three years ago, and the cabin sole looks as good today as the day it was installed.


