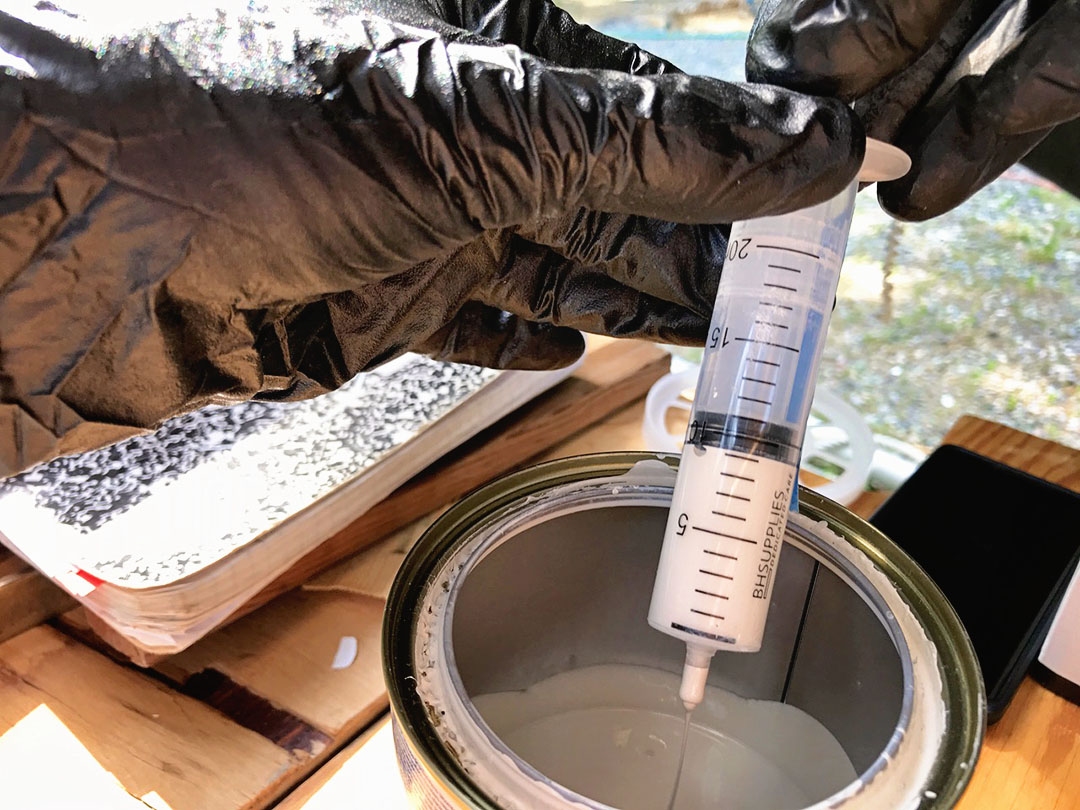
 Jeremy paused, “Six pulls, right?”
I glanced back at the small print on the paint can, “Right. And then three of the reactor. That’ll give us just about the perfect amount.”
He nodded, dropped the syringe into the can of base, and pulled the plunger. It was finally time to paint the bowsprit and boomkin pieces!
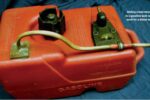
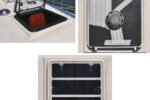
Our much-loved Bristol Channel Cutter, Calypso, is undergoing an almost total refit. We’ve taken her down to bare fiberglass in some parts of the hull, rebuilt the galley from bulkheads to counters and cabinets, and along the way we have epoxied and painted areas large and small.
It was dealing with West System epoxy, trying to mix up a batch small enough to deal with a cleat backing plate, when we came up with the idea of using syringes to meter the resin and hardener to create a micro-batch. We’ve never liked the pumps, mostly because of the mess they represent and the storage conundrum they create. Leave the pump on and you risk inadvertent drips; take the pump off and what do you do to contain the sticky mess? They also don’t lend themselves to precisely mixing smaller quantities. How do you make sure a half pump is a half pump?
When the first project that involved 2-part paint came along, we realized instantly that the syringe method we’d come up with for epoxy would work here too. In the past, Jeremy had followed the advice Don Casey gives in This Old Boat, using spoons and cups, but these yielded larger and more imprecise batches than we needed for small jobs, leading to wasted paint. (Have you priced marine paint lately?) Besides, we were running out of spoons in the galley.
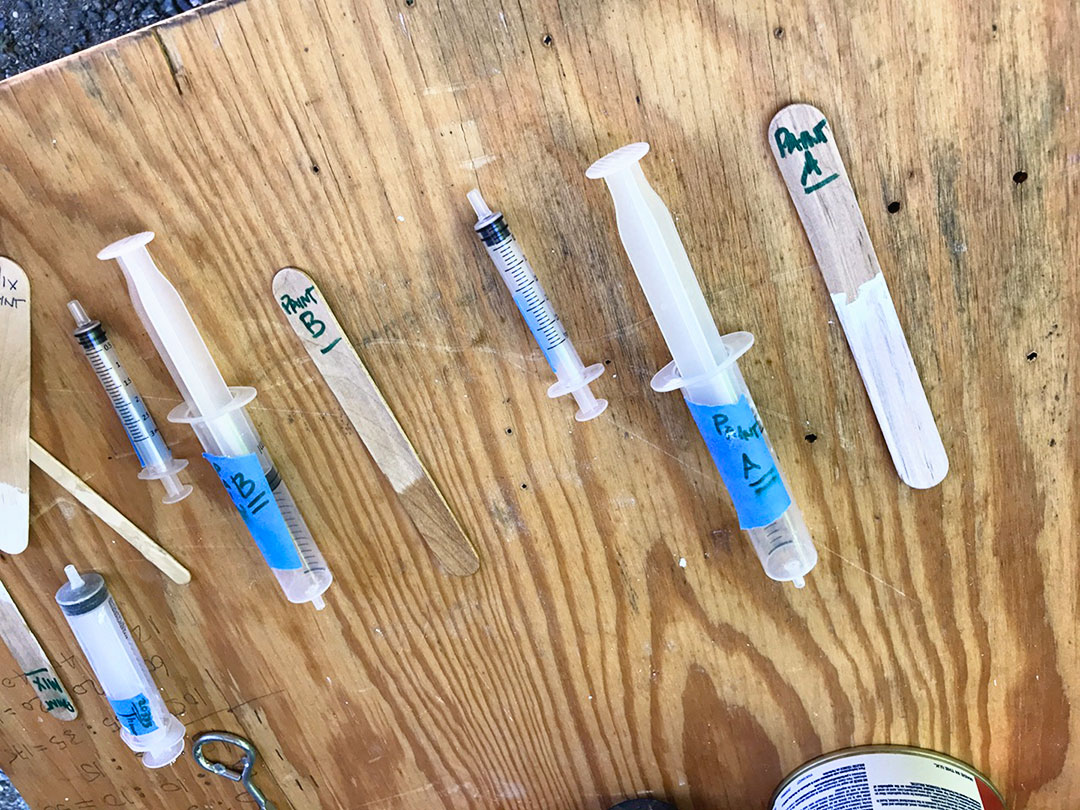
These inexpensive syringes, that we bulk-purchased in both 3 ml and 20 ml sizes, allow us to mix specific quantities of expensive 2-part whatever. We also use them with regular 1-part finishes. We simply open can, insert a syringe, pull out the quantity needed, and close the can top securely. No double-dipping with a brush, no introducing contaminants into the can. No pouring, no pooled paint on the lip to impede a good seal. No sticky epoxy pumps! We label each syringe clearly with what we used it for and clean it with acetone after each use, meaning we can reuse the tool repeatedly before the rubber plunger breaks down. (We have an old pill bottle into which we pour a small quantity of acetone before each painting session – it’s easy enough to suck up the acetone with the dirty syringe and spit it back out a couple of times over. Voila. Clean syringe.)
It’s helpful to use a small drill to enlarge the syringe tips. Thicker liquids are hard to pull into the syringe; anything that makes painting jobs easier is helpful!
And now the galley spoons can be reserved for mixing creamer into coffee.