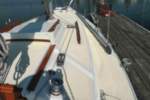
Moving a mainsail sheet traveler track makes for smooth sailing through the companionway.
Issue 139: July/Aug 2021
To my mind, there are two types of sailors: racers and cruisers. Racers are intent on tuning their rigging for maximum wind-gathering, speed, and thrill. Cruisers are content to glide along on smooth water, perhaps more focused on the magic of a summer sunset than the set of the jib. While racers might be indifferent to roomy cabins, soft cushions, generous food stores, and flat-screen TVs, a cruising sailor appreciates all of that, and more.
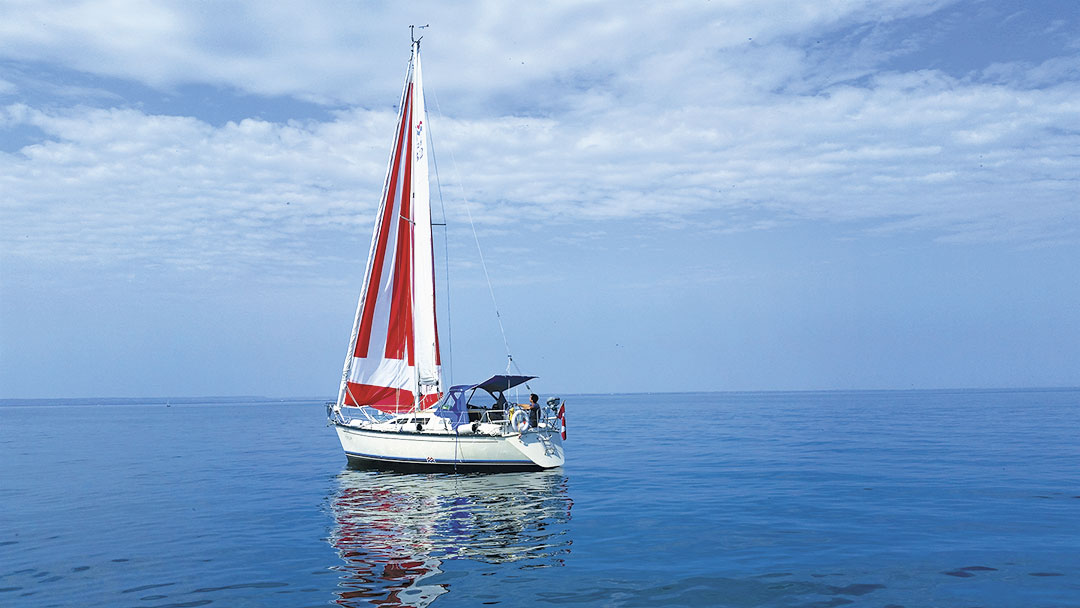
But sometimes, the two bump into each other. So it was with a 1987 Mirage 29 I purchased three years ago. SeaLah was designed by master architect Phillippe Harle and built in Quebec, Canada. She offers comfort and plenty of headroom, and she also happens to be quite nimble around the cans.
But for this cruising sailor, she had one significant flaw—her traveler track was installed on a bridge deck directly in front of the companionway. When centered, the mainsheet was a significant gauntlet for anyone moving between the cabin and the cockpit. I know that for a racing sailor the location was strategic and optimal for quick mainsail trimming, but the only thing that came to my mind was Gandalf’s famous line from The Lord of the Rings: “You shall not pass!”
I eventually decided to move the traveler from the companionway entrance to the cabin roof. Let me tell you how I did it.
I started by enlisting the help of a local canvas shop to design, fabricate, and install a new dodger. I did this first because I wanted a dodger, and I knew that the mainsheet and traveler control lines would need to pass through openings placed strategically in it. While the canvas fabricator got started, I ordered parts from Harken.
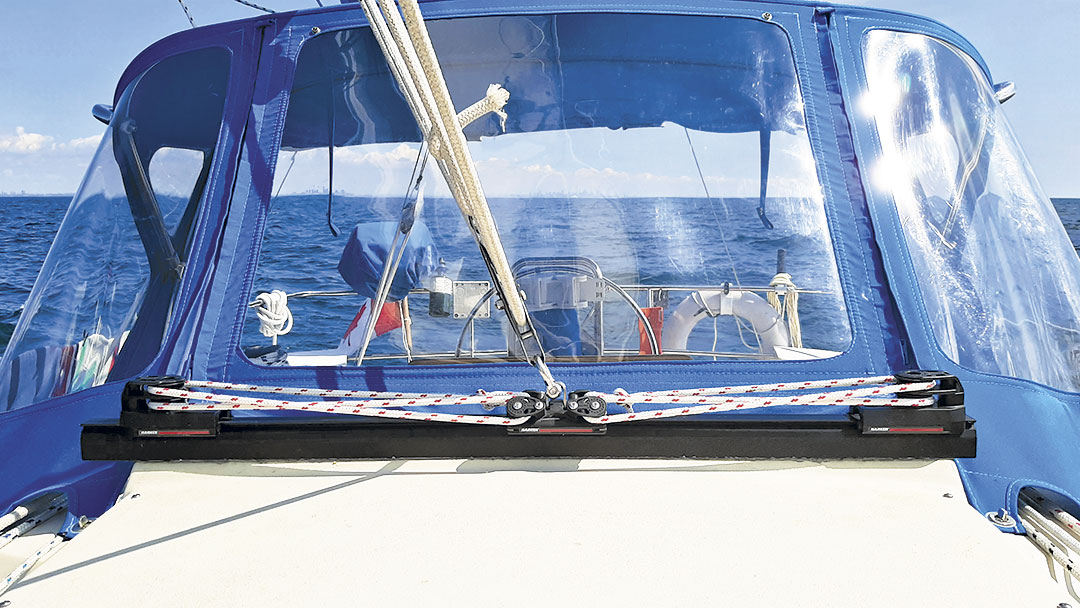
There are two types of track on which a traveler can be mounted. The existing track on the bridge deck is a low-beam track, commonly used when the track can be attached (through-bolted) every couple of inches along its length. But I planned to mount this new track on top of the spray hood that covered the sliding companionway hatch, and I knew I would only be able to attach the track to hard points on either end, leaving the middle of the track unsupported.
For this kind of installation, I needed a high-beam track, one that has a higher profile that adds stiffness. After carefully measuring, I ordered the Harken 27-mm Midrange traveler car (designed for boats 27-34 feet), a high-beam track, two double-sheave end controls, and two cam cleats.
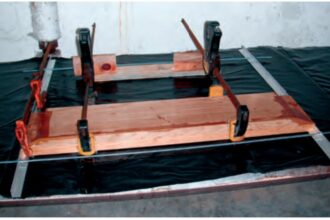
After the dodger was installed, I positioned the track one inch forward of the dodger window and drilled two holes on each end of the traveler track, through the outboard sides of the spray hood, through the cabintop, and into the cabin. I used butyl rubber tape to bed the track, as well as the other hardware I installed for this project.
The Mirage 29 includes a smooth-finish, thin fiberglass headliner on the overhead. There is a 1/4-inch gap between this headliner and the unfinished underside of the cabintop. To secure the track properly, I used a Dremel tool to carefully cut a 2-inch square hole in the headliner around the holes I’d drilled. This gave me the space I needed to secure the bolts with big washers and lock nuts tightened against the thick underside of the cabintop. I neatly covered the holes I’d made in the headliner with refinished pieces of 1/8-inch plywood.
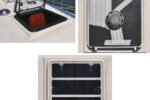
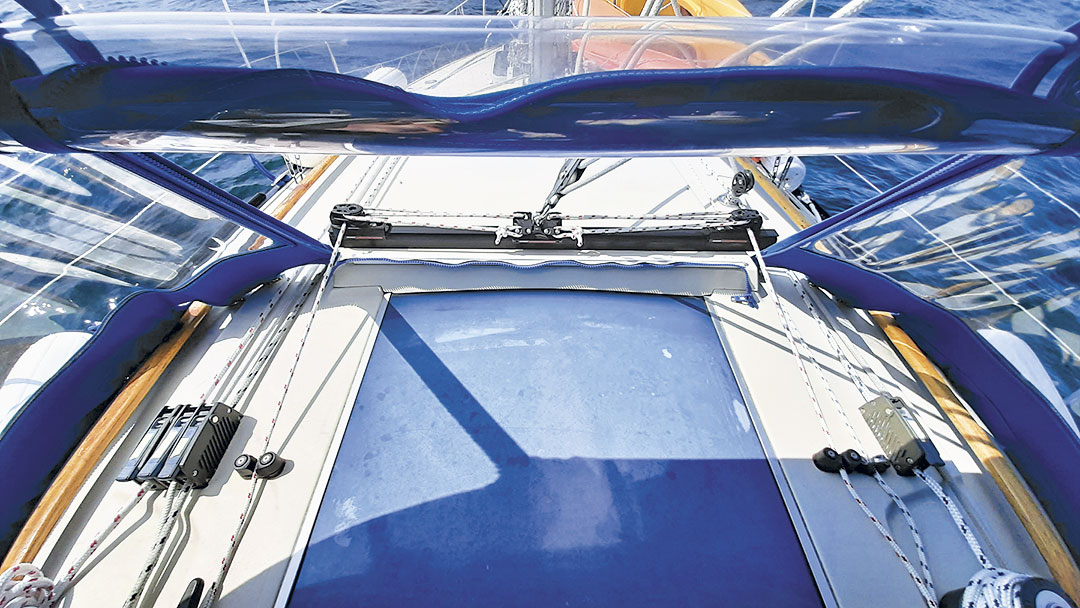
After securing the track, it was an easy job to install the traveler car and the two 3:1-purchase double-sheave end controls, and then run the traveler control lines. With the control lines led through my new dodger and back toward the cockpit, I installed one cam cleat per line on either side of the companionway. I through-bolted these cleats just as I did the traveler track, only this time I used a hole saw to make clean 5/8-inch holes in the fiberglass headliner for access. Then I used 5/8-inch, off-white, plastic plug caps to hide the holes. The result looks cleaner and more professional than the plywood approach.
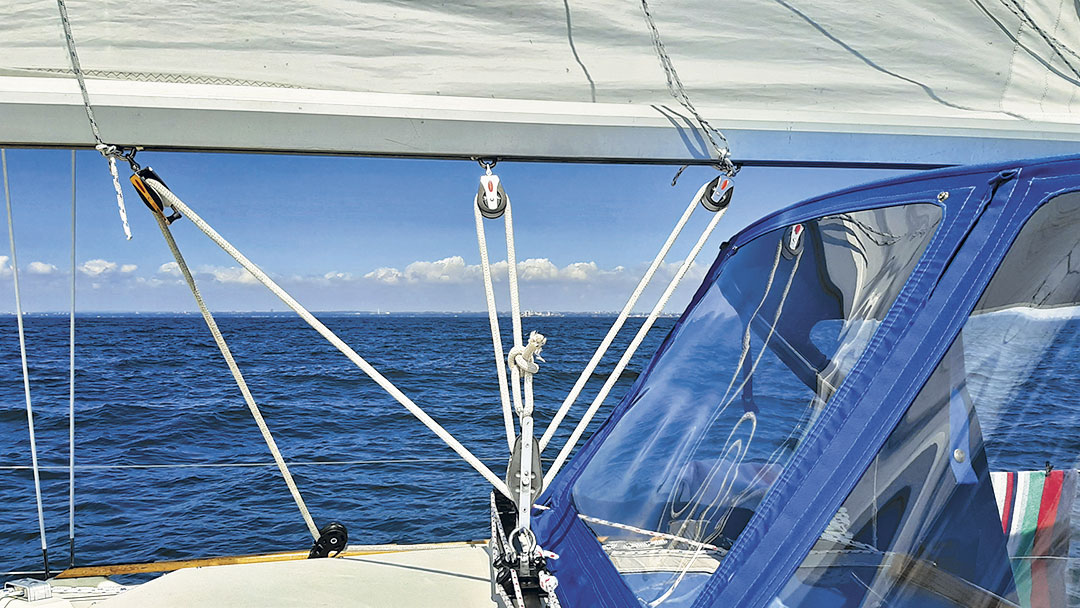
To distribute the mainsheet forces along the boom, I used a 3:1 purchase system and three boom attachment points. I purchased two straight blocks and one swivel block. Fortunately, the boat’s hard-chined Isomat boom has an integrated track on the underside, into which eye fittings can be inserted and slid to the desired positions. I moved the aft-most eye aft of the traveler track, so that the portion of the mainsheet that passed through that eye would slope at an angle matching the dodger window. I think this gives it a purposeful appearance.
I positioned the other two eyes equidistant and forward of the aft eye. When they were all in place, I drilled and screwed each to the boom track. On the starboard side of the cabintop, I installed a spring-loaded block through which I led the mainsheet aft through the dodger and to the cockpit. The deck-mounted base of this block is also through-bolted to the cabintop.
Following the wise council of my canvas fabricator, I left the original traveler track on the bridge deck so that if I had any problems with my new installation, I could easily revert back to the 1987 design. The idea was to stress test the new system for at least a year to make sure all was well. After two years of solid performance by the cabintop traveler and two years spent tripping over the old track, it was time to remove the old Lewmar component.
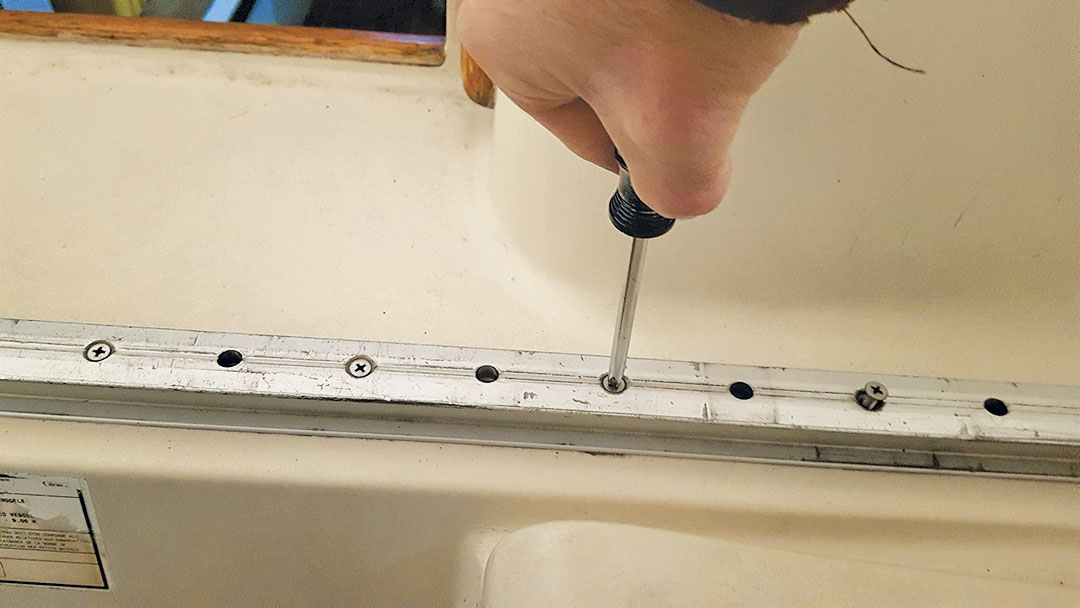
This was easy. I removed 12 bolts and the corresponding nuts, which I accessed behind 1-inch plastic hole covers in the overhead below. Pulling the track off the bridge deck revealed a long, track-sized footprint of 33 years of grime and wear. A combination of soap and water, Spray Nine, paint thinner, a chisel, sandpaper, a wire scrub pad, and muscle removed nearly all of the staining.
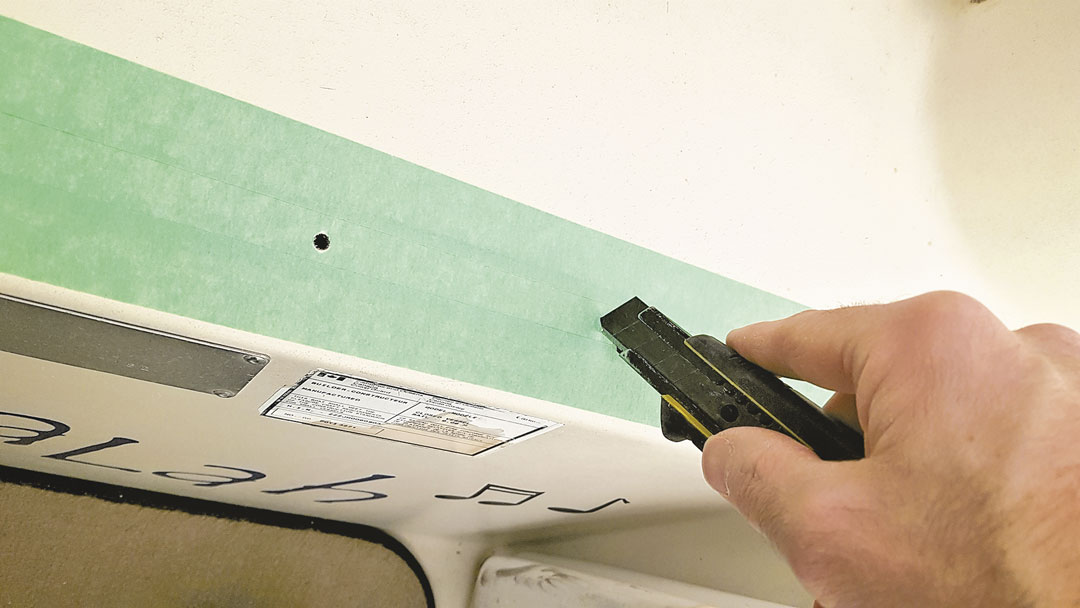
Filling the bolt holes in the bridge deck was a multi-step process. First, I cleaned out all the holes before taping over them and then carefully cutting out each hole with the tip of a utility knife. This step would ensure that the surface of the bridge deck remained clean. Next, I carefully injected a marine caulk into each hole, to within about 1/16-inch of the top of the hole, and let it settle and set.
Being careful and using a very small hole in the caulking tube, I was mostly successful in preventing caulk from contaminating the sides of the top of the holes—that last 1/16 inch. Where necessary, I used a utility knife or flat-head screwdriver to scrape away any over-caulking.
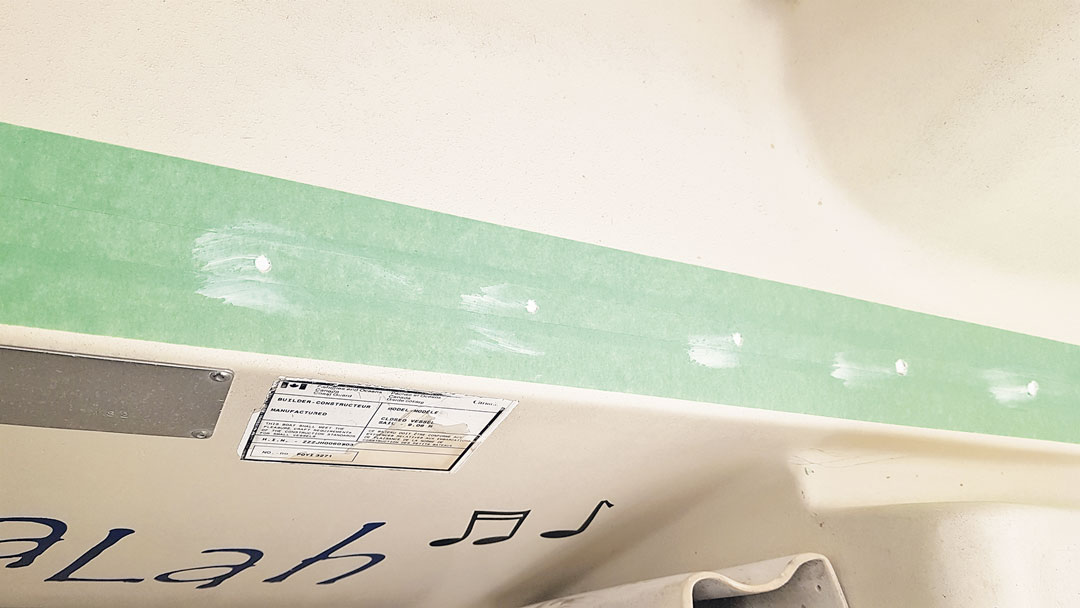
Next, I filled the remaining portions of each hole with MagicEzy 9-Second ChipFix. The oyster white color provided a nearly matched gelcoat-like finish. The product did shrink a bit as it cured, so where necessary I finished holes off with a second, very thin application to top off the holes and to fill a few small stress cracks spidering out from a few holes. Many months later, I noticed that the MagicEzy had shrunk a bit more and I added a bit more to bring the surface flush again.
Overall, I am very happy that I moved the traveler to the cabintop. However, if I had it all to do over again, I would do one thing differently. I cut off about 2 feet in length from the track I bought. The full length would have hung over the spray hood by about a foot on each side, requiring 3- to 4-inch legs to support the outboard ends of the track on the sloping cabintop sides.
However, having logged a lot of time sailing the boat with the shortened track, I miss not being able to sheet the boom further out on each side. Live and learn. But I wouldn’t trade my unobstructed companionway access for that extra traveler range. I guess I’m a cruising sailor through and through.
Lee Brubacher is the husband of one, father of three, and has been the Director of Worship at West Highland Church, Hamilton, Ontario, since 2001. He is an avid sailor who enjoys refurbishing older boats and then cruising on them.
Thank you to Sailrite Enterprises, Inc., for providing free access to back issues of Good Old Boat through intellectual property rights. Sailrite.com