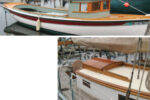
 Upon upgrading from a cozy, wooden Swifty 13 to a Montgomery 15, I was struck by the stark fiberglass interior of the Monty. I missed the warm, soothing ambiance of a wood cabin. There’s just something about wood — it’s alive, it’s organic, and so somehow helps to ease the sense of loneliness and anxiety lurking in the background of the human condition.
To remedy this problem, I set out to “woodenize” the interior of my Montgomery 15. I sought out YouTube videos, articles, discussions, and forums from which I could learn from others. Unfortunately, there’s scant information out there on the topic.
After mulling over the project, I decided to cover the Montgomery’s fiberglass interior with quarter-inch sheets of cork. But that idea soon faded. Cork isn’t really wood, it’s bark. It’s not the look I was after. Then I came up with the idea of using thin plywood paneling, like the sort used in mobile homes and basements. But I didn’t want my boat’s interior looking like a mobile home or basement. I briefly considered using peel-and-stick vinyl floor planks.
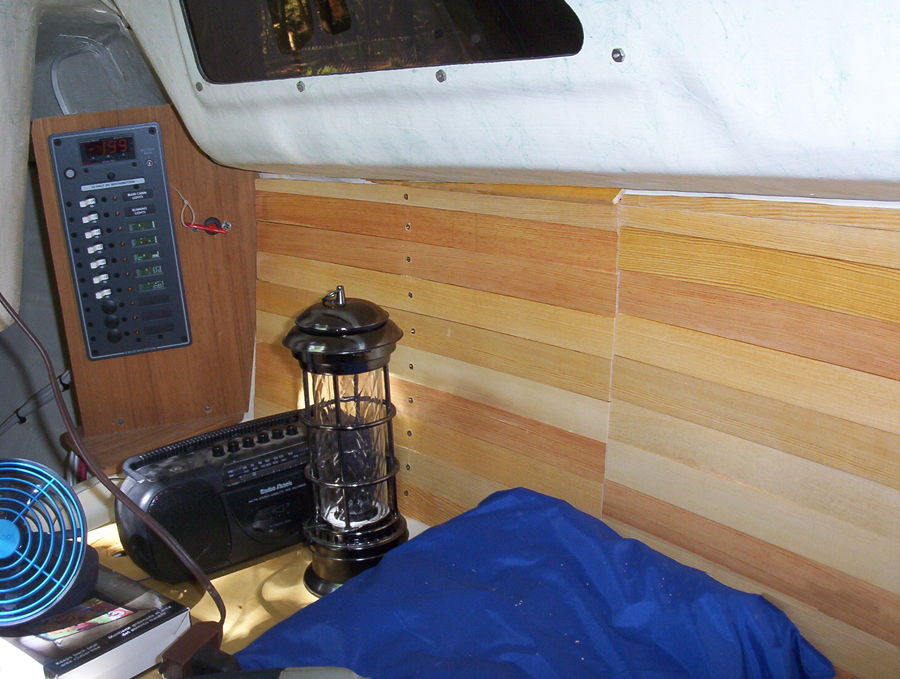
Then I landed on a solution. I bought 25 quarter-inch planks of unfinished pine, 1.5 inches wide by 8 feet long. I intended to affix them horizontally, one on top of the other to the inside of the hull, using either 3M 5200 marine sealant or 2-part epoxy. Not only would this be easy-peasy, taking me only a day or two, but would be an authentic, aesthetically pleasing, and economical solution. It would be lightweight too, adding only about 10 pounds total.
The author’s planning diagramThis project was anything but easy. All my initial assumptions were wrong.
Wood strips don’t lay easily on top of each other when forced to conform to the curve of the inside of a hull. And why had I believed I could glue 8-foot planks against the curve of a hull when that required holding them securely in place while the adhesive set?
I finally came up with a solution and it meant cutting each 8-foot plank into 2-foot lengths. Before cutting I coated each board in two coats of Tung oil. Then I drew the all-important diagram.
Armed with a headlamp, a measuring tape, a marker, and a pad, I sat in my cabin and started measuring and noting. In the end I learned that the more accurate the plan, the easier the work.
The distance from the companionway to the bow is roughly 8 feet. That meant I would use four lengths of my 2-foot planks to span the distance. The vertical distance, from the floor to the underside of the cabin, varied along the length (roughly 14 inches at the companionway, 16 inches at the mid-point, and almost 20 inches at the bow). On the diagram, there are 9 vertical lines. I call these stations. Station 0 is at the companionway and marks the aft end of where the horizontal planks will lie. Every foot of distance is marked with a station number. The number 8 marks the forward end of the planks ending at the bow. Note that from station 0 to station 5, the number of horizontal planks that stack top to bottom is roughly 9 planks. At the bow, it’s 13 planks.
One thing I soon noted: the two sides of my boat are not symmetrical! Who knew? I’m glad I measured both sides and not just one.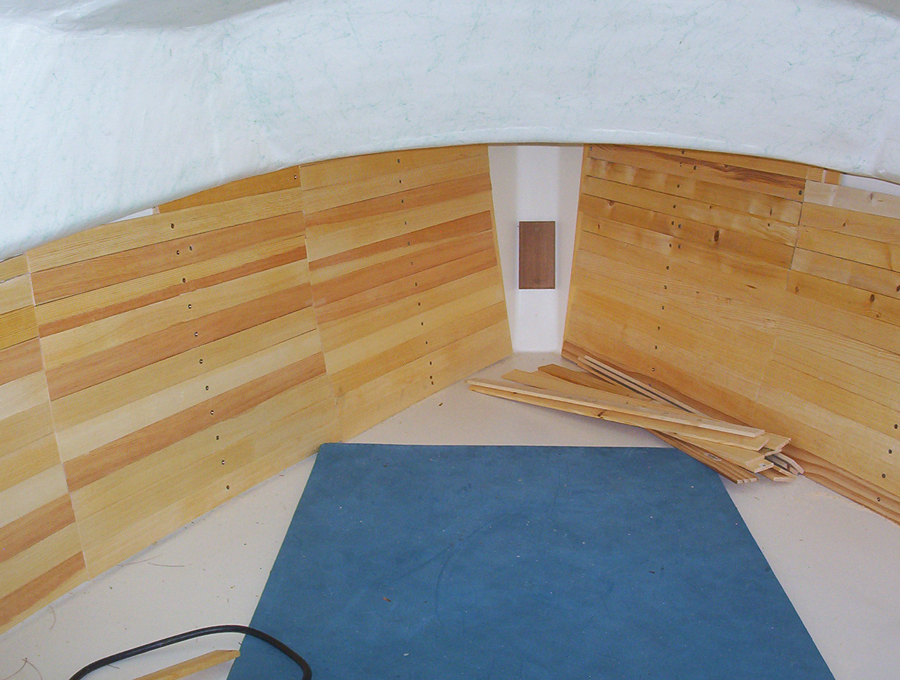 My first idea for affixing the horizontal planks to the interior sides of the hull was to glue a vertical strip of plank to the hull at stations 1, 3, 5, and 7. These would serve as attachment points for my planks. But the hull is curved not only outward, but also along the vertical plane, and these vertical pieces did not want to bend to conform to that length. If they didn’t conform to the hull shape, my woodenized interior wouldn’t look as boaty as mobile homey. My solution was to cut each vertical plank, into 1.5-inch x 1.5-inch squares and glue each piece to the hull, one atop the other to form a shape-conforming vertical strip to which I would later attach my 2-foot-long planks. I used 3M 5200.
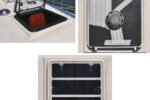
After seven days of letting the 5200 cure, I began installing the horizontal planks. I started with the bottom-most row, installing four planks from companionway to bow, on each side.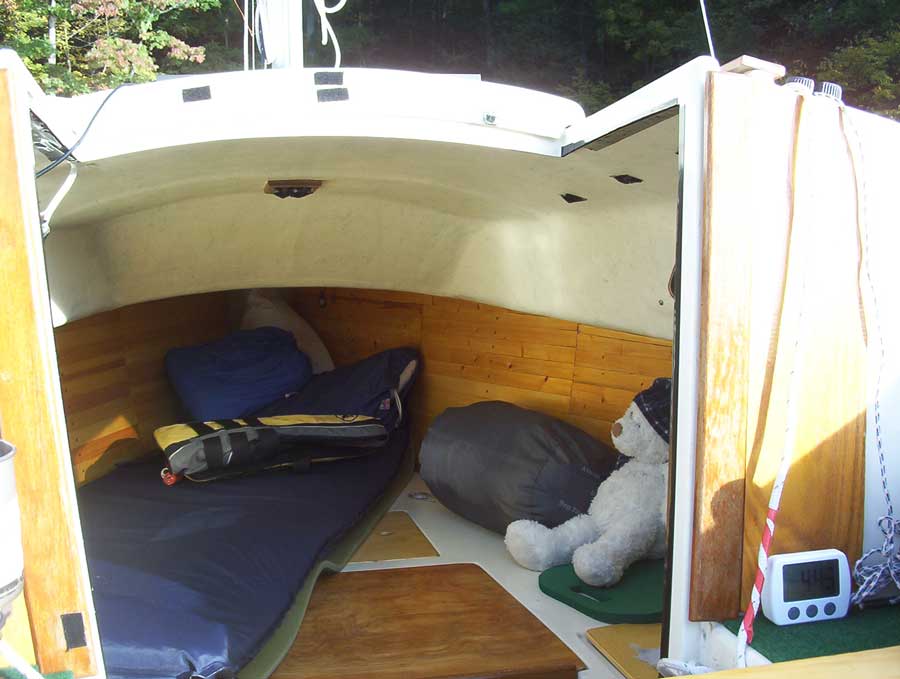 To install each plank, I first drilled a small pilot hole through the plank and into the small block behind it (which should lie in the middle of the 2-foot plank). On the outside of the plank, I made a small impression at each pilot hole, into which the head of the bronze screw would later embed, resulting in a flush surface.
This project took upwards of 200 hours. The total cost of this project was between $150 and $200. I did much of the work in a cramped environment, on my side or on my back. I found myself saying, “This is nuts. I’m crazy. It’s a fiberglass boat, nothing wrong with that! It has a fiberglass cabin and that’s okay! Get used to it, others have.”
But I persisted. I’m very glad I did.