Prototyping bug-proofing possibilities for opening portlights
My friend’s Westsail 32 has 10 opening portlights. That’s a lot of ventilation. Without screens, it’s also a lot of entrances for bugs. The portlights have an exterior metal bezel that’s about ¾ inch wide with a flush spigot. Each one is secured by eight flat-head machine screws with acorn nuts on the outside. The interior lens frame has two hinges on the top and two cam-lever closing dogs on the bottom. My friend had been unable to find off-the-shelf screens to fit these portlights, so I made some prototypes to see whether any met his needs.
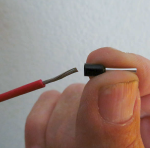
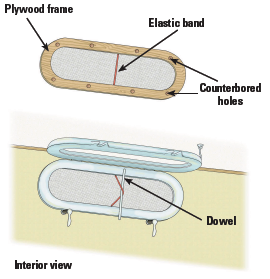 Outside frame with elastic band
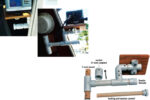
For this screen, I cut a ring from ½-inch plywood to match the exterior bezel and counterbored holes in it to accommodate the acorn nuts so the frame would lie seated against the cabin side. I stretched insect screen over the outside of the frame and attached it on the inside with stainless steel staples. To give me a grip when positioning the frame from inside the boat, I stapled nylon webbing between counter-bored holes. I then secured a sturdy elastic band to the inside of the frame with a small screw eye. To secure the screen in place, I stretch the elastic band around a wooden dowel that rests across the inside frame of the portlight.
The screen must be removed when closing the portlight.
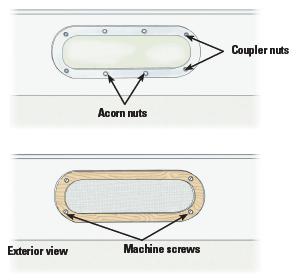
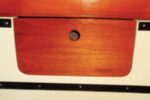
Screw-attached outside frame
To make this screen, I cut the same bezel-sized ring from ½-inch plywood and drilled counterbore holes for the four acorn nuts in the middle of the portlight frame. For the four fasteners closest to the corners, I drilled holes through the bezel to accommodate coupler nuts, which I threaded onto the portlight fasteners. I was then able to fasten the bezel to the outside of the portlight with machine screws. As there is no need to access the frame from inside the boat, I attached the screen fabric between the frame and the boat.
Because it does not need to be removed for the portlight to be closed, this screen can remain installed for extended periods of time.
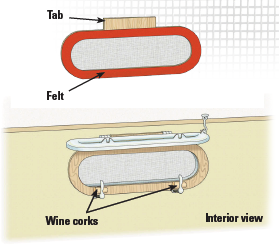
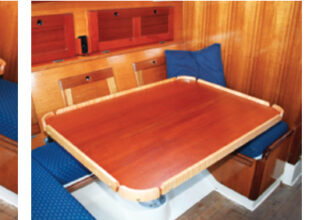
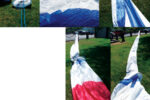
Interior wedged screen
For this variation on the theme, I cut ½-inch plywood to the size of the interior bezel but with an extension tab on the top to fit between the hinges of the glass lens. I affixed the screen to the side of the frame that touches the cabin side and covered that surface with felt. To use the screen, I simply slide the tab up between the lens hinges and the open portlight bezel and then press the frame to the cabin side. To keep it in place, I wedge wine corks between the frame and the upturned dog cam handles. This option has the best exterior and interior appearance and looks like it is part of the boat and not something developed as an afterthought.
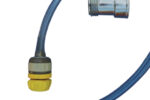
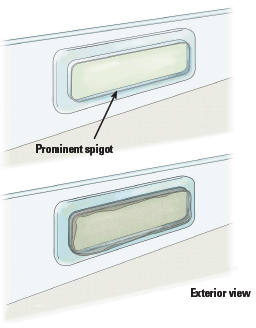 Shower-cap screen
I developed a fourth prototype that does not work on the portlights on the Westsail but will work on any portlight that has a large protruding exterior spigot (common to all New Found Metals portlights). A video on the Sailrite website shows how to make an inside portlight cover, but the same method would apply to making an outside cover or screen (sailrite.com/ How-to-Make-a-Portlight-Window-Covers-Video).
With a little thought and ingenuity, it should be possible to create a workable insect-screen system for any portlight. It might be necessary to use different plywood thicknesses, and the type of bugs to be kept at bay will affect the choice of screen mesh. Regular mesh will keep out mosquitoes, but no-see-ums require a much finer mesh. Storing any of these screens is easy, as they will stack flat.
Jim Shell and his wife, Barbara, sail their Pearson 365 ketch off the coast of Texas.
Thank you to Sailrite Enterprises, Inc., for providing free access to back issues of Good Old Boat through intellectual property rights. Sailrite.com