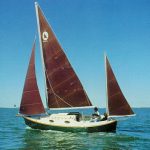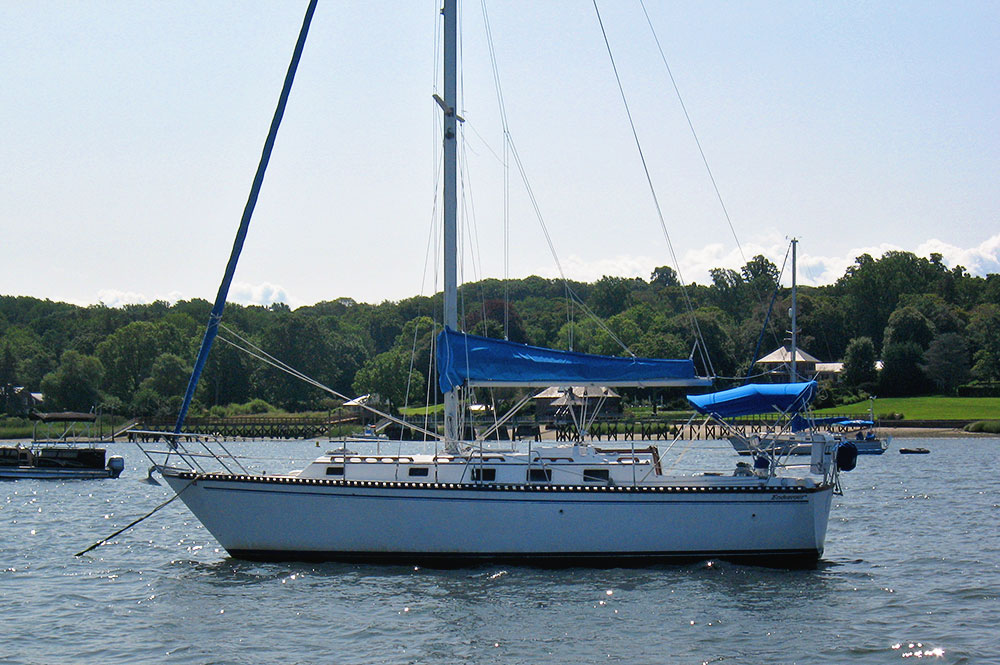
When my wife and I bought our 1983 Endeavour 33, we renamed her Gemini. They say it’s bad luck to rename a boat. They might be right.
Bringing her to her new home in Oyster Bay, New York, we slammed into a wave on Long Island Sound and I fell into the pedestal and it tilted forward. After ensuring we still had steering, I wondered what had happened. Soft deck? Fortunately, the problem was much simpler, two broken pedestal bolts. The aluminum bolts they used in 1983 were not a good choice for a saltwater environment. I replaced them with stainless steel.
Now I could get to the repairs I knew about.
The bilge pump and pressure-water pump were belt-driven diaphragm pumps that didn’t work well. I’d planned to rebuild them, but I found that the cost of the rebuild kits was greater than the cost of new direct-drive diaphragm pumps. I installed two new pumps. That went well. Things were looking up.
Next up were the instruments. All of them were 1983-vintage Datamarine models. The depth sounder worked, the speed and wind instruments did not. All the displays were dim. I installed B&G depth, speed (one transducer for both), and wind instruments and two Trident multifunction displays. The new system used one small NEMA 2000 cable for everything, allowing me to remove a ton of old cables. That was the end of my first year with the boat.
I started year two focused on fixing a rainwater leak. The problem was simple, a rotted hose that connected the cockpit scuppers to through-hulls in the transom. The fix wasn’t simple. Because I didn’t have an 8-year-old kid to fit into the space I needed to access, I had to hang upside down to reach under the cockpit to make the connection. After a few choice words I got it together. Then I called the boatyard and had them fix a small leak in the exhaust hose. They made short work of the replacement. I replaced the ancient VHF radio.
It was finally time to use the boat as I wanted.
Both my son and daughter-in-law are competitive sailors. The first time I took them sailing they told me the main sail had to go. They were right, so I bought a new main sail, and the difference was amazing. The boat pointed more than 5 degrees higher.
Life was good. I finally had a seaworthy boat that sailed well. Between sails, I wiled away my time tending to minor repairs and teak refinishing. I told my wife that the boat was done and that this year would be just for sailing and sunset cocktails. Don’t ever say that with an old boat.
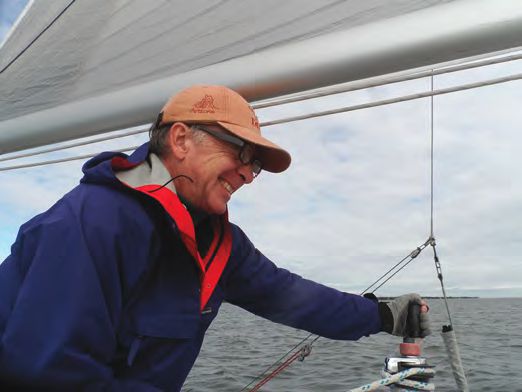
This summer, my son and daughter-in-law were up from Annapolis for a weekend and I invited them on a short sail, eager to pick their brains about what kind of replacement jib I should get. My daughter and granddaughter joined us for this short before-dinner sail. We set the jib and the boat was moving well. It was Friday the 13th.
The BANG was the loudest I’d ever heard on a boat. Alarmed, nothing obvious was amiss. Then it was clear: the port-side chainplate that holds the upper and intermediate shrouds had ripped through the deck. My crew raced up to the bow and dropped the jib while I started the engine so I could keep the boat into the wind. With the jib down, my son and daughter-in-law attached the jib and spinnaker halyards to the port-side toe rail to stabilize the keel-stepped mast. The mast’s new slight bend to starboard was unmistakable. Dinner that night was somewhat somber until my son broke the ice by saying that I should just jack up the Windex and slide a new boat under it.
I had no idea what to do. The boat was safely on its mooring with the broken chainplate tied to the toe rail. Sailing friends suggested I call my insurance company to see whether the damage was covered. The adjuster took photos of the bulkhead where the chainplate had been attached and of the deck where it pulled through and told me he would get back to me in a few days. True to his word, he called a few days later with the good news and the bad news. They would pay to un-step, inspect, repair, and re-step the mast. I was on the hook for the damaged bulkhead as rot was not covered. I felt much better. Repairing the bulkhead was well within my skill set.
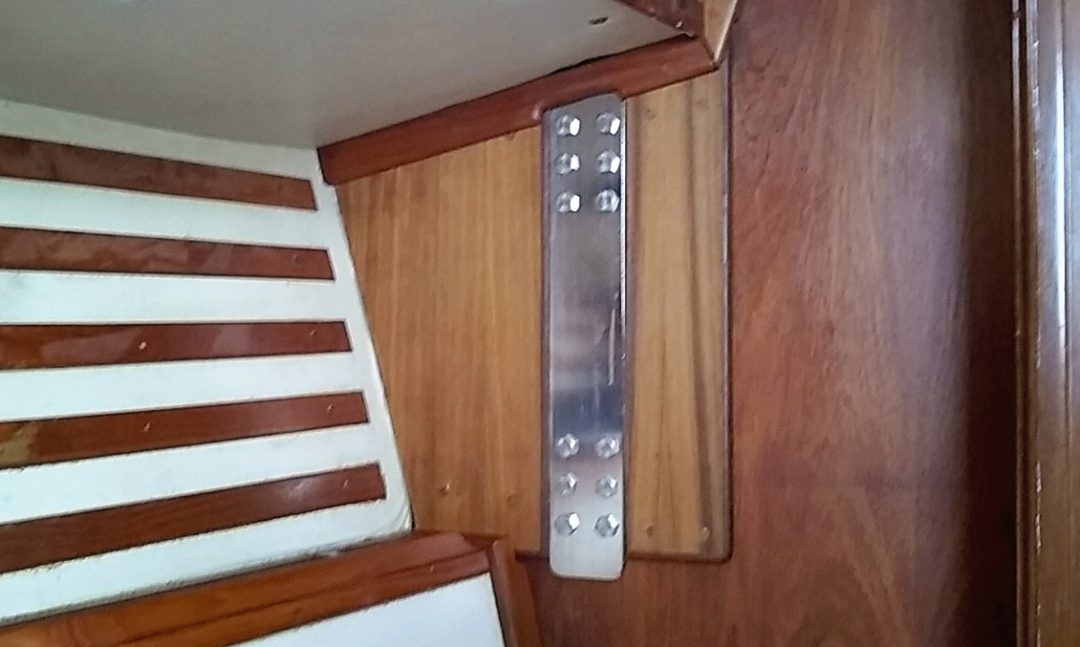
My plan was to cut out any remaining rot and rabbit in a new piece of ¾-inch teak plywood, but to be safe I would sandwich the new plywood between two ½-inch teak plywood panels. As added insurance, I designed new chainplates twice the length of the originals, so they would catch the repaired and unrepaired portions of the bulkhead.
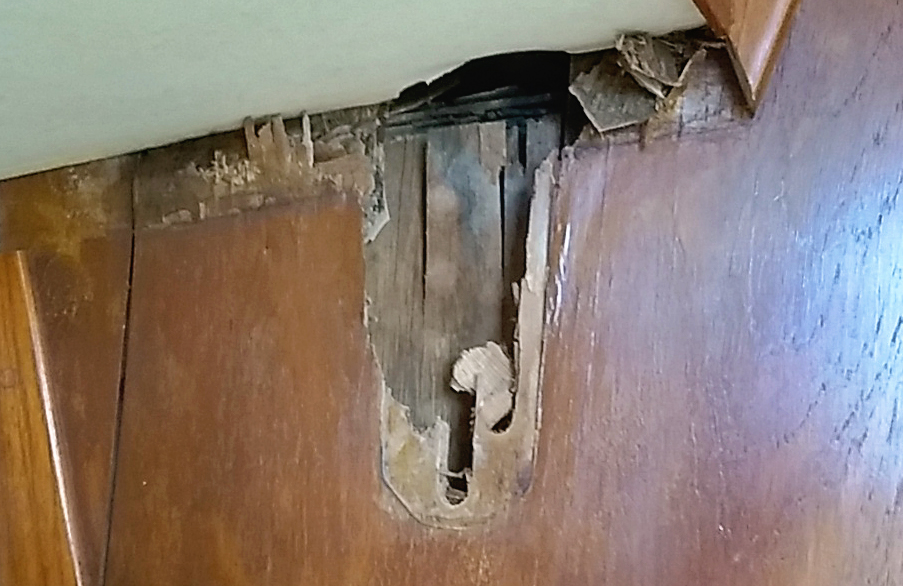
My first step was to cut out all the rotted and delaminated plywood. This left me with a one-foot-square hole. I then realized that cabinet in the head at other side of the bulkhead had to go because the new bulkhead would be ½-inch thicker. (Only God knows how they attached that cabinet to the boat. No screw heads were visible nor were there any plugged screw holes. I know it went in after the chainplates because there was no access to the nuts.) After hacking the cabinet out of the head, I could look through my one-foot-square hole from the main cabin into the head.
While I was doing this work, Garhauer Marine was building the new chainplates I’d specified. I briefly considered making them myself, having once made the chainplates and gooseneck fitting for a 21-foot sailboat, but the thought of drilling 14 ½-inch holes in 3/8-inch stainless steel changed my mind. I did make the ¼-inch aluminum backing plates.
It was time to rebuild.
First, I rabbited one side of the perimeter edges of my one-foot-square hole. I then cut and rabbited a piece ¾-inch teak plywood patch to fit in the hole. To make my life easy, I attached them using the West System epoxy that comes in a caulking-gun tube.
To make the plywood bulkhead sandwich, I started on the head side, as that would be one piece. Because the teak-faced plywood I intended to use is so expensive, I first made an oak tag template followed by a 1/8-inch plywood template. I wanted this to be a cut-once job. After I’d screwed and glued that piece to the bulkhead, I started on the cabin side. That piece of my sandwich would have to be two pieces so that the chainplate would be on the same plane as the existing bulkhead.
To get this right, I knew I needed to position the new chainplate on the bulkhead. But before I could do that, I had to fix the hole in the deck. I made a dummy wooden chainplate, wrapped it in packing tape, and stuck it through the deck so that I could glass right up to it and create the right-sized hole.
When the two beautiful new chainplates arrived (I ordered two because I planned to do the starboard side too, proactively) I used the existing starboard chainplate to gauge the correct height of the port-side chainplate. Now I could bolt the new chainplate to the bulkhead. With it in place I completed my sandwich using the same technique I used on the other side. Except for cosmetic details, the port side was done.
The starboard side was going to be an afternoon job: just remove the existing chainplate and install the new one. Of course, when I removed the old chainplate I found rot underneath. I dealt with it.
So how long did it all take? Sixty days passed between the BANG to the day the mast was up again. Was it worth all the work? Of course. As those who sail older boats know, if the boat’s hull is sound, everything else is worth fixing.
Sailing? Well, there is always next summer.