With Corian countertop material as a core, a new centerboard takes shape.
Issue 131: March/April 2020
I’m one of the lucky few. Not only do I sail a boat with a centerboard, the centerboard on my Allied Seabreeze 35 is made of bronze. After 55 sailing seasons that bronze centerboard shows no evidence of degradation. It’s in like-new condition. Unfortunately, my experience is not common. Most centerboards are not made of bronze.
My friend owns a sistership. Both of our Allied Seabreeze 35s were built to a high standard, but Allied built the latter half of the production run with aluminum centerboards, probably to keep costs down. As you can imagine, some of these aluminum boards have not stood the test of time, evidenced by significant corrosion issues. The kiss of death is painting an aluminum centerboard with copper anti-fouling paint.
My friend needed a new centerboard and enlisted my help. Ideally, he’d have a new board fabricated of bronze, but the cost would be prohibitive, even if one could find a shop to take on the job.
Our approach to build a new board was unique. Instead of metal, we decided on fiberglass. Rather than building a mold, we opted to build a one-off board with a core. But what material would we use? Getting epoxy to bond well to any metal is difficult. Wood is cheap and easy to work, but wood is lightweight and subject to rot. After reading an epoxy manufacturer’s technical article about successfully bonding to Corian countertop material, we had our answer.
I explained to the distributor why we needed the Corian, and they supplied a lovely pink remnant that fit our project. The material generally comes in 1⁄2-inch thickness for countertops and 1⁄4-inch thickness for shower surrounds. Because our finished thickness was to be 11⁄16-inch maximum, I used 1⁄2-inch material. With a saber saw I cut the centerboard shape, though slightly smaller, allowing for the thickness of the glass I planned to wrap around the perimeter edges. Using a 5-inch grinder it was easy, but rather dusty, to taper off the trailing edge and put a bit of a bullnose on the leading edge.
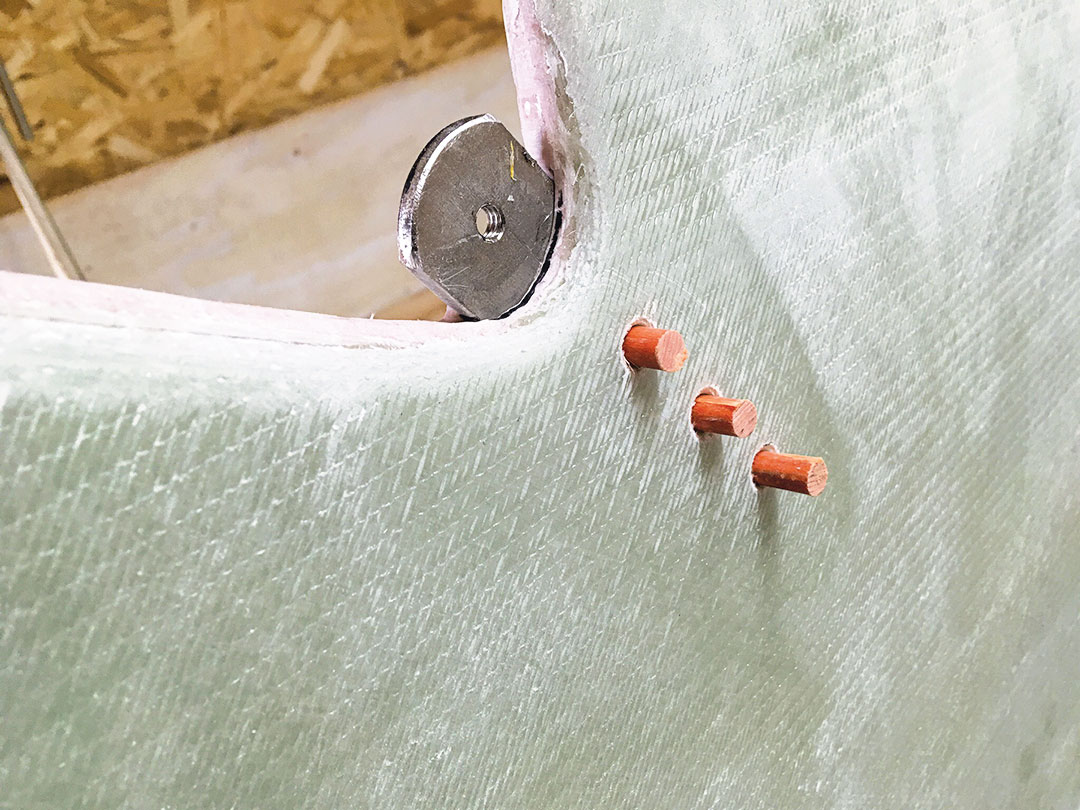
The lifting tang is a piece of 1⁄8-inch 316L stainless steel. To attach it to the new centerboard, I epoxied it into a pocket I cut with a router. Before routing I measured carefully, because accurate placement of the tang is critical to replicate the function of the original board. When I began the laminating process—which I could only do one side at a time—I used the existing holes in the tang to drill through the new laminate each time I laminated a side. Ultimately, after all the laminating was completed, I installed fiberglass rods to pin the tang in place, avoiding use of another underwater metal to fail.
One square foot of 1⁄2-inch Corian weighs 4.4 pounds, which is much heavier than water (2.6 pounds for the same volume) but much lighter than the original aluminum (about 7 pounds for the same volume). So, from the start, I assumed the new board would come in on the light side. I had a plan for that.
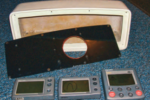
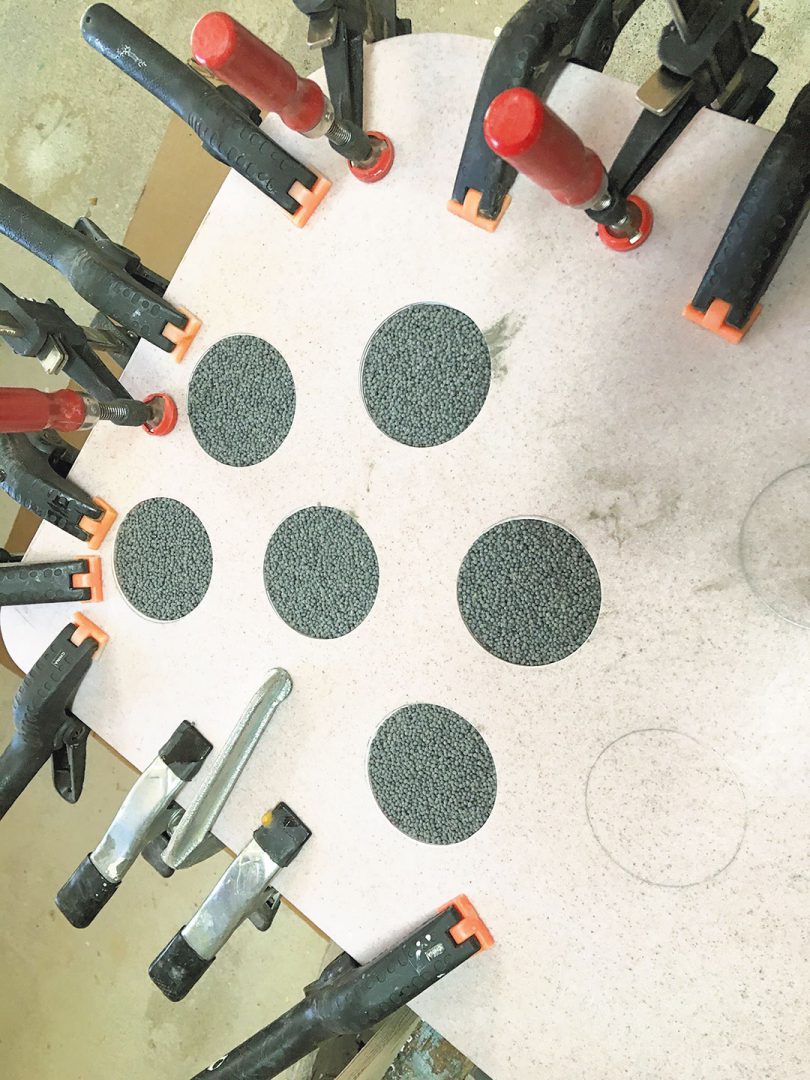
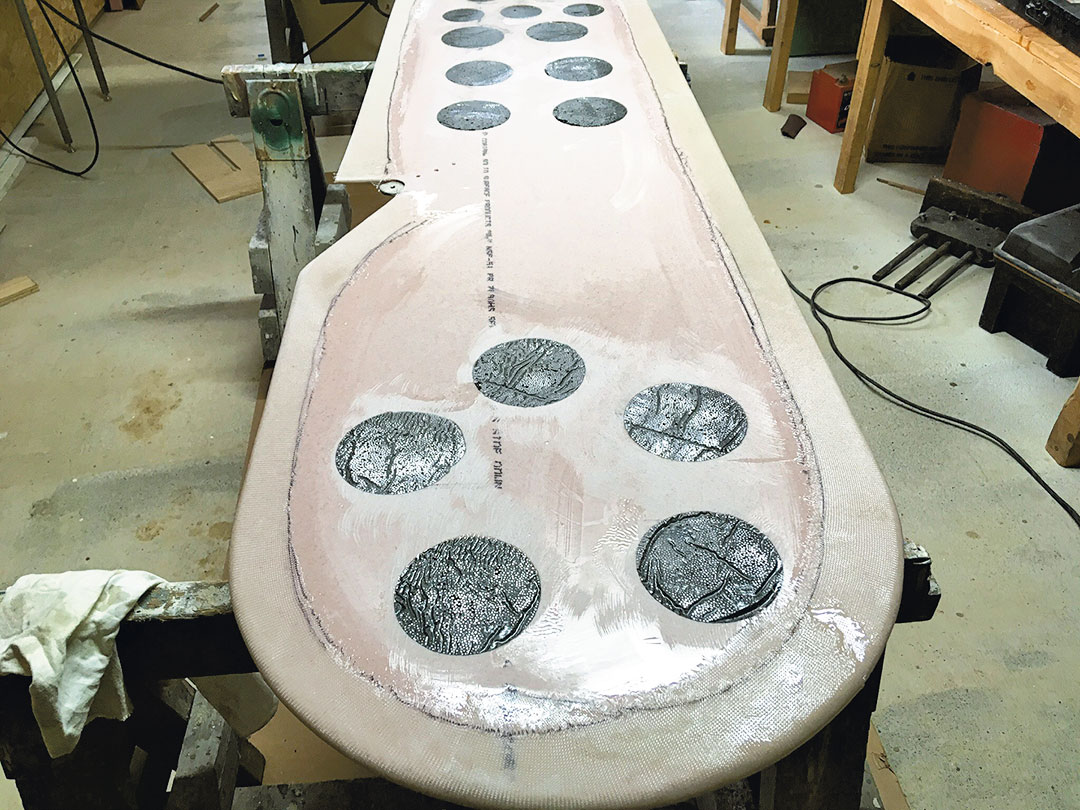
I used 4-inch and 21⁄2-inch hole saws to drill 18 evenly spaced holes through the Corian. Then I covered the underside of the board with polyethylene sheet plastic and a thin sheet of plywood that I clamped in place. From the top, I now had 18 pockets that I filled with a slurry of lead shot and epoxy. (On the internet I found a 25-pound bag of mixed #6 and #7 shot. This must have been recycled stuff, because it warned that there could be small pebbles and twigs mixed in. I never saw either.) This step increased the weight of the Corian board by 25 pounds.
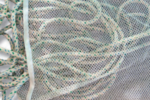
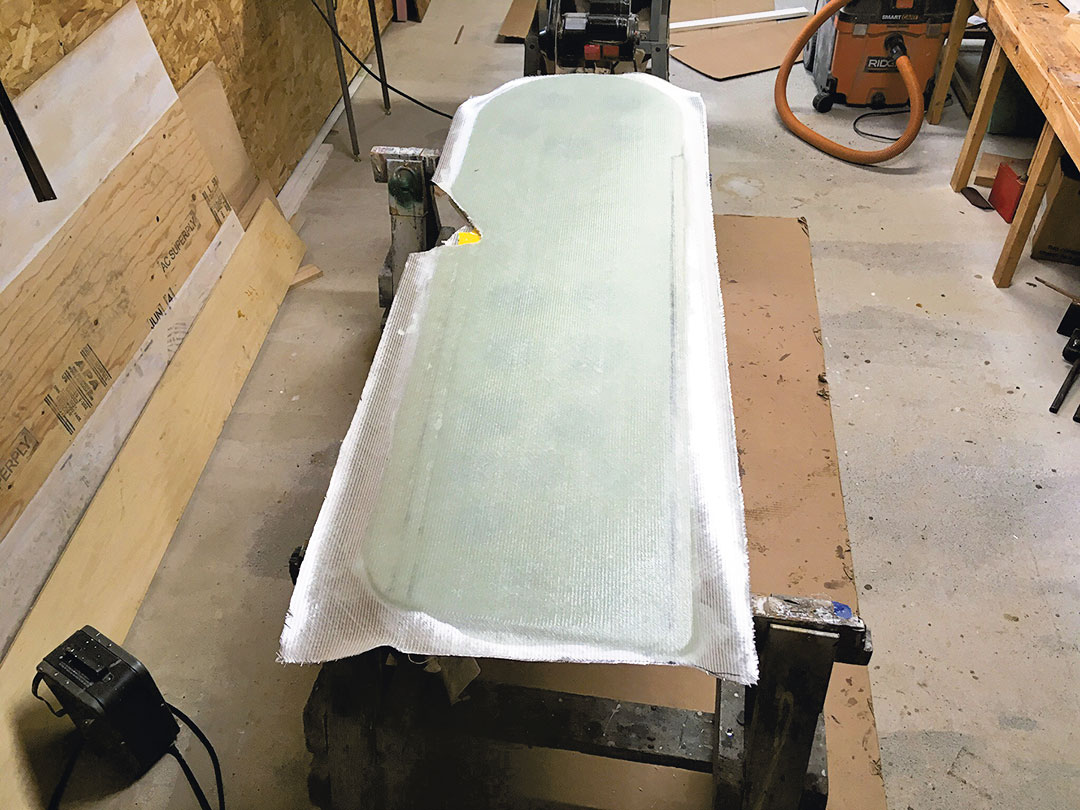
Though the Corian was in the rough shape of the original centerboard, now it was time to start the fiberglass work that would really do the trick. From 6-ounce fabric, I cut 4-inch-wide strips on a diagonal, which allows the fibers to wrap around the edge and turn the corners with ease. This is much, much easier than using standard tape with selvage edges. Using these strips, I made two passes around the perimeter of the board.

Next, I applied eight layers of 20-ounce biaxial cloth. The first five layers I applied were full width, way oversized. After these cured, I carefully trimmed the edges off. The next three layers were narrower, and I used them to bulk up the center and create the foil shape.
At this point, the board had gained a lot of strength, but it still flexed a little more than I wanted. I added a 12-inch-wide piece of 6-ounce unidirectional carbon fiber. That worked like magic to stiffen the board.
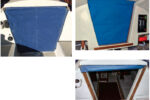
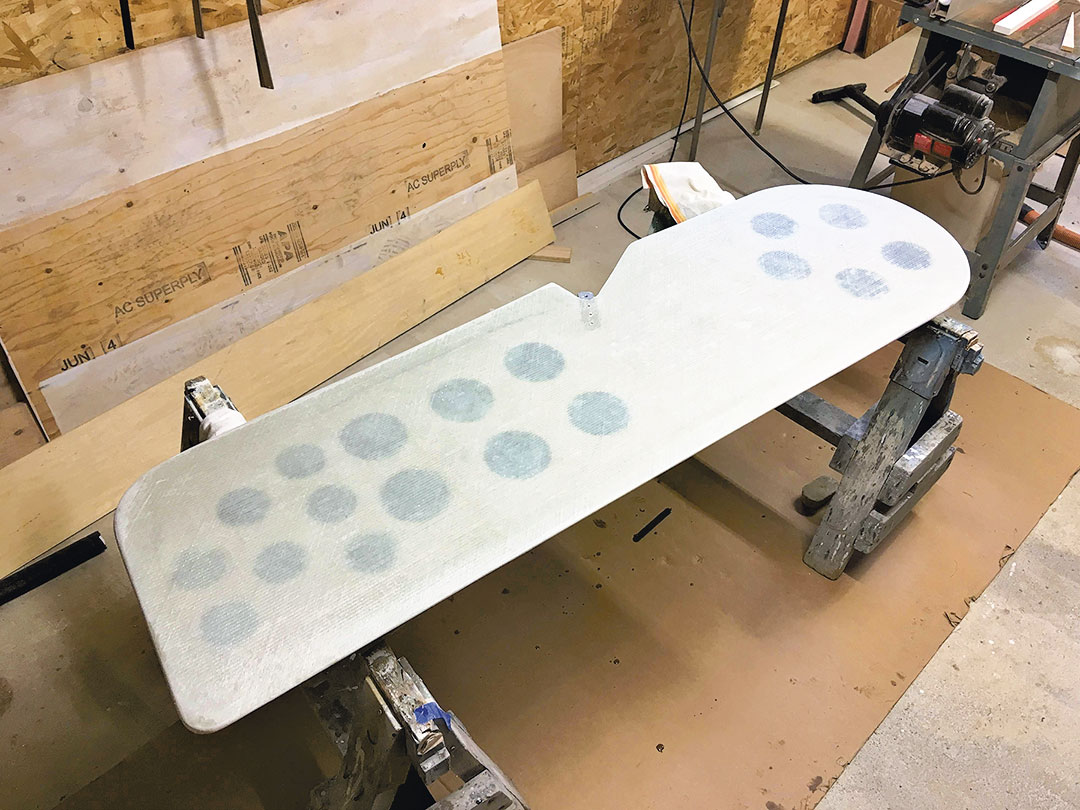
Next, I wrapped the perimeter with two more passes of diagonally cut tape before adding a tenth layer of 20-ounce biaxial cloth that covered the entire board. Finally, I used a thickened epoxy compound to fair the surface before sanding it smooth and applying paint.
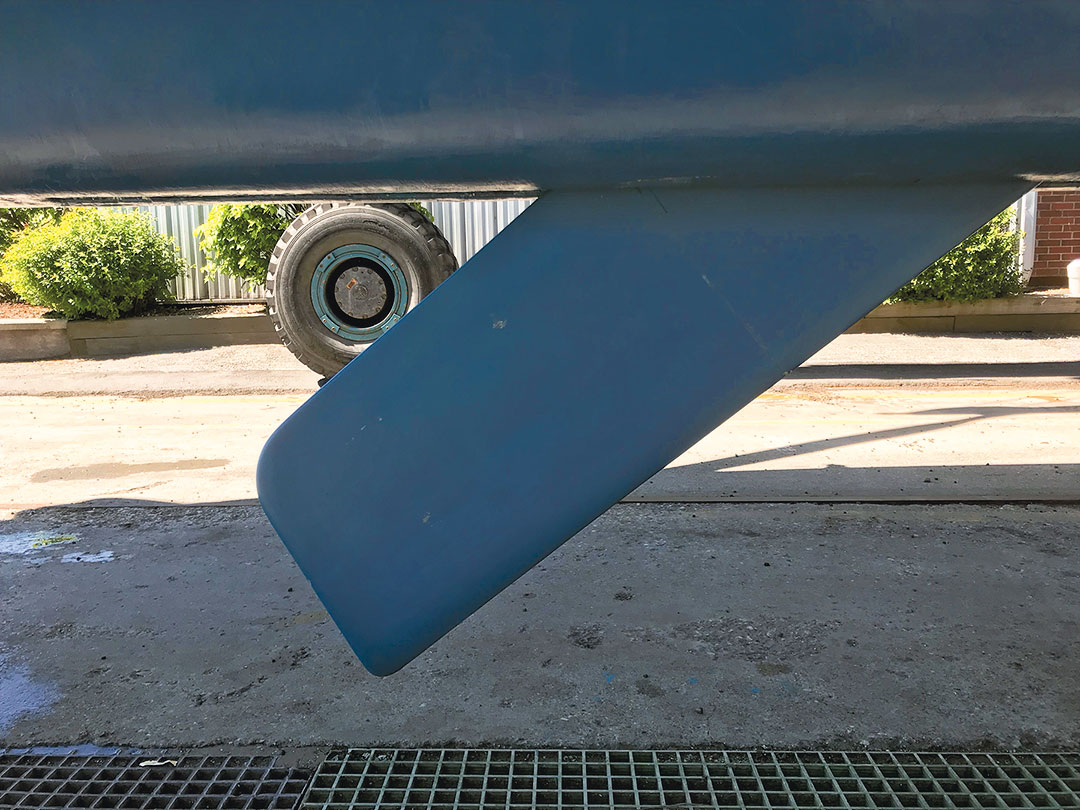
Installing the new Corian-and-lead-shot centerboard in the trunk was straightforward, and it works beautifully. The Allied has sailed some rough bashes to windward, which assured us the replacement centerboard can take the abuse. The boat’s owner spent the summer cruising in Maine, sailed down the Intracoastal Waterway, and was in Florida by December. All is well, the board is proving itself, and it will likely deliver many years of service. It’s not bronze, but it may be just as good.
Art Hall sails with his wife, Sandy, on the coast of Maine aboard their 1965 Allied Seabreeze Secret Water, which they have owned for 23 years. Every sailing season there are improvements that make this aging fiberglass classic just a little bit better!
Thank you to Sailrite Enterprises, Inc., for providing free access to back issues of Good Old Boat through intellectual property rights. Sailrite.com