Kind to feet, it keeps dirt from getting underfoot
Issue 123: Nov/Dec 2018
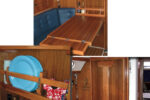
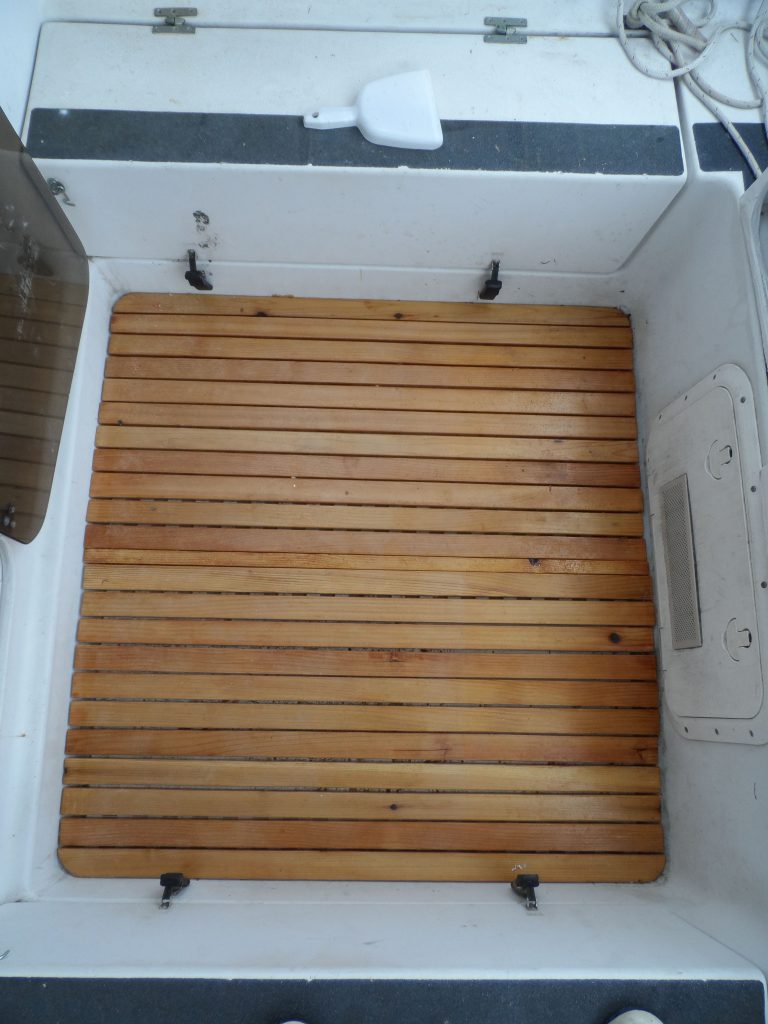
As is the case on many boats, the cockpit sole of our catamaran, Shoal Survivor, was textured gelcoat with no grating. Try as we might to keep dirt and grit off the boat, the cockpit always turned into a trashy wet sandbox, and the grinding of sand underfoot against gelcoat might as well be dollar bills burning. The previous owner had installed Dri-Dek tiles wall to wall, which solved the sand and dampness issues, but they were miserable on bare feet and agonizing to kneel on.
For a few years, I enjoyed an easy- to-install, inexpensive wooden cockpit grating I assembled from snap-together hardwood patio tiles (I got the idea from a blog post). Over time, though, the plastic backing disintegrated (for no good reason, as it was in the shade of a hardtop) and the wood began to rot.
Because I liked this solution to the sole problem, I made note of its good attributes and resolved to improve on it. The materials were cheap, the wood-working was simple, and I liked the color. It was flexible, so it conformed to the curvature of the cockpit floor, and I could easily pick up one corner and run the hose underneath it, cleaning out several months’ worth of trash and grit in a few minutes. After considerable headscratching and some product testing, I came up with a solution.
Materials
I wanted a wooden sole, but I was determined to prevent rot from ruining it prematurely. Before moving forward, I came up with an inexpensive, very effective treatment I could apply to wood to make it nearly impervious to rot.
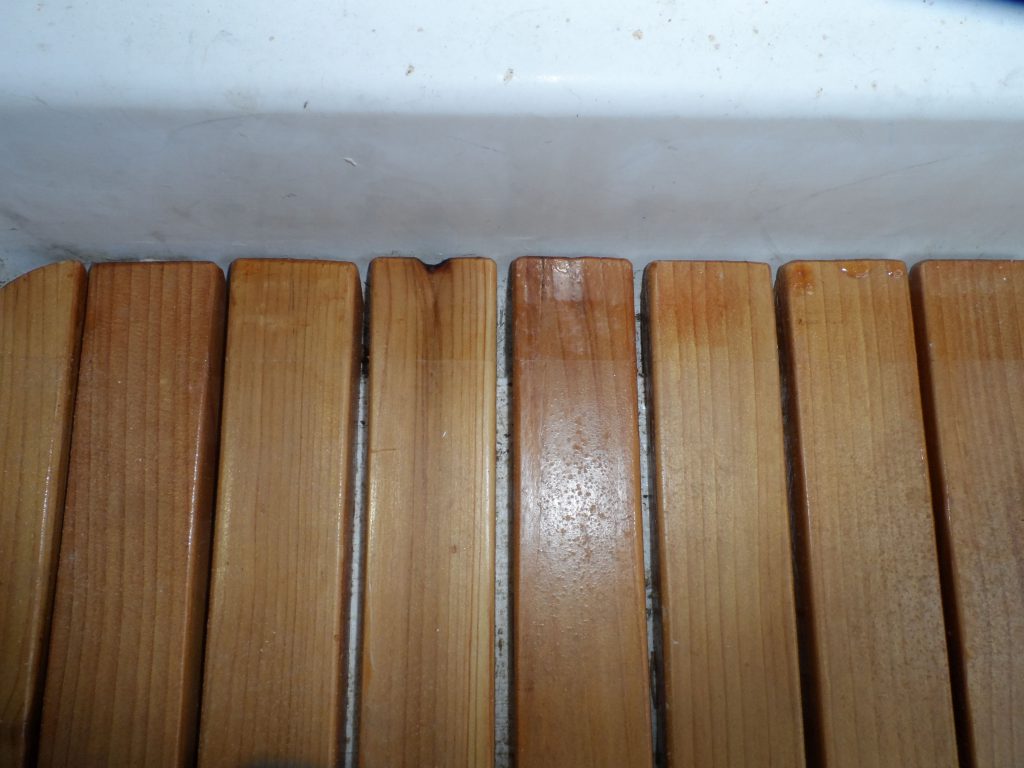
I chose a light-colored western red cedar for the deck, in part because of its light weight, rot resistance, and economy, but also because it had the look I wanted: Shoal Survivor’s cabin is cherry, not teak or mahogany. Any rot-resistant wood could work, though the extent to which it will absorb the treatment depends on the wood, and I doubt a dense wood like oak would absorb much at all.
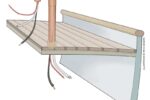
To tie the cedar strips together and support them, I wanted a material that is flexible and durable. I’ve always been impressed with the weather and UV resistance of PVC mobile-home skirting. It’s much stronger than the backing used on typical patio tiles, completely impervious to rot, and inexpensive. Although the lattice pattern I chose is considerably stiffer than patio-tile backing, it’s sufficiently flexible to conform with the gentle curvature of a cockpit sole.
Trimming and treating
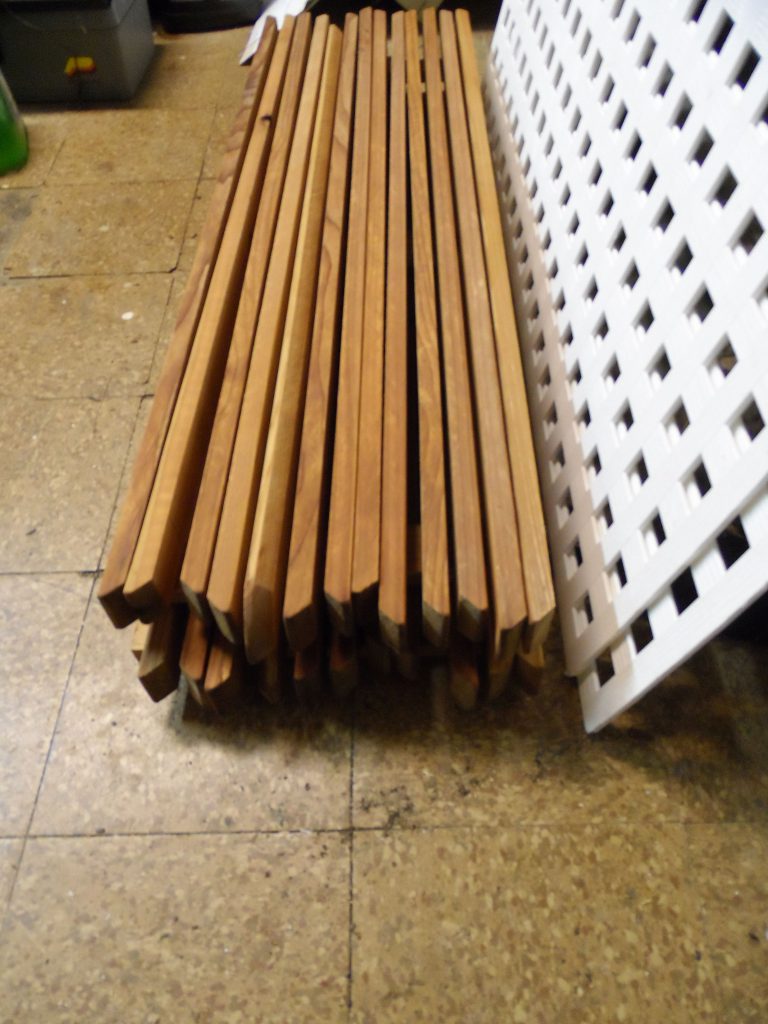
I ripped the decking from 8-foot 1 x 8 cedar planks. As well as cutting the strips to width and length, I beveled the ends at a 45-degree angle, and did the same along the sides of what would become the edge strips. I also trimmed the ends of the edge strips to match the corner profile of the cockpit. To allow clearance for the sharp curvature where the sides of the cockpit well meet the sole, I cut the PVC backing about 2 inches shorter and narrower than the cockpit well.
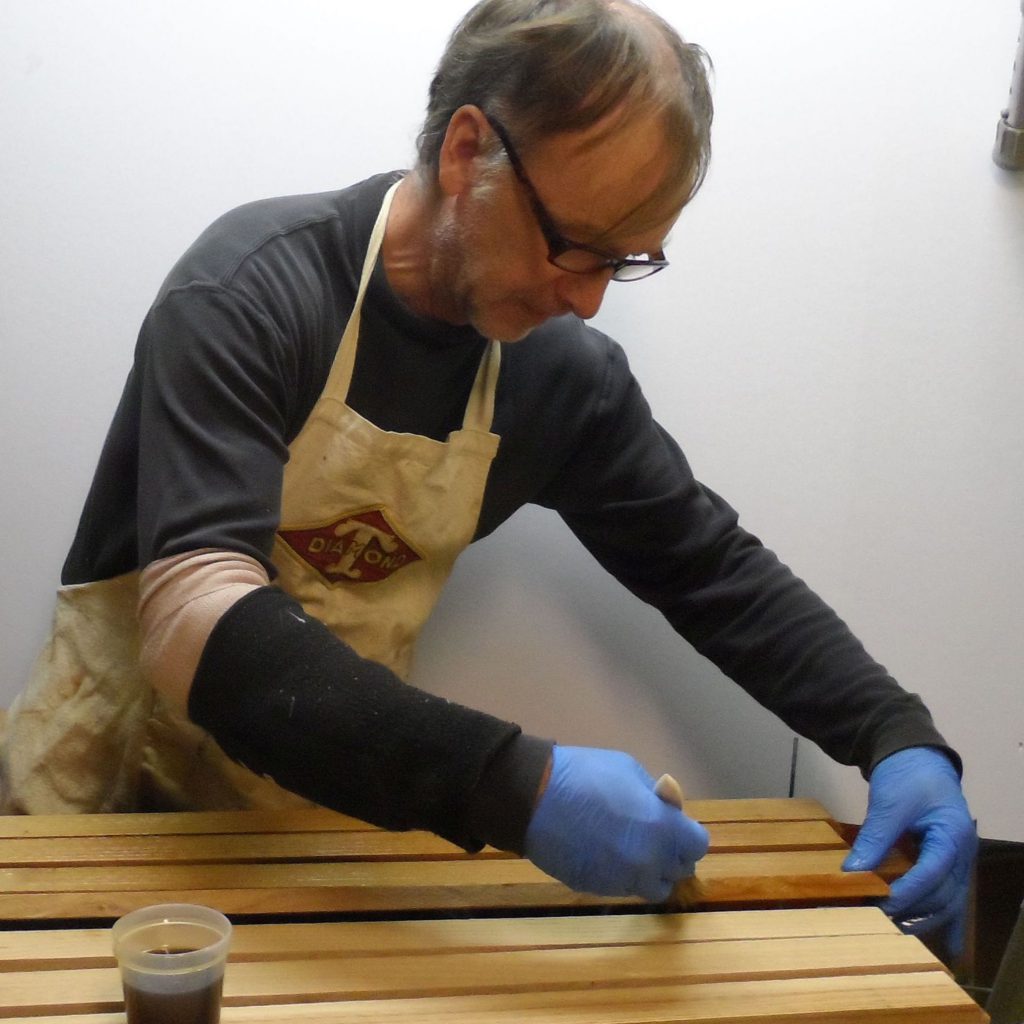
I placed the sawn and sanded decking on a waterproof tarp and liberally painted on my glycol-borate-ester anti-rot formula every few days for several weeks, until the wood would absorb no more. After each coating, I stacked the boards tightly, one board on the other, and wrapped them in the tarp until it was time for the next coat. To ensure that all the boards were completely soaked, I flipped the stack each time I coated them. I then let the boards drip off and dry neatly stacked for 6 weeks. When done, I had used about ½ gallon of the formulation, so I figure 1 gallon would treat about 12 to 15 board feet.
When no treatment was noticeable on the surface, I applied four coats of gloss marine spar varnish to all the decking strips, sanding lightly between coats. I used varnish rather than epoxy because it seemed to bond better, and it will certainly provide superior resistance to UV.
Assembly
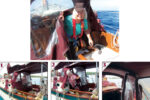
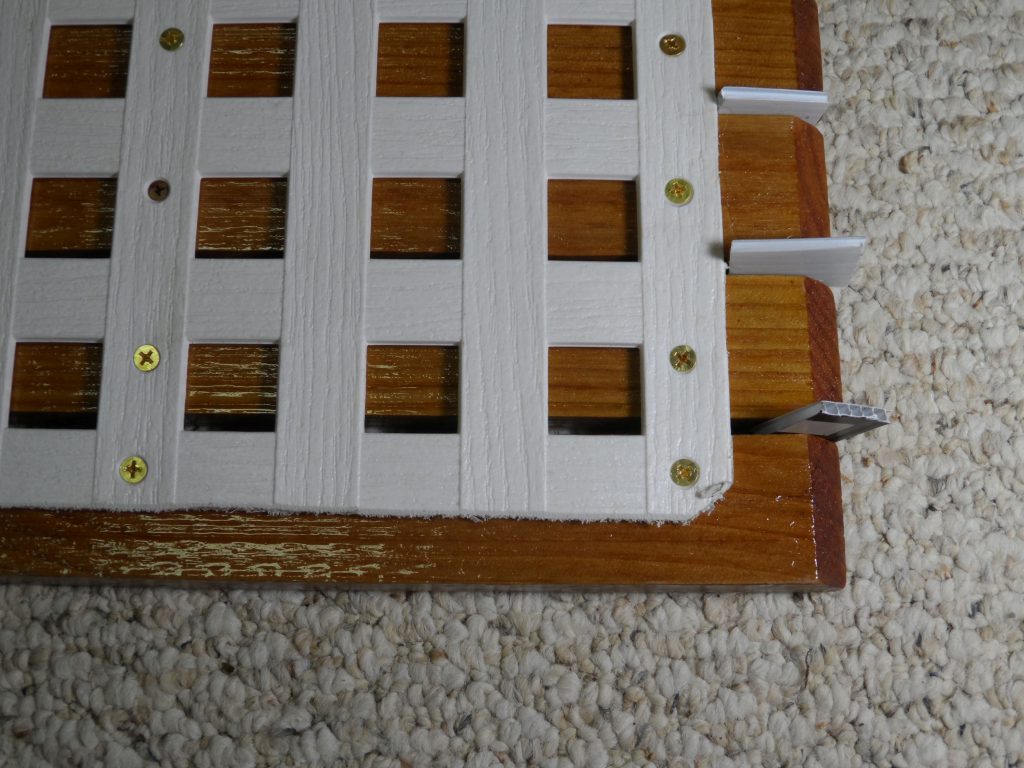
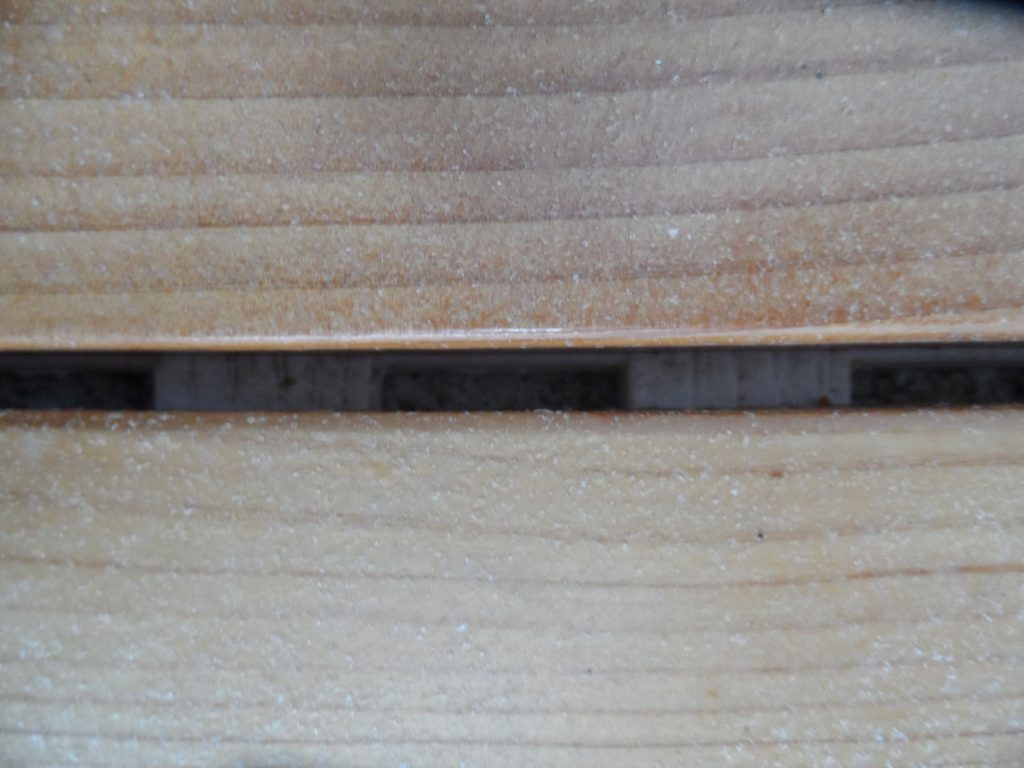
After cutting the PVC lattice to size (any saw will work), I laid out the decking upside down on the cockpit sole, temporarily placing pieces of 3⁄16-inch sign board between the boards to ensure uniform spacing. I then laid the PVC backing on top of the decking, pre-drilled and countersank all the screw holes (every board, every 16 inches), and assembled the grating. (The screw holes, which are unavoidable, will provide a route for water to enter the wood, but so long as the water is not actively flowing through the wood, the glycol borate cannot wash out and the concentrations will remain lethal to bacteria and fungus for a very long time.)
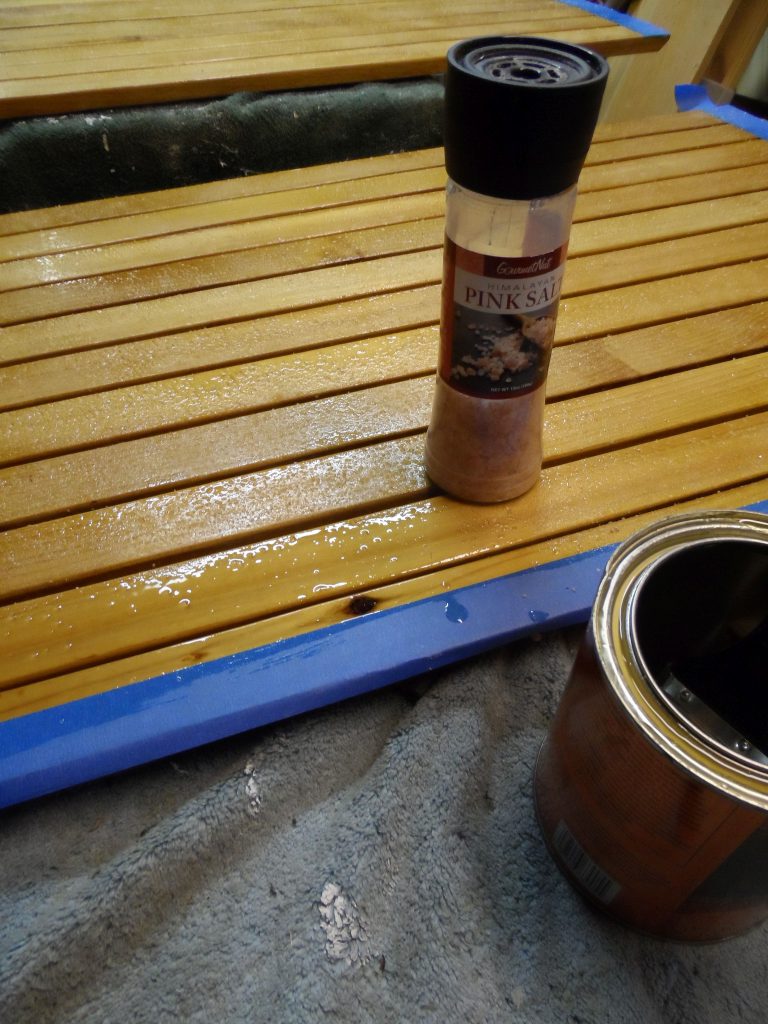
To provide a non-skid surface, I applied one final coat of varnish and thoroughly dusted it with coarse salt. This traditional “salted varnish” finish is a favorite of ours, as it is easy on the feet, cheap, and easy to maintain — recoating involves nothing more than applying a coat of varnish with coarse salt sprinkled over the top. Just for looks, I masked the narrow band around the outside so that it is not salted; you really can’t slip in the last inch and a half.
For the cost of a sheet of PVC lattice, a few 1 x 8 cedar planks, a half-box of borax, and a half-gallon of antifreeze, I made a cockpit grating I expect to last for 20 years, and probably far longer. As a retired chemist, I enjoyed the process of determining how to preserve woods, and since teak isn’t the best wood for all purposes, I’m hopeful that someone will find my concoction useful.
Home-Brewed Preservative

I wondered if it was practical to improve the rot resistance of wood by impregnating it with appropriate chemistry, like pressure-treated lumber. To find out, I set about a research project that has run for more than five years, treating pine, fir, and cedar with common and relatively non-toxic chemicals, including propylene glycol and borate, in combination with coatings. Test platforms included totem poles, planks buried in compost, canvas, and a backyard deck. My conclusion, skipping a myriad of details, was that both glycol and borate retard rot, glycol prevents warping, and the combined effects are synergistic. What’s more, after drying, neither individual compound nor the combination significantly inhibits epoxy or varnish bonding. Small wonder the National Park Service uses similar chemistry on historic totem poles and even on the USS Constitution.
The formulation
- 1 gallon propylene glycol (can be concentrated engine coolant).
- 2.5 pounds borax (technical name: sodium tetraborate pentahydrate).
- Thermometer, either infrared or candy, for monitoring temperature.
Slowly dissolve the borax in the glycol while bringing the mixture to a boil (~220°F). Do this outdoors or with positive exhaust ventilation, as glycol vapors are slightly toxic. Then, over a period of five minutes, slowly increase the temperature to about 260°F. Boiling will continue, as the small amount of water in the antifreeze and the water of hydration in the borax (it is a pentahydrate) evaporates. Turn off the heat, but leave the solution covered on the stove, allowing the reaction to finish and the material to cool; the borax has not just dissolved, but has formed a glycol borate ester, resulting in a viscous liquid that is very effective in resisting washout and preventing warping.
Though pressure-treated wood is infamous for its tendency to warp while drying, the glycol in my formulation completely prevents warpage. In fact, some furniture makers will treat boards with glycol specifically to retard warpage caused by drying. All of my boards have remained arrow straight.
A simpler rot-proofing treatment can be made by simply dissolving either 15 percent borax or a 10 percent borax/8 percent boric acid mixture in warm water. This soaks into the wood more quickly, which means it may wash out more quickly. The protection is somewhat less and it will not protect against warping.
Drew Frye draws on his training as a chemical engineer and pastimes of climbing and sailing when solving boating problems. He cruises Chesapeake Bay and the mid-Atlantic coast in his Corsair F24 trimaran, using its shoal draft to venture into shallow and less-explored waters.
Thank you to Sailrite Enterprises, Inc., for providing free access to back issues of Good Old Boat through intellectual property rights. Sailrite.com